Support our educational content for free when you buy through links on our site. Learn more

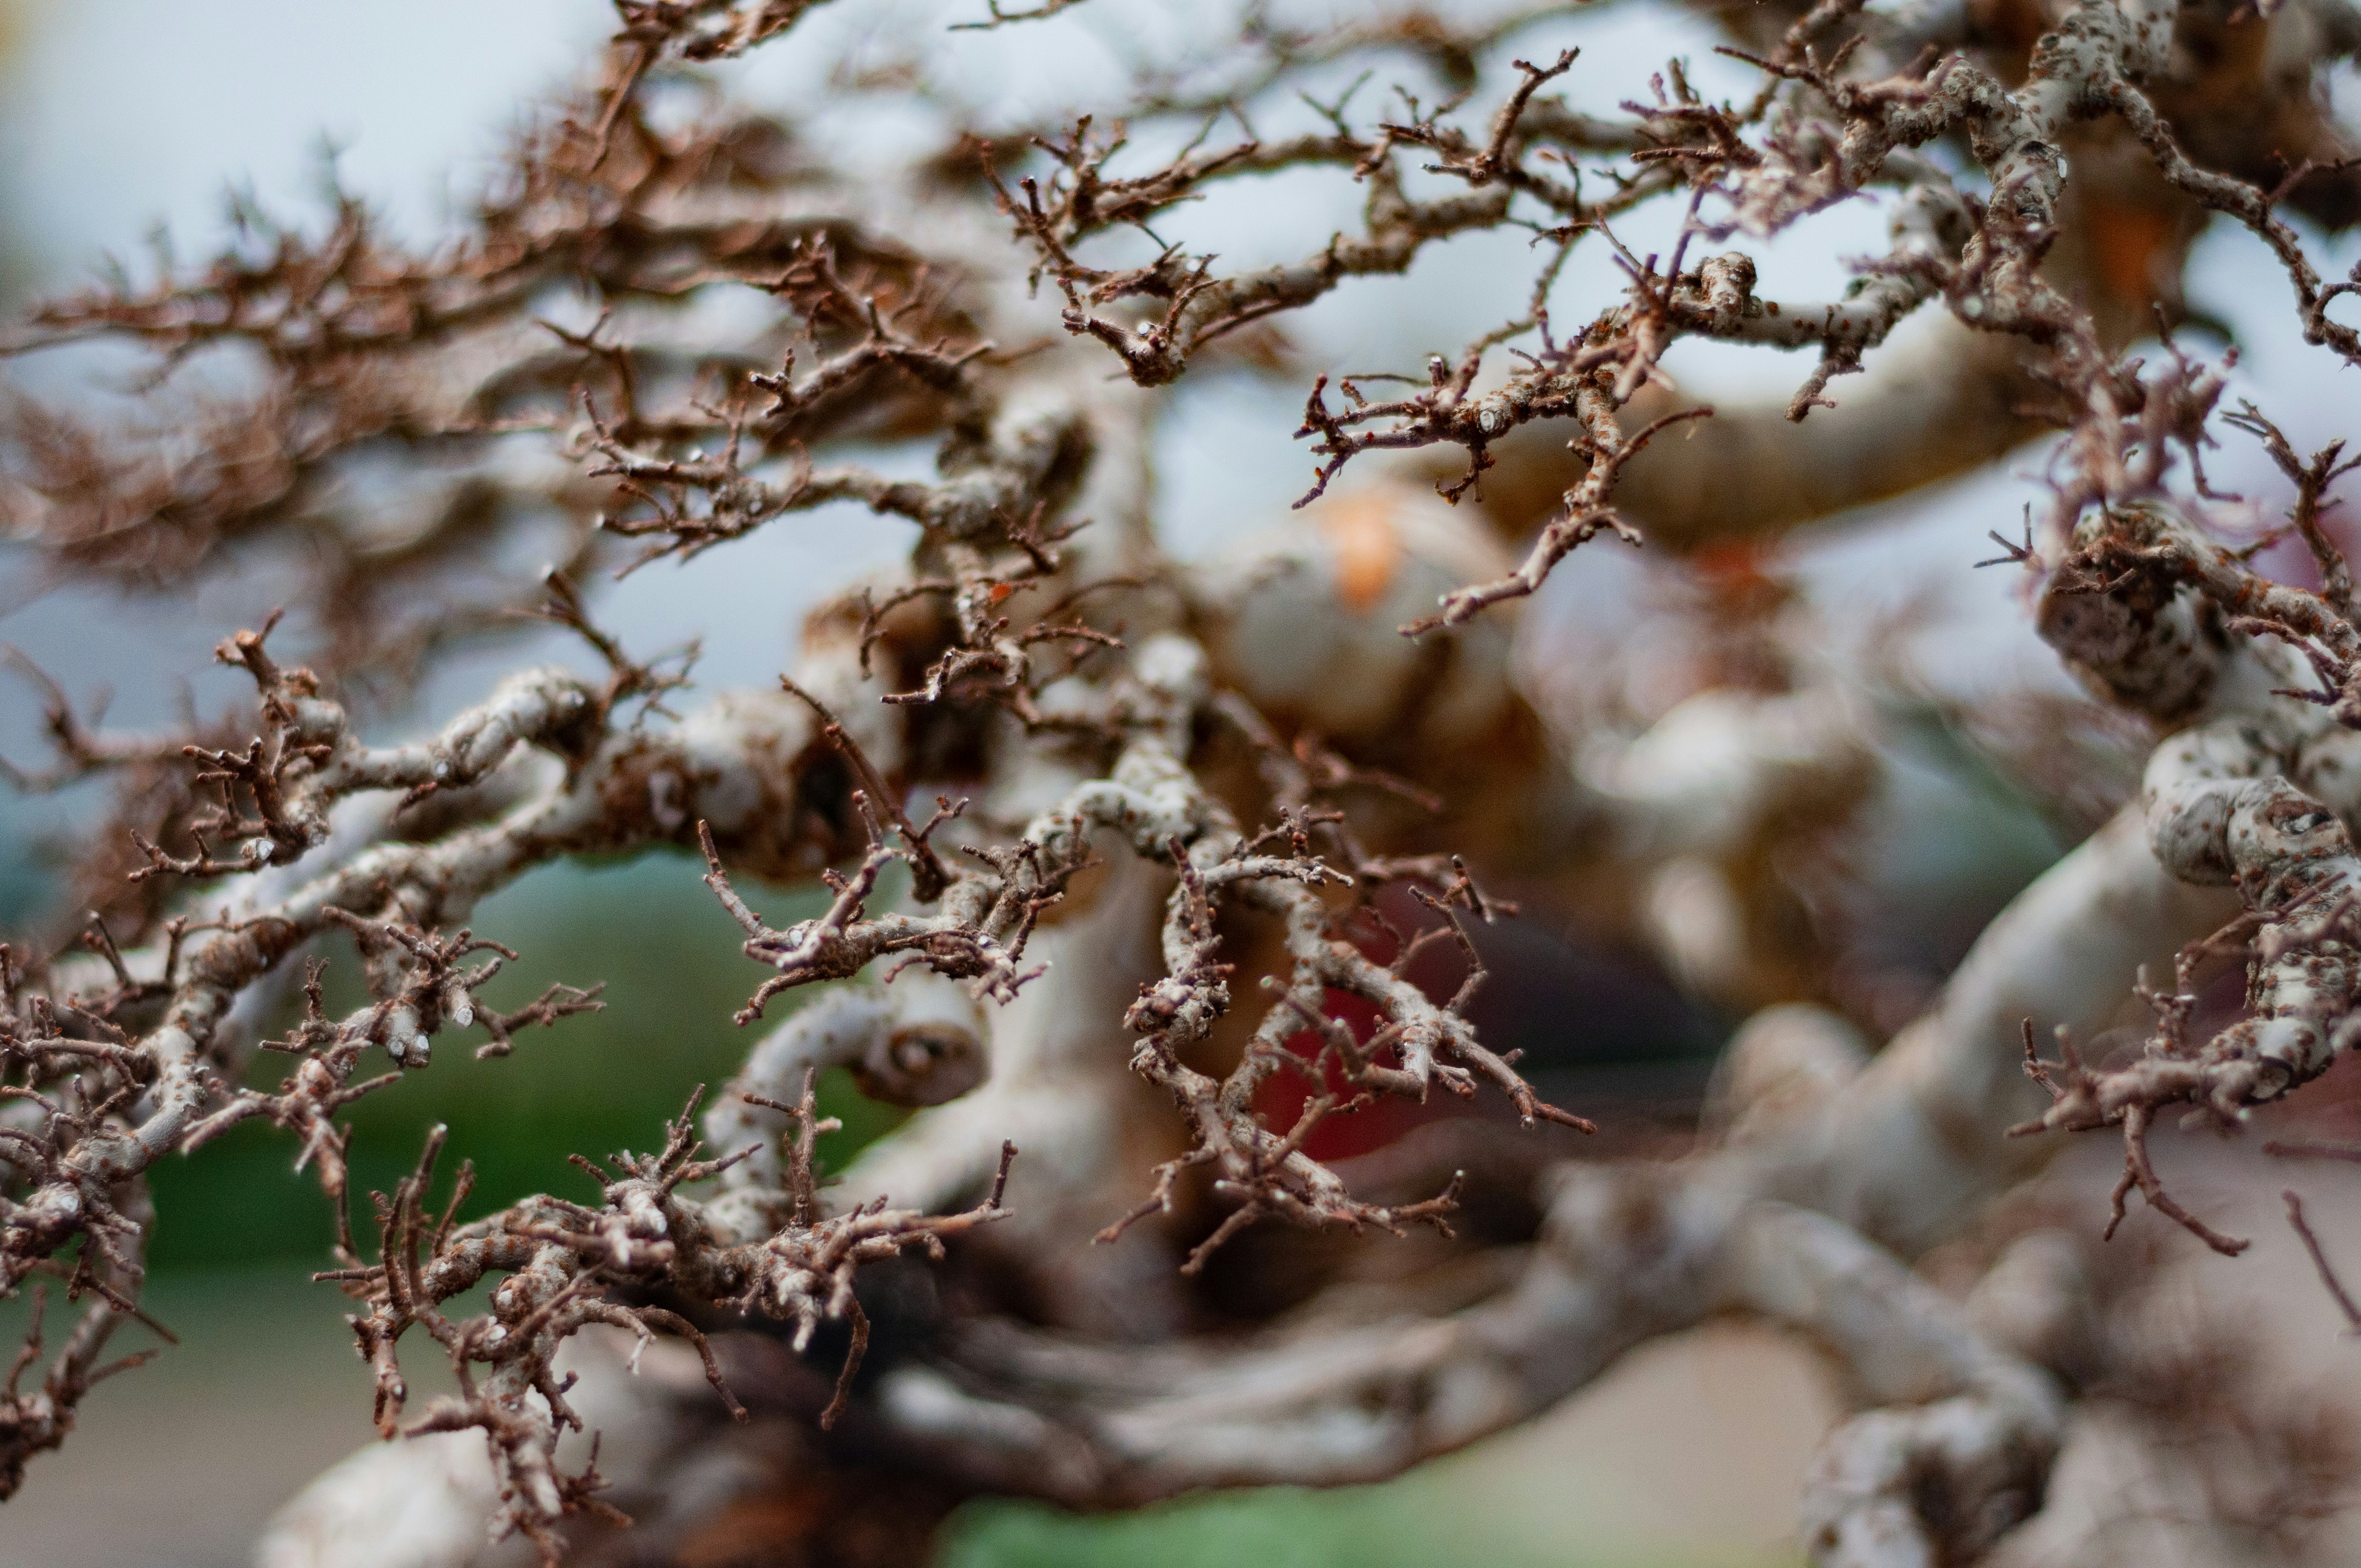
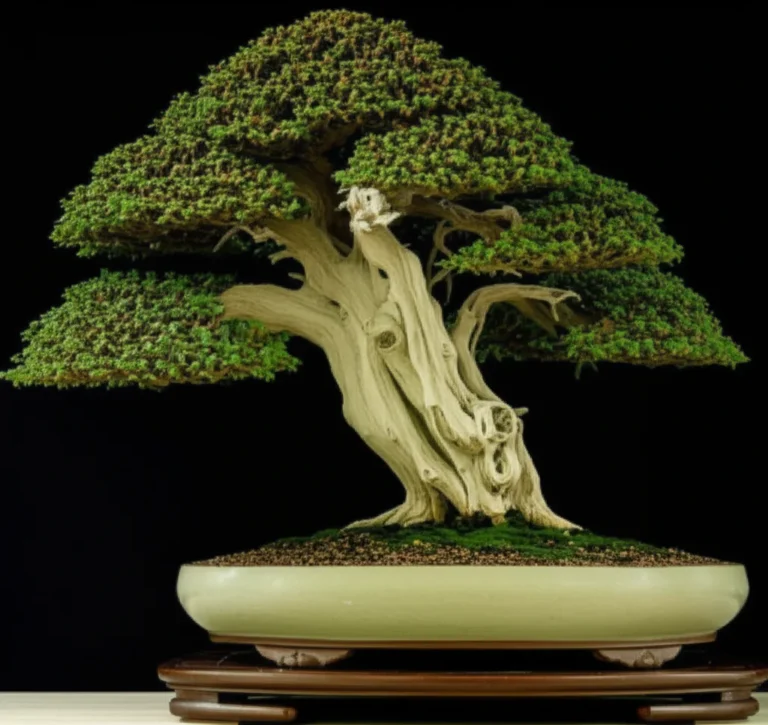
The secret to aging a bonsai instantly isn’t waiting decades; it’s mastering deadwood bonsai techniques to carve, preserve, and style lifeless wood into a testament of survival. By strategically creating Jin, Shari, and Uro, you can transform a young sapling into a tree that looks like it has weathered a century of storms.
Imagine holding a Juniper that looks like a lightning-struck giant, yet its roots are barely five years old. This is the magic of controlled destruction. At Bonsai Garden™, we’ve seen beginners turn a simple branch into a masterpiece with just a pair of pliers and a bottle of lime sulfur.
Did you know that the famous Goshin bonsai, created by John Naka, features multiple deadwood branches that simulate a forest of ancient trees surviving a harsh environment? It proves that the most compelling stories are often written in scars.
Ready to stop guessing and start carving? Here is what you need to know before you pick up a chisel.
Key Takeaways
- Timing is Critical: Always perform deadwood carving in early spring or late summer to allow the tree to heal effectively without shock.
- Preserve the Life: Never remove the live vein; a continuous strip of living bark is essential to keep the upper canopy alive.
- Chemical Armor: Apply lime sulfur immediately after carving to bleach the wood white and prevent fungal rot.
- Species Matters: Conifers like Junipers and Pines are ideal for deadwood, while most deciduous trees require different approaches to avoid decay.
- Tools of the Trade: Success relies on specialized Jin pliers, sharp chisels, and rotary tools for realistic texturing.
Table of Contents
- ⚡️ Quick Tips and Facts
- 📜 The Ancient Art of Deadwood: History and Philosophy
- 🧰 Essential Tools for Carving Bonsai Deadwood
- 🌳 Understanding Jin, Shari, and Uro: The Trinity of Deadwood
- 🔪 Step-by-Step Guide: How to Create Deadwood on Bonsai Trees
- 1. Selecting the Perfect Branch for a Jin
- 2. Carving a Dramatic Shari on the Trunk
- 3. Crafting a Realistic Uro Hollow
- 4. Refining the Texture with Wire and Chisels
- 5. Applying Lime Sulfur for Preservation and Color
- 🎨 Advanced Techniques: Simulating Natural Weathering and Age
- 🌱 Species Selection: Which Trees Thrive with Deadwood?
- ⚠️ Common Mistakes to Avoid When Carving Deadwood
- 🛡️ Aftercare: Healing, Protecting, and Maintaining Your Deadwood
- 🧐 FAQ for Deadwood on Bonsai
- 🏆 Conclusion
- 🔗 Recommended Links
- 📚 Reference Links
⚡️ Quick Tips and Facts
Before we grab our chisels and start playing “survival of the fittest” with your favorite juniper, let’s hit the pause button for a second. You might be thinking, “Wait, I’m supposed to kill parts of my tree on purpose?” It sounds counterintuitive, almost like gardening heresy, but here’s the twist: deadwood is the secret sauce of age.
In the wild, a tree doesn’t just sit pretty; it fights. It battles lightning, ice storms, and drought. When a branch snaps or the bark pels away, the wood dies, bleaches white under the sun, and becomes a testament to survival. In bonsai, we mimic this struggle to tell a story of resilience.
Here are the golden rules we’ve learned at Bonsai Garden™ after years of carving, crying (over a slipped chisel), and celebrating:
- The Golden Rule of Timing: Never carve deadwood in the middle of winter when the tree is dormant, nor in the scorching peak of summer. The sweet spots are early spring (just as buds swell) or late summer (after the heat breaks). This gives the tree the best chance to seal the wound.
- Species Matters: If you have a deciduous tree like a Maple or Elm, think twice before carving a Jin. Deciduous trees tend to rot rather than weather. Conifers (Junipers, Pines) are the champions of deadwood; they naturally retain dead branches that turn into beautiful, silver driftwood.
- The “Live Vein” is Non-Negotiable: You can strip bark, but you must leave a live vein (a strip of living bark) connecting the roots to the upper branches. If you cut the circle completely, the top of the tree dies. It’s a delicate dance between life and death.
- Lime Sulfur is Your Best Friend: This isn’t just bleach; it’s a preservative. It stops rot, kills pests, and gives that iconic bleached white look that screams “I am 10 years old.”
Did you know? The famous Goshin bonsai, created by the legendary John Naka, features multiple Jin on its leaders to simulate a group of ancient trees surviving a harsh environment. It’s a masterpiece of controlled destruction.
If you’re new to this, don’t panic. We’ve all been there. For a deeper dive into the basics of keeping your tree alive while styling it, check out our guide on Bonsai Care Basics. And if you want to see how these techniques fit into the bigger picture of tree health, take a look at our Bonsai for Beginners section.
📜 The Ancient Art of Deadwood: History and Philosophy
Why do we do this? Why turn a lush, green branch into a skeleton?
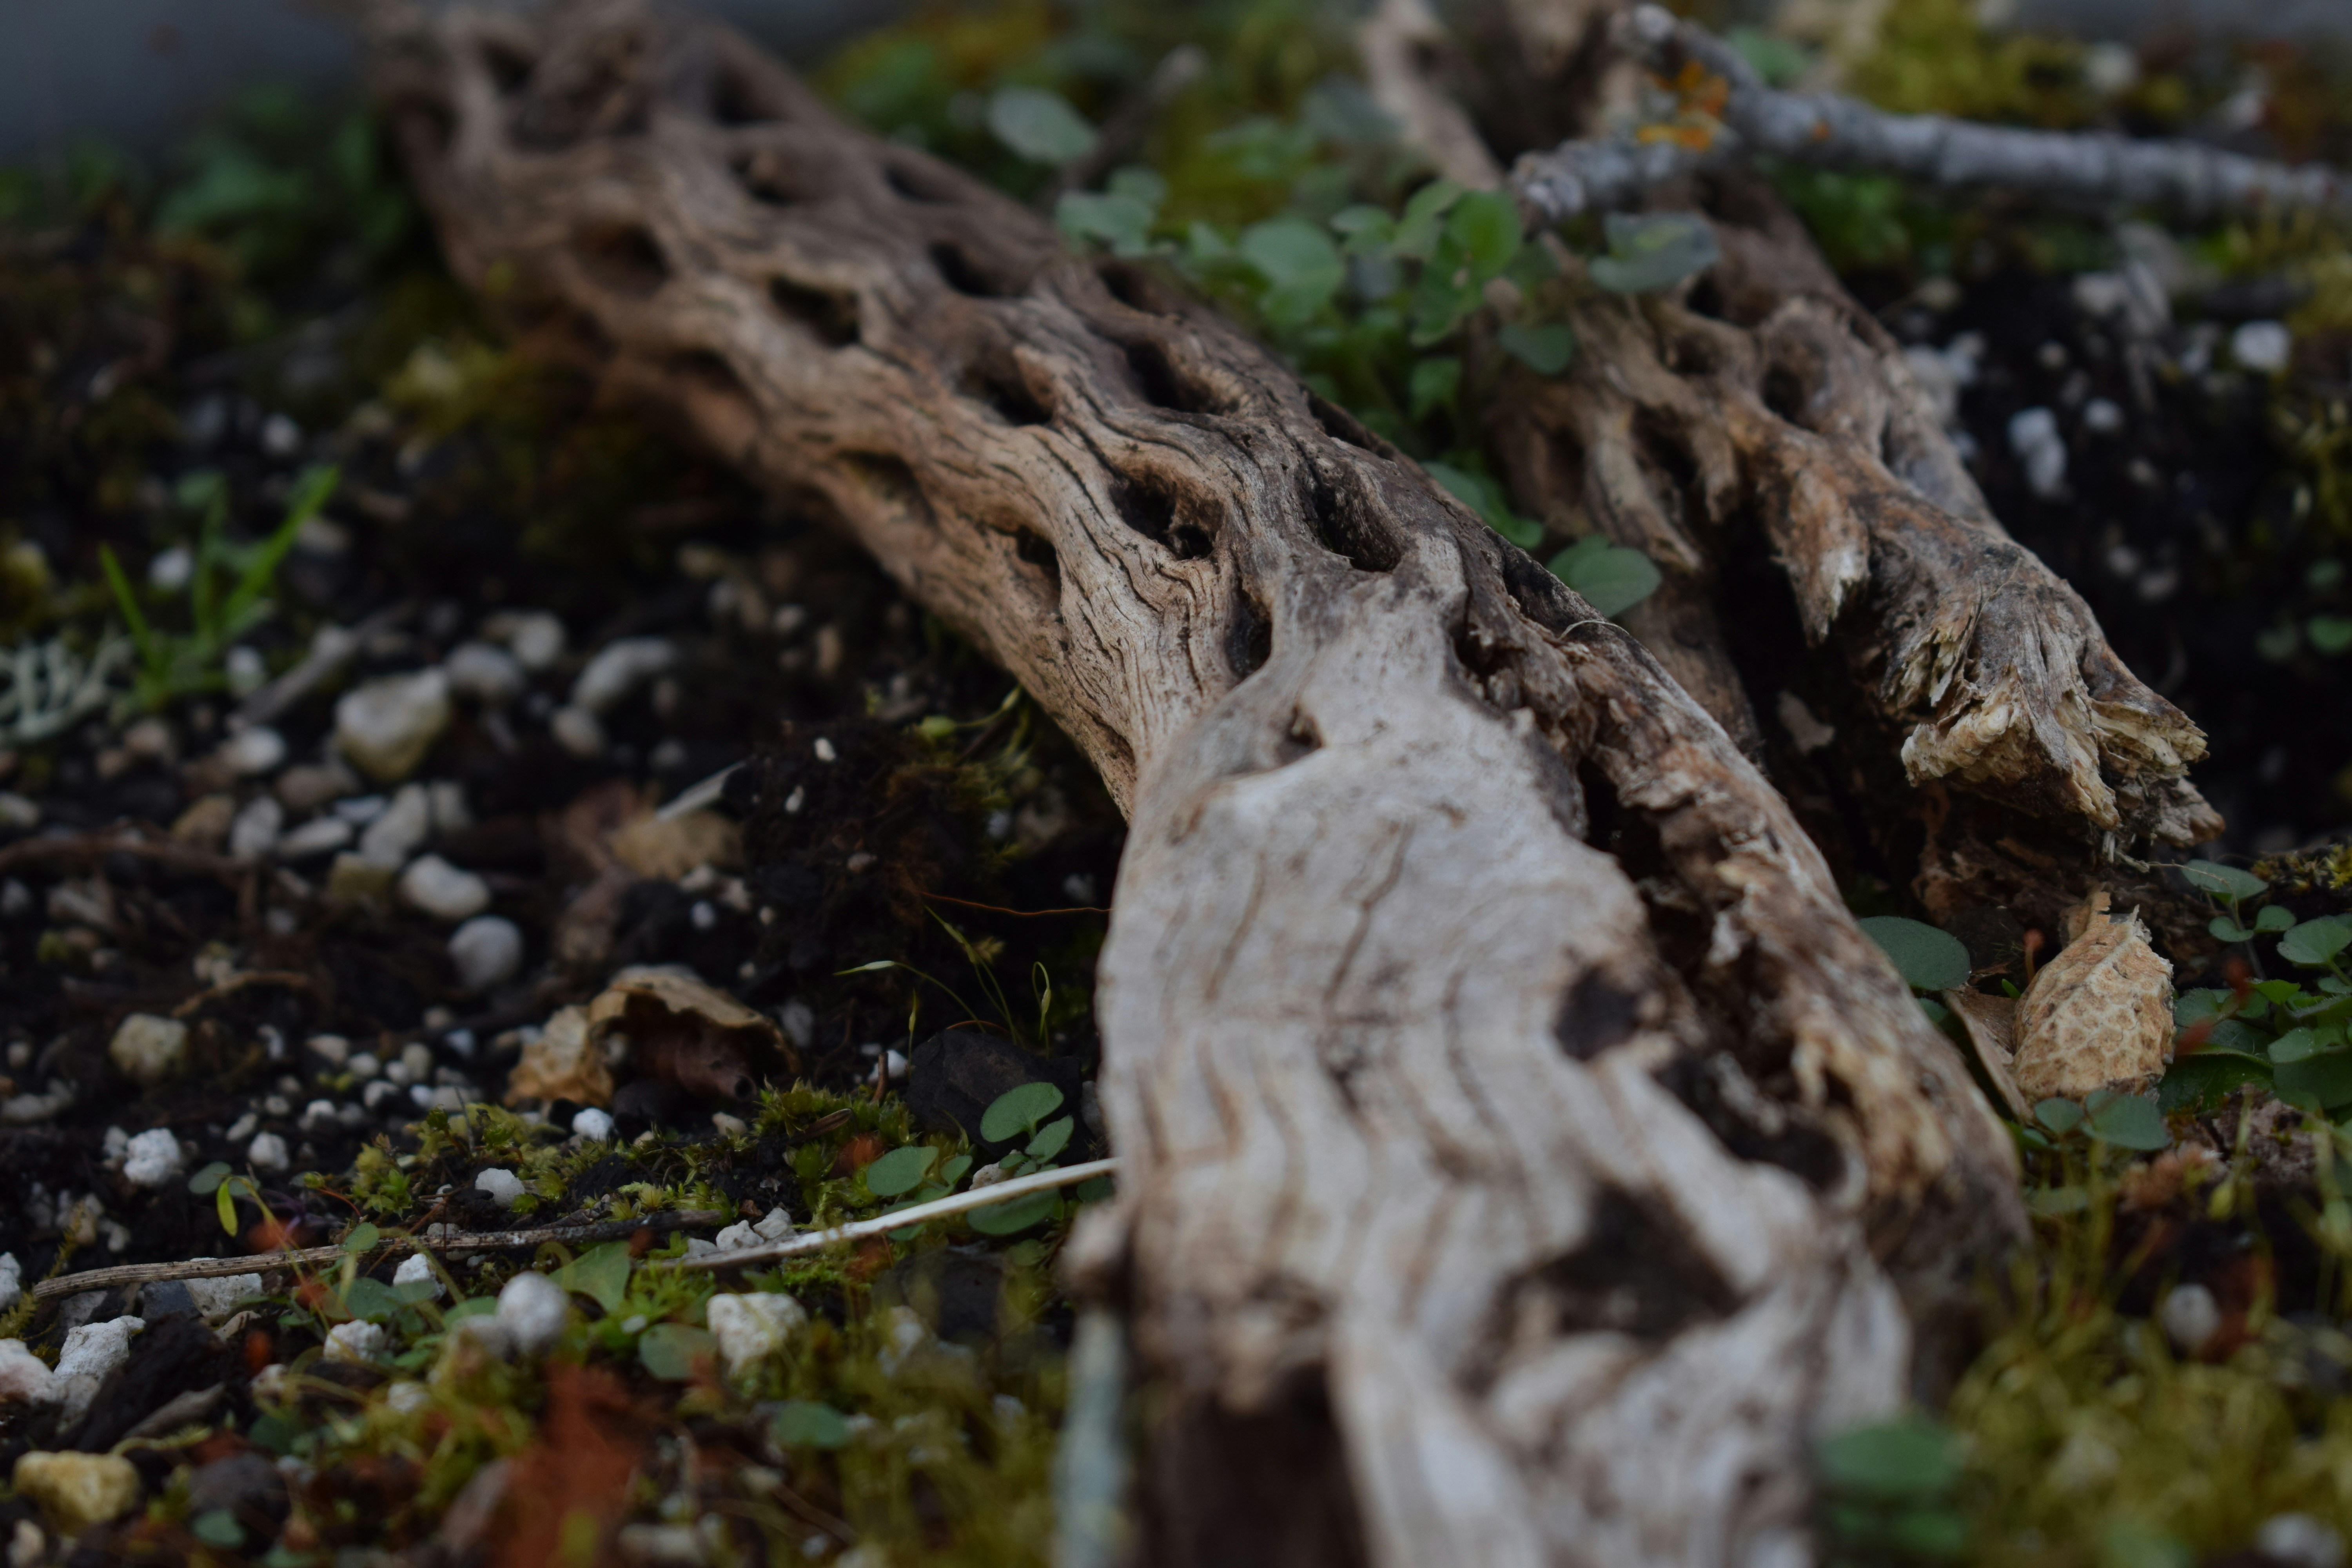
To understand deadwood, you have to understand the Japanese concept of Wabi-Sabi. It’s the appreciation of imperfection, impermanence, and the beauty of age. A perfectly round, green tree looks like a plastic toy. A tree with a scared trunk and a bleached branch looks like it has a soul.
Historically, deadwood techniques were born out of necessity. When collectors dug up wild trees (yamadori) from the mountains, they often found them battered by the elements. Instead of discarding a tree with a broken branch, the masters learned to integrate that damage into the design. Over centuries, this evolved from a repair tactic into a high art form.
As noted in botanical studies, the interplay between the live vein and the deadwood creates a visual tension that mirrors the struggle of life itself. It’s not just about looking old; it’s about looking resilient.
“The interplay of the live vein of the tree and its own deadwood… [is] a reflection of life and death in nature.” — Wikipedia on Deadwood Bonsai Techniques
At Bonsai Garden™, we often tell our students: “You aren’t just carving wood; you are writing a biography.” Every scar tells a story of a storm survived. If you want to see how these stories translate into stunning displays, browse our Bonsai Inspiration and Ideas collection.
🧰 Essential Tools for Carving Bonsai Deadwood
You wouldn’t try to perform surgery with a butter knife, and you shouldn’t try to carve deadwood with a kitchen screwdriver. The right tools make the difference between a natural-looking masterpiece and a jaged mess that invites rot.
Here is the arsenal we swear by at the garden:
Manual Tools
- Jin Pliers: These are specialized pliers with a curved, serrated jaw designed to rip bark and break branches cleanly without crushing the wood fibers. They are the primary tool for creating Jin.
- Carving Chisels: A set of sharp, heavy-duty chisels (flat, round, and V-gouge) is essential for removing wood and shaping the grain.
- Graving Tools: Smaller, finer tools for detailing the wood grain to simulate natural weathering.
- Wire Brushes: Steel brushes are used to scrub away the soft wood fibers, leaving the harder grain exposed for that “driftwood” texture.
Powered Tools
- Rotary Tool (e.g., Dremel): With various carving bits, this is a game-changer for hollowing out Uro or refining complex textures.
- Gas Torch: A small propane torch is used to burn off loose fibers, raising the grain and creating a chared, aged look.
Chemicals & Finishes
- Lime Sulfur: The industry standard for bleaching and preserving. It turns the wood white and prevents fungal growth.
- Wood Hardener: For softer woods, a hardener can stabilize the deadwood so it doesn’t crumble over time.
👉 CHECK PRICE on:
- Jin Pliers: Amazon | Walmart | Bonsai Empire
- Rotary Tool Kit: Amazon | Home Depot
- Lime Sulfur: Amazon | Bonsai Shop USA
Pro Tip: Always sterilize your tools with alcohol before and after use. You don’t want to spread disease from one tree to another!
🌳 Understanding Jin, Shari, and Uro: The Trinity of Deadwood
Before we pick up a tool, we need to speak the language. Deadwood isn’t just “dead stuff”; it has specific names based on location and shape.
1. Jin (神)
- Definition: A dead branch or the top of the trunk (leader) where the bark has been stripped away.
- Purpose: Simulates a branch broken by wind or ice. It can also be used to shorten a tree (a “top jin”) to improve the taper.
- Best For: Conifers (Junipers, Pines). Rarely used on deciduous trees as they tend to rot.
2. Shari (舍利)
- Definition: A deadwood section on the trunk itself, usually running vertically.
- Purpose: Mimics a lightning strike or a large branch falling off the main trunk. It adds dramatic movement and breaks up the monotony of a straight trunk.
- Visual: Often looks like a “scar” running down the side of the tree.
3. Uro (うろ)
- Definition: A hollow, irregularly shaped indentation in the trunk.
- Purpose: Simulates a branch that fell off naturally, leaving a cavity.
- Context: Common in deciduous trees (like Maples) where the branch falls and the tree heals around it, but the hollow remains.
4. Sabamiki (裂幹)
- Definition: A split trunk or a deep hollow that runs through the center of the trunk, often simulating severe lightning damage.
- Caution: This requires a live vein on both sides to keep the tree alive.
| Feature | Location | Typical Cause | Best Species |
|---|---|---|---|
| Jin | Branches / Apex | Wind, Ice, Breakage | Conifers (Juniper, Pine) |
| Shari | Trunk (Vertical) | Lightning, Falling Branch | Conifers, some Deciduous |
| Uro | Trunk (Hollow) | Natural Branch Drop | Deciduous (Maple, Elm) |
| Sabamiki | Trunk (Split) | Severe Lightning | Conifers, Larch |
For more on how these elements contribute to the overall look, explore our Bonsai Display and Aesthetics category.
🔪 Step-by-Step Guide: How to Create Deadwood on Bonsai Trees
Ready to get your hands dirty? This is where the magic happens. But remember: practice on a cheap branch first. You can’t un-carve a mistake.
1. Selecting the Perfect Branch for a Jin
Not every branch deserves to die. Look for a branch that:
- Is in a position that disrupts the flow of the tree.
- Is thick enough to look realistic when stripped.
- Allows you to maintain a live vein to the upper canopy.
The Process:
- Mark the branch you want to remove.
- Use Jin Pliers to rip the bark off in the direction of the grain. Don’t saw it; rip it. This creates a natural, fibrous edge.
- Break the branch off at the desired length.
2. Carving a Dramatic Shari on the Trunk
This is the most intimidating part.
- Plan the Path: Use a pencil to draw the path of the Shari. It should flow naturally with the trunk’s movement.
- Strip the Bark: Use a sharp knife or chisel to remove the bark within the drawn lines.
- Remove the Wood: Use a chisel or rotary tool to carve away the wood. Start shallow and go deeper.
- Create Texture: Use a wire brush or a gas torch to burn off the soft fibers, leaving the hard grain. This simulates years of weathering.
3. Crafting a Realistic Uro Hollow
- Mark the Spot: Choose a spot where a branch naturally would have been.
- Carve the Hole: Use a gouge or rotary tool to hollow out the wood. The shape should be irregular, not a perfect circle.
- Refine the Edges: Smooth the transition between the live bark and the dead wood. It should look like the tree tried to heal it but failed.
4. Refining the Texture with Wire and Chisels
This is the “art” part.
- Grain Direction: Always carve with the grain. Carving against it looks fake.
- Variation: Don’t make the Shari uniform. Add small cracks, bumps, and varying depths.
- The “Burn”: Lightly passing a gas torch over the wood raises the grain and gives it a weathered, greyish tint before applying chemicals.
5. Applying Lime Sulfur for Preservation and Color
This is the final step that seals the deal.
- Mix: Follow the instructions on the bottle (usually 1 part lime sulfur to 10-20 parts water).
- Apply: Use a brush to coat the deadwood thoroughly.
- Wait: The wood will turn a beautiful bleached white within hours or days.
- Reapply: You may need to apply it 2-3 times over a few weeks for maximum effect.
Wait, what if I mess up? Don’t worry. If you carve too deep, you can sometimes graft a piece of wood or use epoxy to fill it, but prevention is better than cure.
🎨 Advanced Techniques: Simulating Natural Weathering and Age
Once you’ve mastered the basics, you can start playing with advanced techniques to make your deadwood look like it’s survived a century of storms.
- The “Driftwood” Effect: Use a combination of wire brushing and light burning to create a silvery, almost metallic shen. This mimics wood that has been exposed to salt spray or intense UV radiation.
- Moss Integration: In nature, moss often grows on the edges of deadwood. You can encourage this by keeping the area slightly moist and applying a moss slurry to the transition zones.
- Tanuki (Phoenix Grafting): This is the ultimate trick. You take a living tree and attach it to a piece of deadwood (like a log) to create a “driftwood” style where the living tree seems to be growing out of the dead wood. Note: This is considered a “trick” technique and is not accepted in formal Japanese bonsai shows, but it’s amazing for display.
For a visual demonstration of these techniques, check out the perspective shared in the featured video below, which breaks down the process of using rotary tools and lime sulfur effectively.
(Video Placeholder: A demonstration of creating Jin and Shari using rotary tools and lime sulfur treatment.)
🌱 Species Selection: Which Trees Thrive with Deadwood?
Not all trees are created equal when it comes to deadwood. Choosing the wrong species can lead to rot and a dead tree.
The Champions (Conifers)
- Juniperus procumbens ‘Nana’: The classic choice. Retains dead branches beautifully.
- Juniperus chinensis: Versatile and hardy.
- Pinus (Pines): Excellent for Jin and Shari. The bark texture blends well with deadwood.
- Larch: A deciduous conifer that can handle deadwood surprisingly well.
The Exceptions (Deciduous)
- Maples (Acer): Generally avoid Jin and Shari as they rot. However, Uro (hollows) are common and acceptable.
- Elm: Can handle some deadwood, but requires careful maintenance.
- Bougainvillea: Known for creating dramatic Sabamiki effects.
Rule of Thumb: If the tree naturally sheds dead branches in the wild, it will likely rot in a pot. If it retains them (like a Juniper), it’s a perfect candidate.
⚠️ Common Mistakes to Avoid When Carving Deadwood
We’ve seen it all, and we’ve made all these mistakes so you don’t have to.
- Cuting the Live Vein: This is the cardinal sin. If you sever the connection between the roots and the upper branches, the top dies. Always leave a strip of living bark.
- Over-Carving: More isn’t always better. A tree with too much deadwood looks like a stick figure, not ancient giant. Balance is key.
- Ignoring the Season: Carving in winter can shock the tree. Carving in peak summer can cause sunburn on the exposed wood. Stick to spring or late summer.
- Skipping the Lime Sulfur: Without preservation, the wood will turn black and rot, ruining the aesthetic and potentially killing the tree.
- Making it Too Perfect: Nature is messy. If your Shari looks like a straight line drawn with a ruler, it looks fake. Add irregularities.
🛡️ Aftercare: Healing, Protecting, and Maintaining Your Deadwood
The job isn’t done when you put the chisel down. The tree is now vulnerable.
- Watering: The exposed wood doesn’t absorb water, but the live vein does. Keep the soil moist but not waterlogged.
- Sun Protection: Freshly carved wood can sunburn. If you live in a hot climate, provide some shade for the first few weeks.
- Re-application: Check the deadwood every few months. If the white color fades or the wood looks soft, reapply lime sulfur.
- Monitoring for Rot: If you see black spots or a mushy texture, scrape it out and treat it immediately.
For more on general tree health and maintenance, visit our Bonsai FAQs section.
🧐 FAQ for Deadwood on Bonsai
How do you preserve and protect deadwood on bonsai trees?
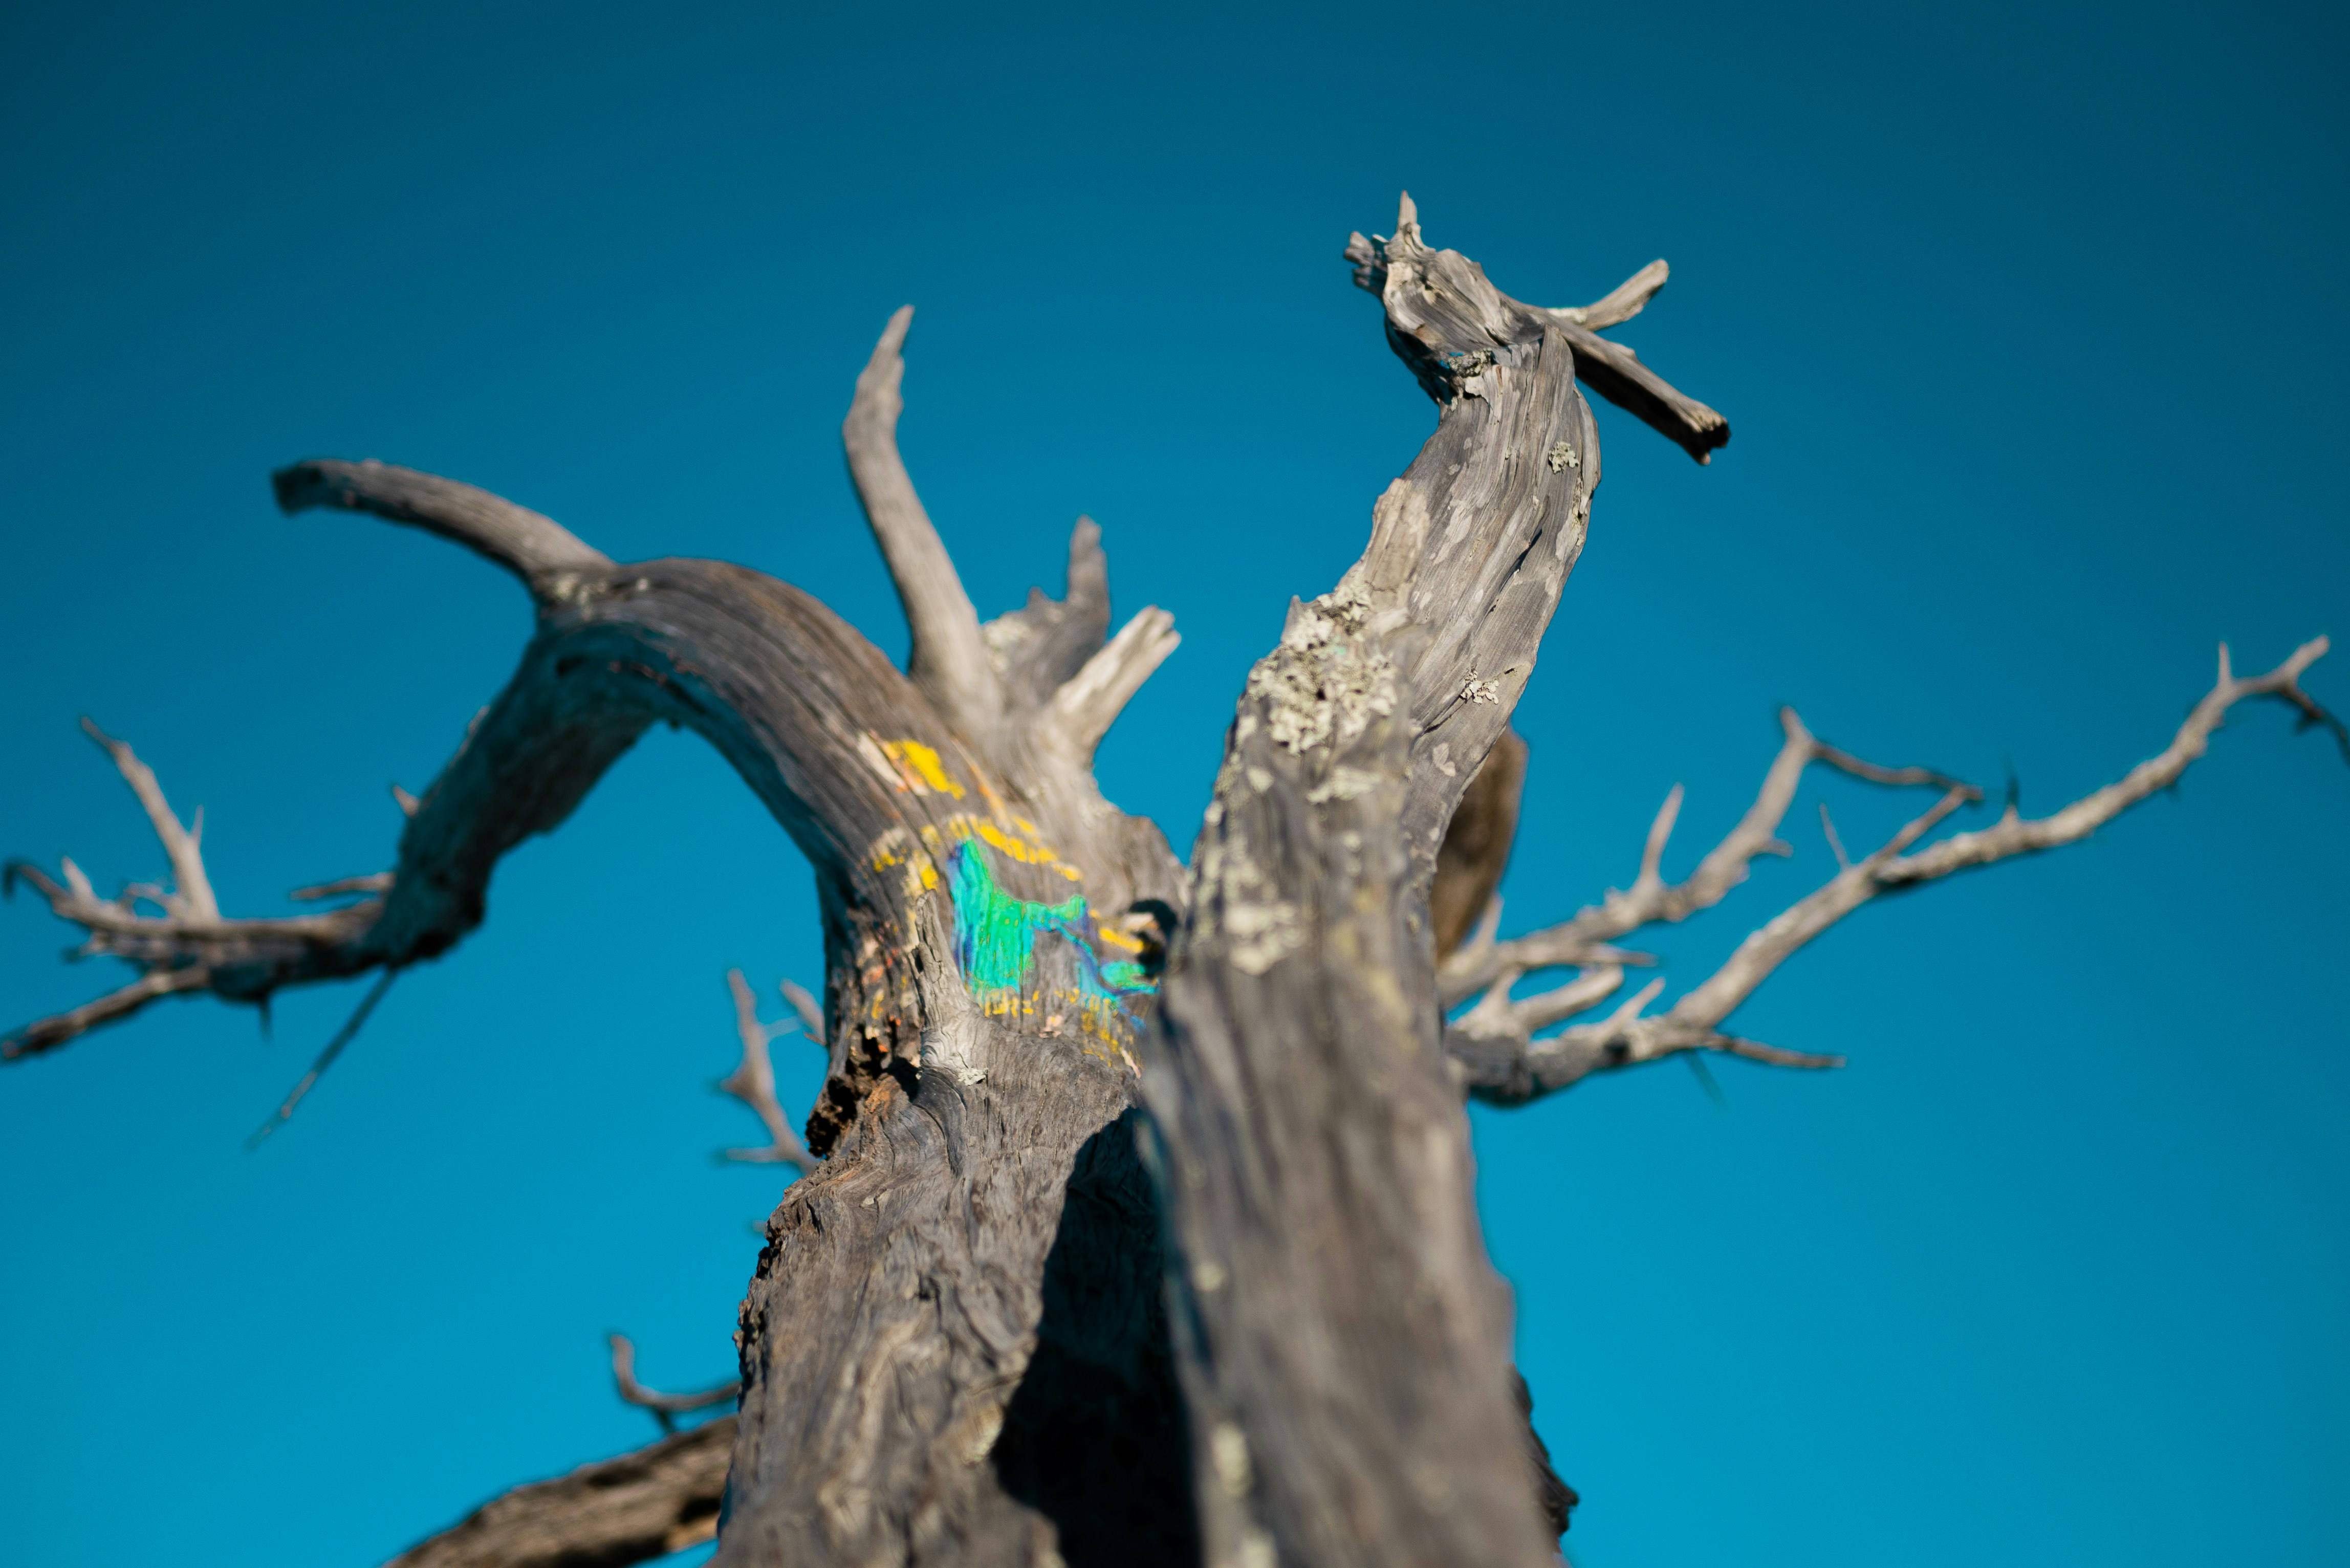
The primary method is applying lime sulfur. This chemical mixture bleaches the wood white and acts as a fungicide and insecticide, preventing rot. You should reapply it annually or whenever the color fades. Additionally, ensuring good air circulation around the deadwood helps prevent moisture buildup.
Read more about “🌿 20 Real Bonsai Trees for Your Ultimate Zen Garden (2026)”
What are the best bonsai species for deadwood styling?
Conifers are the best candidates. Species like Juniperus (Juniper), Pinus (Pine), and Larch naturally retain dead branches and weather beautifully. Deciduous trees like Maples are generally poor candidates for Jin or Shari because the deadwood tends to rot, though Uro (hollows) can be successfully created.
Read more about “🌌 Mastering Negative Space Bonsai Design: The Art of the Void (2026)”
Can deadwood techniques improve the health of a bonsai tree?
Indirectly, yes. Deadwood techniques can remove diseased or dead branches that might harbor pests. However, the act of carving itself is a wound that the tree must heal. It doesn’t “improve” health in a physiological sense but enhances the aesthetic health (the story of survival) of the tree.
Read more about “🌳 Mastering Bonsai Aesthetics Principles: The Ultimate Guide (2026)”
How long does it take to develop deadwood features on a bonsai?
It depends on the technique. Jin and Shari created artificially can look aged within a few months after applying lime sulfur. However, to achieve a truly natural, weathered look with deep grain and texture, it can take years of exposure to the elements.
Read more about “🌿 Wabi-Sabi Bonsai: Embrace Imperfection in 2026”
What tools are needed for deadwood bonsai carving?
Essential tools include Jin pliers for ripping bark, chisels and gouges for carving, a rotary tool (like a Dremel) for detailing, wire brushes for texturing, and a gas torch for burning fibers. Chemical preservatives like lime sulfur are also required.
Read more about “Master the Uro Bonsai Technique: Hollow Deadwood Secrets Revealed 🌳 (2026)”
How do you create jin and shari effects in bonsai trees?
To create a Jin, strip the bark from a branch using pliers and break it to the desired length. To create a Shari, strip the bark from the trunk and carve away the wood to create a vertical scar. Always leave a live vein of bark to keep the upper branches alive.
What are the basic deadwood bonsai techniques for beginners?
Beginers should start with Jin on small branches. It’s less risky than carving the trunk. Focus on using Jin pliers to rip the bark and applying lime sulfur to preserve it. Avoid complex hollows (Uro) or trunk splits (Sabamiki) until you have experience.
Read more about “🌿 7 Essential Tools to Start Your Bonsai Garden (2026)”
How do you preserve and treat deadwood on bonsai trees?
Treatment involves cleaning the wood, removing loose fibers with a brush or torch, and applying lime sulfur solution. This bleaches the wood and prevents fungal decay. Regular inspection and reapplication are necessary to maintain the look.
Read more about “Unlocking the Secrets of the Shari Bonsai Technique: 10 Expert Tips 🌿 (2026)”
What are the steps to safely carve deadwood on a bonsai?
- Select the right time (spring or late summer).
- Plan the design and mark the area.
- Strip the bark carefully.
- Carve the wood, leaving a live vein.
- Refine the texture with tools and torch.
- Apply lime sulfur for preservation.
Can deadwood techniques be applied to all bonsai species?
No. They are best suited for conifers. Most deciduous species will rot if you create Jin or Shari. However, Uro (hollows) can be created on some deciduous trees. Always research the specific species before attempting.
Read more about “7 Essential Outdoor Bonsai Tree Care Tips You Can’t Miss 🌳 (2025)”
How does deadwood enhance the aesthetic of a bonsai tree?
Deadwood creates a visual contrast between life (green leaves/bark) and death (white/grey wood). This contrast simulates age, resilience, and the struggle against nature, adding depth and character to the tree’s story.
Read more about “Mastering the Informal Upright Bonsai Style: Secrets & Tips 🌿”
What tools are needed for deadwood bonsai techniques?
See the “Essential Tools” section above. Key items are Jin pliers, chisels, rotary tools, wire brushes, and lime sulfur.
How do you create jin and shari on a bonsai tree?
See the “Step-by-Step Guide” section. The key is ripping the bark and carving the wood while maintaining a live vein.
Read more about “🌳 Proportion in Bonsai Design: 7 Secrets to Instant Scale (2026)”
What is the deadwood technique in bonsai art?
It is the art of creating, shaping, and preserving dead wood on a living tree to simulate natural aging and adversity. It includes techniques like Jin, Shari, Uro, and Sabamiki.
Read more about “🌊 Raft Bonsai Style: The Ultimate Guide to Creating a Miniature Forest (2026)”
🏆 Conclusion
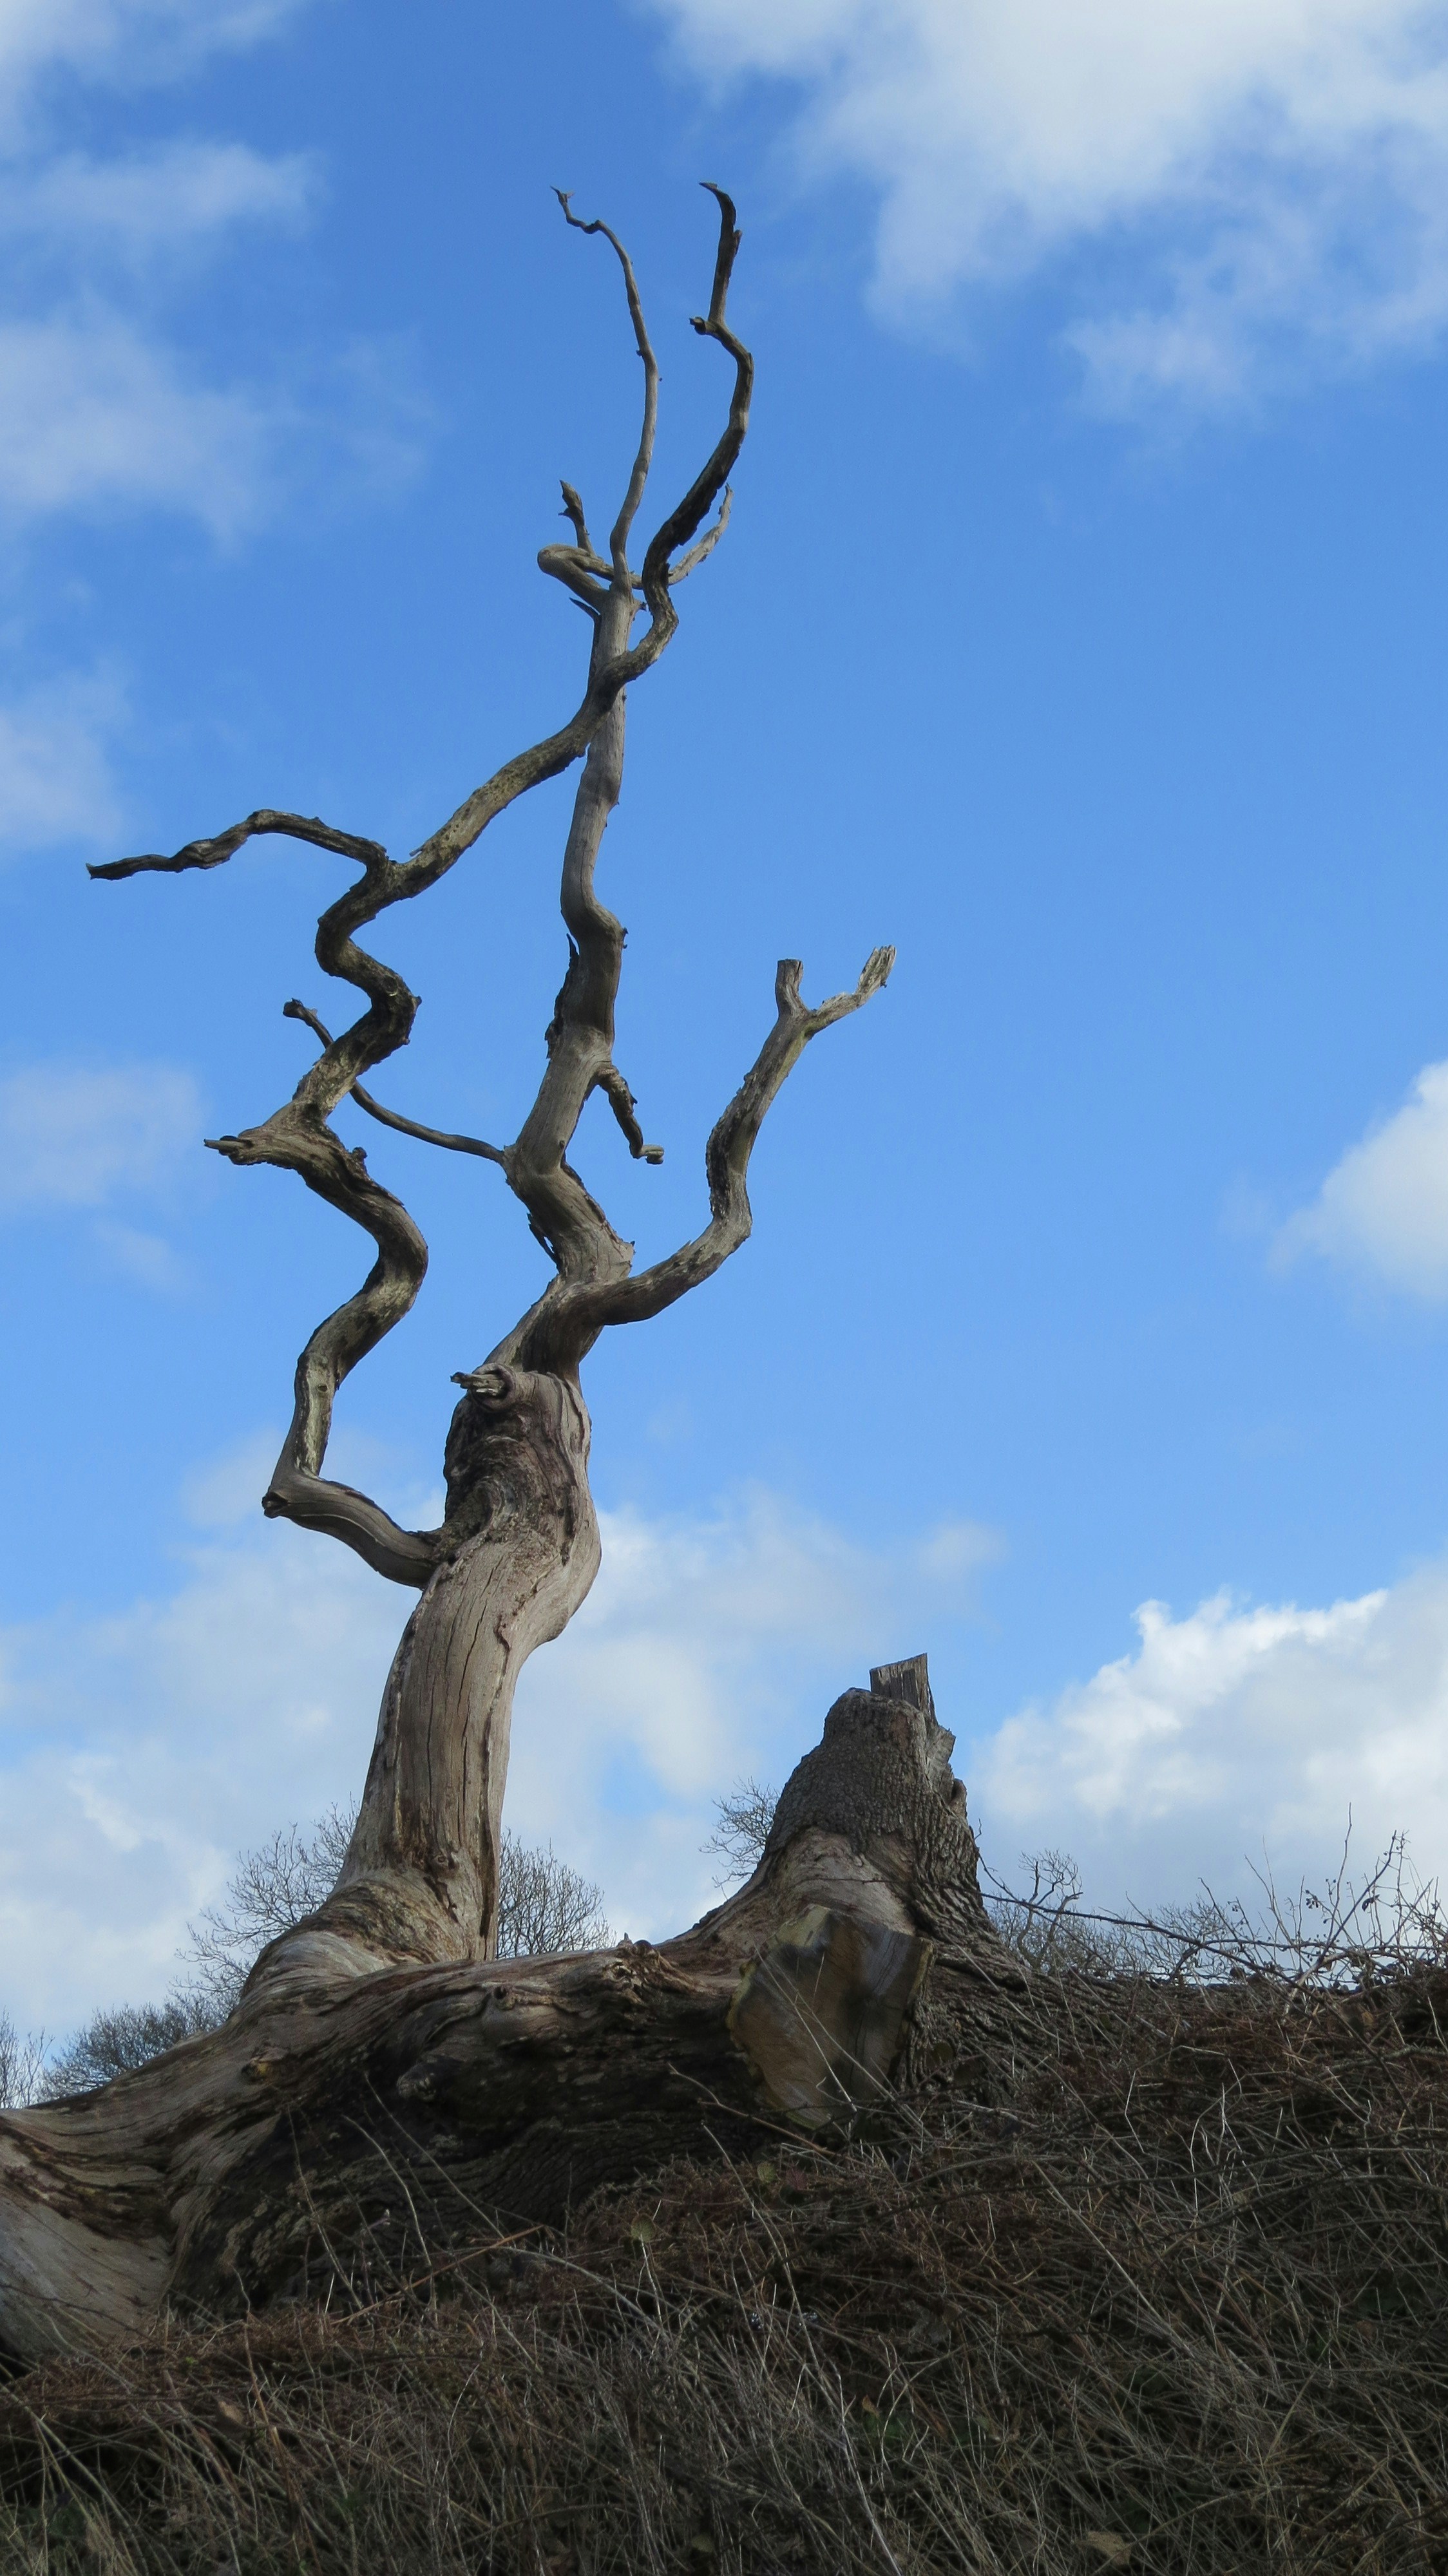
So, there you have it. You’ve journeyed from the philosophy of Wabi-Sabi to the nitty-gritty of wielding a chisel. We started with the question: “Why kill parts of my tree?” and ended with the realization that death is just another form of life in the bonsai world.
Deadwood isn’t about destruction; it’s about storytelling. It’s about turning a simple green plant into a living sculpture that whispers tales of storms survived and time endured. Whether you are carving a simple Jin on a Juniper or attempting a complex Sabamiki, remember that patience is your most important tool.
Our Final Recommendation:
If you are a beginner, start small. Buy a cheap Juniper, practice your Jin technique on a lower branch, and apply lime sulfur. Don’t rush. The best deadwood looks like it happened naturally, not like it was forced. And if you make a mistake? Well, that’s just part of the story.
Ready to transform your bonsai? Grab your tools, pick a tree, and start writing its history.
🔗 Recommended Links
Tools & Supplies:
- Jin Pliers: Amazon | Bonsai Shop USA
- Rotary Tool Kit: Amazon | Home Depot
- Lime Sulfur: Amazon | Bonsai Empire
- Wire Brushes: Amazon
Books & Resources:
- “The Art of Bonsai” by Peter Warren: Amazon
- “Bonsai Techniques I” by John Naka: Amazon
- “The Complete Book of Bonsai” by Harry Tomlinson: Amazon
Internal Resources:
📚 Reference Links
- Bonsai Empire: Deadwood Bonsai Techniques
- Wikipedia: Deadwood bonsai techniques
- Medium (Mariya Kanegi): What Are The Different Techniques For Carving Deadwood On A Bonsai?
- John Naka’s Goshin: United States National Arboretum
- Bonsai Garden™: About Us