Support our educational content for free when you buy through links on our site. Learn more

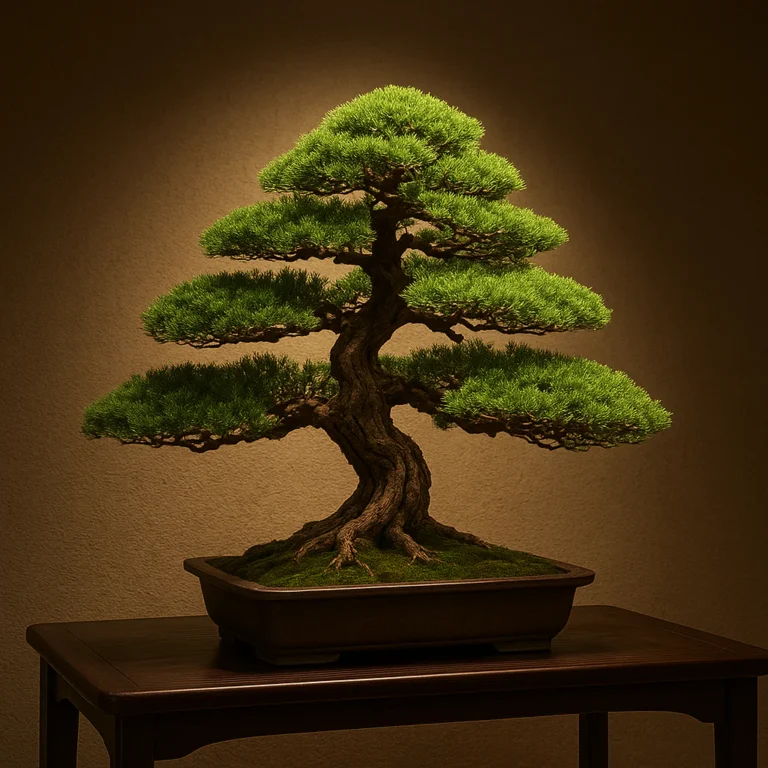
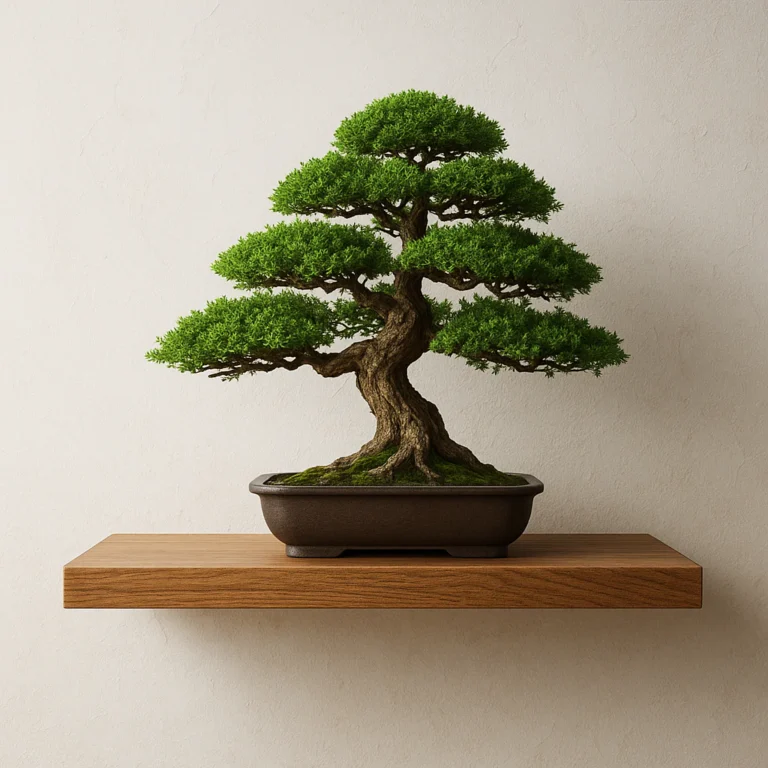
The secret to making a 12-inch tree look like a 1,0-year-old giant lies not in its size, but in the mathematical relationship between its trunk, branches, and foliage. Proportion in bonsai design is the single most critical factor that separates a mere potted plant from a living work of art, and it can be mastered by anyone willing to learn the Golden Ratio and the art of taper.
Imagine holding a tiny tree that somehow evokes the same awe as a redwood in a national park. That magic happens when the trunk thickens at the base while the branches thin out toward the top, creating an illusion of age that tricks the human eye. We once watched a novice struggle for years with a straight-trunked Juniper, only to realize the tree looked “young” because the branches were too thick relative to the trunk.
Once we applied the 7 essential rules of proportion, the transformation was instant. The tree didn’t grow an inch, yet it suddenly looked centuries older. It turns out that nature follows a hidden blueprint, and when we align our designs with it, the results are nothing short of breathtaking.
Key Takeaways
- Taper is non-negotiable: A straight trunk kills the illusion of age; gradual narrowing from base to apex is essential for realistic scale.
- Follow the Golden Ratio: Using the 1:1.618 ratio for branch lengths and pot dimensions creates a natural, harmonious balance that the human brain finds pleasing.
- Negative space matters: Leaving gaps between foliage pads reveals the branch structure and prevents the tree from looking like a dense bush.
- Pot selection defines scale: The pot must be roughly two-thirds the height of the tree to properly frame the composition without overwhelming it.
- Nebari anchors the tree: Visible surface roots are crucial for making the tree appear grounded and stable, completing the illusion of a mature specimen.
Table of Contents
- ⚡️ Quick Tips and Facts
- 📜 A Brief History of Proportion in Bonsai Design
- 📐 The Golden Ratio: Nature’s Secret Blueprint for Perfect Bonsai
- 🌳 Mastering the Three Pillars: Trunk, Branch, and Foliage Proportions
- 📏 7 Essential Rules for Achieving Visual Balance in Your Miniature Trees
- 1. The Tapering Trick: Making Thick Trunks Look Ancient
- 2. Branch Placement: Avoiding the “Ladder” Effect
- 3. Foliage Pads: Creating Clouds, Not Clumps
- 4. Pot Selection: The Frame That Defines the Picture
- 5. Root Spread (Nebari): The Foundation of Stability
- 6. Height-to-Width Ratios for Different Styles
- 7. Negative Space: The Art of Leaving Things Out
- 🎨 Style-Specific Proportions: From Formal Upright to Wandering Stream
- 🛠️ Tools and Techniques for Correcting Proportional Errors
- 🌱 Common Mistakes That Ruin Bonsai Scale and Harmony
- 🧐 Troubleshooting: Why Does My Tree Look “Off”?
- 🏆 Top 5 Species Best Suited for Learning Proportional Design
- 📚 Recommended Links
- ❓ FAQ: Your Burning Questions About Bonsai Proportion Answered
- 🔗 Reference Links
⚡️ Quick Tips and Facts
Before we dive into the deep end of the bonsai pool, let’s splash around with some golden nugets of wisdom that every bonsai artist needs to know. At Bonsai Garden™, we’ve seen thousands of trees, and these are the non-negotiables that separate a “cute potted plant” from a masterpiece of miniature nature.
- The Illusion of Age: Proportion isn’t just about math; it’s about storytelling. A tree with a thick trunk and tiny leaves tells a story of centuries, while a thin trunk with huge leaves screams “I’m a seedling.”
- The 2/3 Rule: As a general rule of thumb, the pot’s length should be roughly two-thirds the height of the tree, and the pot’s width should be two-thirds the spread of the canopy. This creates a visual anchor.
- Taper is King: If your trunk looks like a straight pole, you’ve got a problem. Taper (the gradual narrowing from base to apex) is the single most important factor in creating the illusion of age.
- Nebari Matters: Those surface roots? They are the foundation. A tree without visible nebari often looks like it’s floating, breaking the illusion of scale.
- Asymetry is Your Friend: Nature hates symmetry. If your branches are perfectly opposite each other, your tree will look like a Christmas tree, not a bonsai. Embrace the asymetrical balance.
Pro Tip: Ever wonder why some trees look “off” even when they’re healthy? It’s often a proportional mismatch between the foliage pads and the trunk thickness. We’ll fix that later!
For more on the basics of keeping your tree alive while you work on its looks, check out our guide on Bonsai Care Basics. And if you’re just starting your journey, don’t miss our Bonsai for Beginners section.
📜 A Brief History of Proportion in Bonsai Design
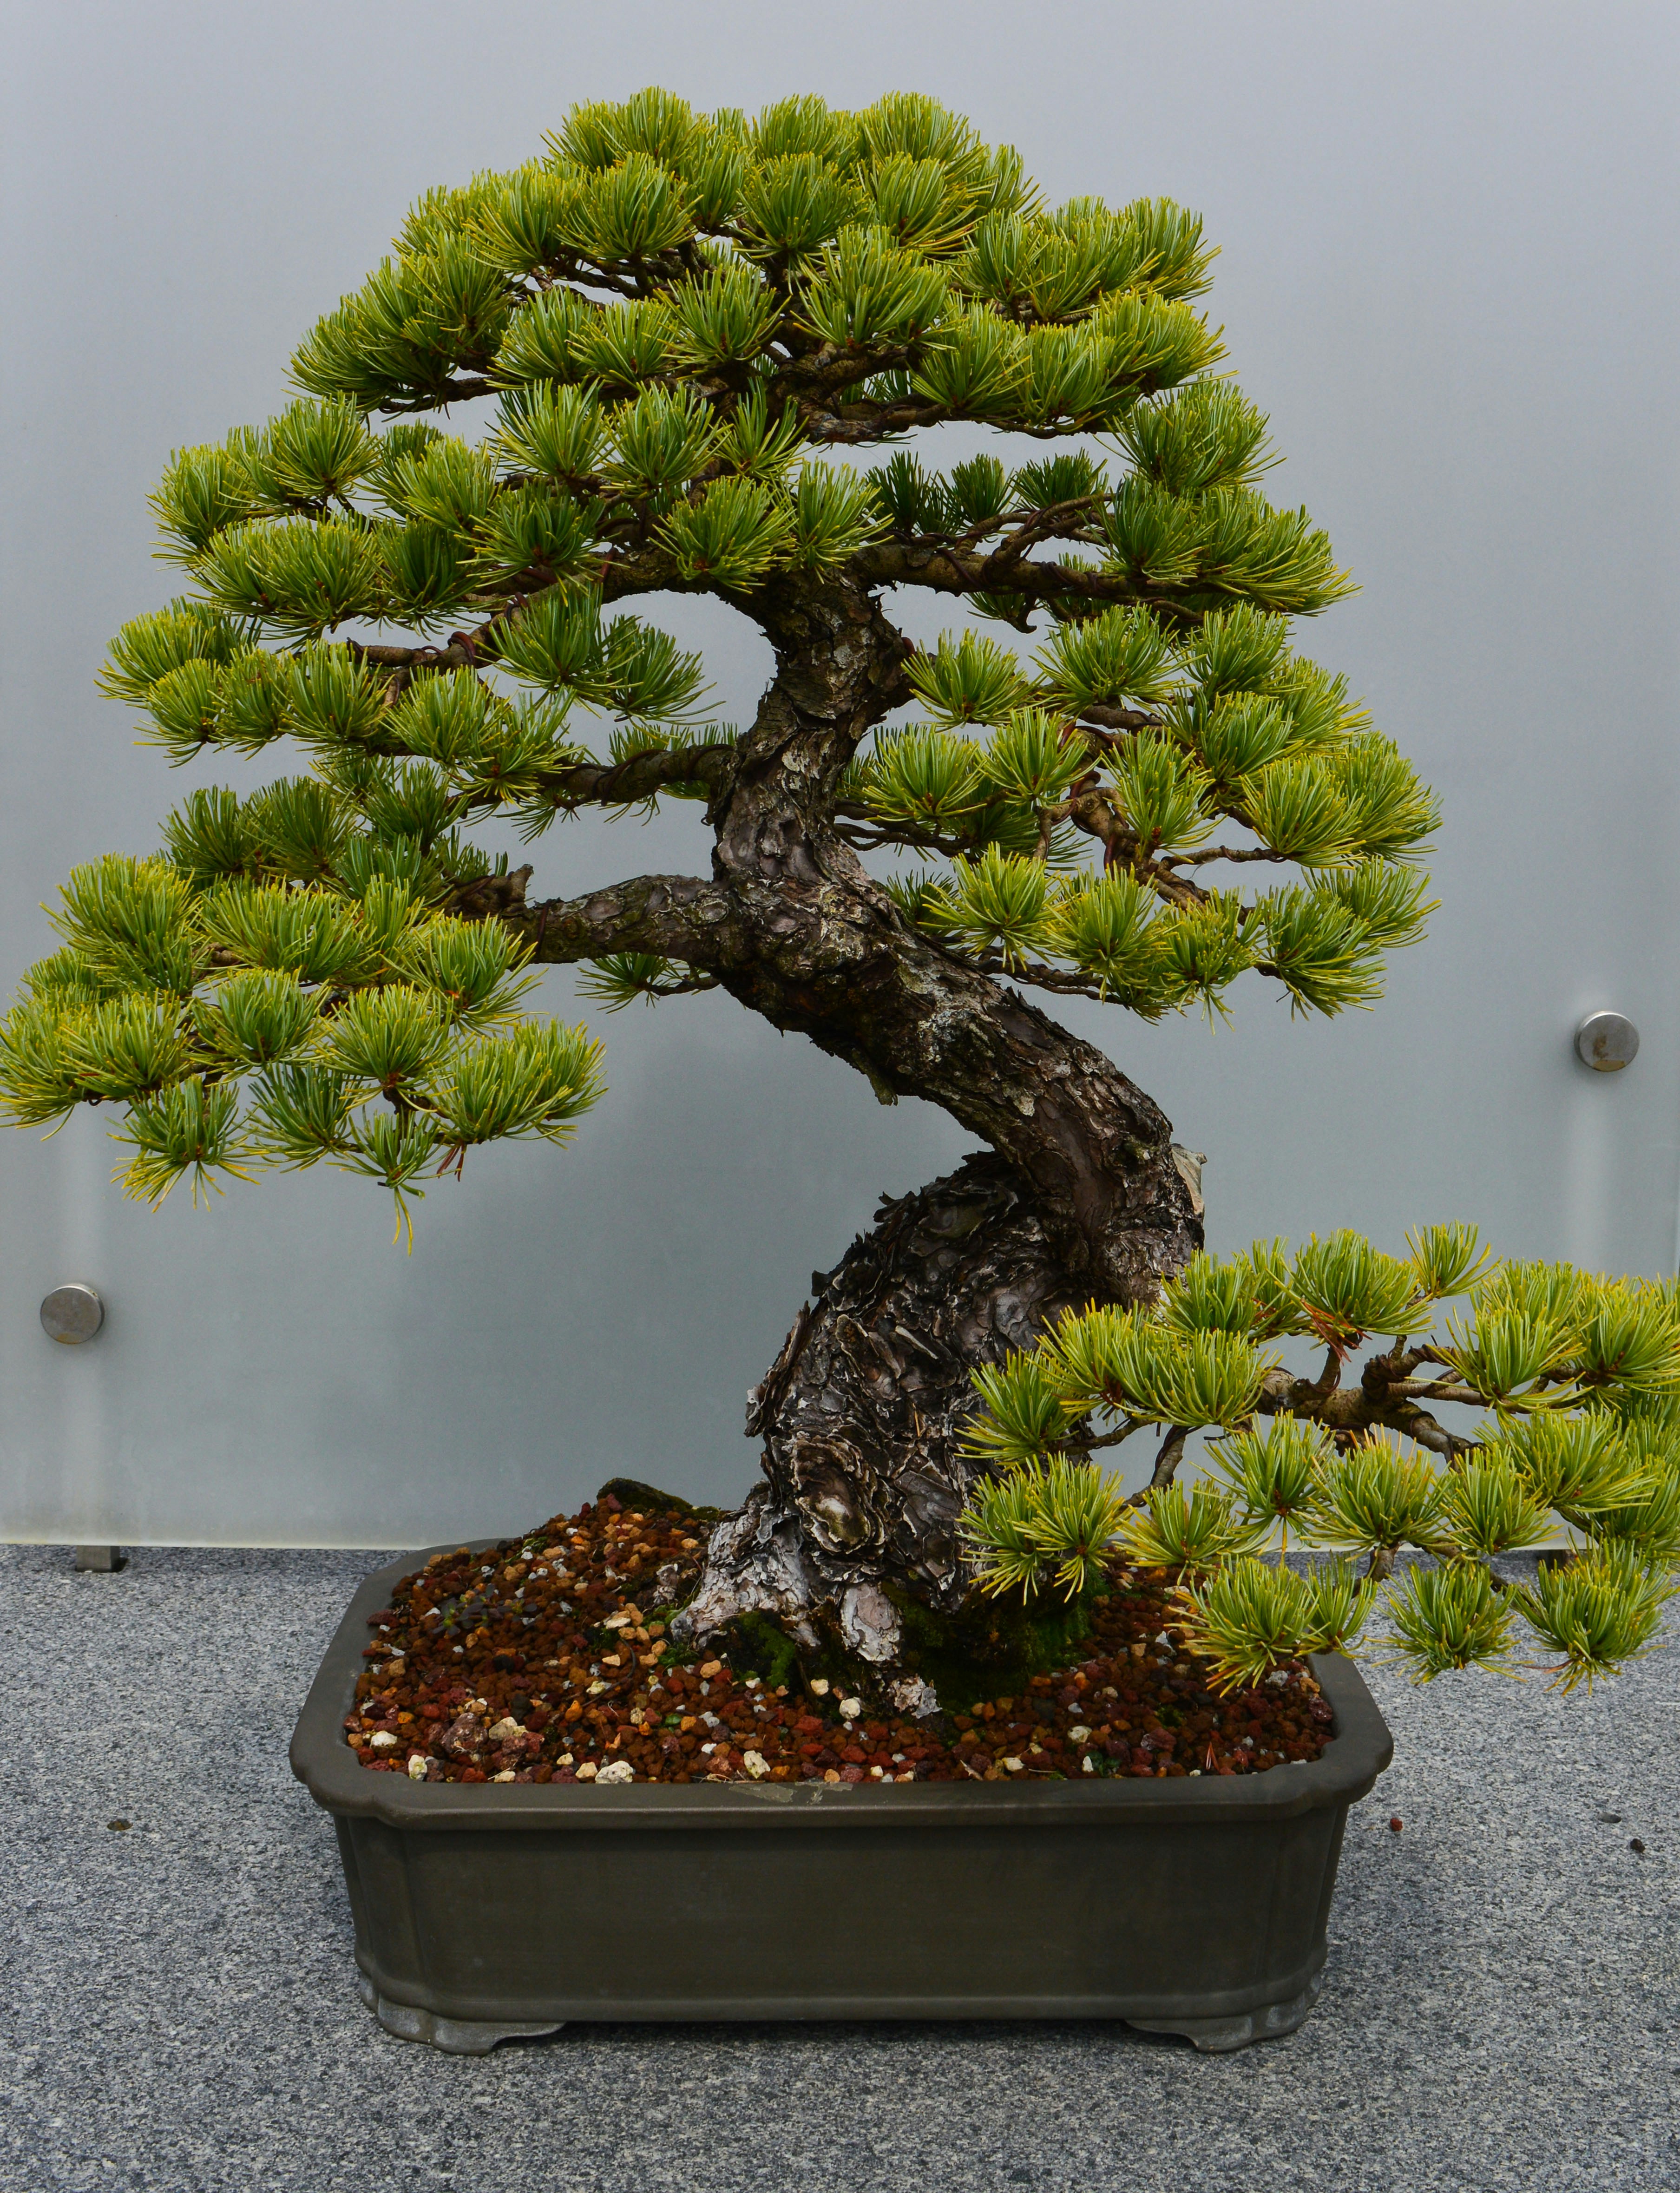
You might think the obsession with tiny trees is a modern fad, but the quest for perfect proportion dates back over a thousand years to ancient China, where it was known as penjing. The early masters weren’t just growing plants; they were trying to capture the essence of the universe in a pot.
The concept of proportion in bonsai evolved from the Chinese philosophy of Shanshui (mountain-water) painting, where the scale of elements had to mimic the grandeur of nature. A mountain in a painting wasn’t just a rock; it was a mountain relative to the trees and rivers around it. When this art form traveled to Japan and became bonsai, the focus shifted slightly. While penjing often featured landscapes with multiple trees and rocks, Japanese bonsai focused on the single tree, demanding an even stricter adherence to internal proportion.
The Golden Ratio (1:1.618) wasn’t explicitly named in ancient texts, but the principles were there. Masters like Kakubei and later the Omiya School in the 20th century formalized these rules. They realized that to make a 12-inch tree look like a 120-foot giant, every element had to be scaled down, but not equally. The trunk had to be relatively thicker, and the leaves relatively smaller.
Did you know? The term “bonsai” itself just means “planted in a tray.” It doesn’t imply a specific style, but the proportion is what defines the art form. Without it, it’s just a small tree in a pot.
For a deeper dive into how these historical principles influence modern aesthetics, visit our Bonsai Display and Aesthetics category.
📐 The Golden Ratio: Nature’s Secret Blueprint for Perfect Bonsai
Have you ever looked at a tree and felt an inexplicable sense of harmony? That’s likely the Golden Ratio (often denoted by the Greek letter Phi, φ) at work. It’s a mathematical proportion found in everything from the spiral of a nautilus shell to the arrangement of leaves on a stem.
In bonsai, we don’t need a calculator to apply this, but understanding the concept helps us make better decisions. The ratio suggests that the larger part of a whole should be to the whole as the smaller part is to the larger part.
How to Apply the Golden Ratio in Your Design
- Trunk Height vs. Pot Height: If your tree is 30cm tall, the pot height should ideally be around 18cm (30 / 1.618 ≈ 18.5). This creates a pleasing vertical balance.
- Branch Lengths: When placing branches, the distance from the trunk to the first branch, the first to the second, and the second to the apex should follow a decreasing ratio.
- Foliage Pad Sizes: The largest pad at the base should be roughly 1.6 times the size of the next pad up.
Why does this matter?
Our brains are wired to recognize these patterns as “natural.” When a bonsai deviates too far from these ratios, it triggers a subtle sense of unease. It looks “wrong,” even if you can’t pinpoint why.
Wait, is it a rule or a guideline?
Here’s the secret: Nature is messy. Sometimes a tree grows in a chaotic, non-Golden-Ratio way because of a storm or a rock. A great bonsai artist knows when to follow the math and when to embrace the chaos of nature. As the famous bonsai master John Naka once said, “Bonsai is the art of making a tree look like it has been growing for a hundred years.” Sometimes, a hundred-year-old tree doesn’t look perfect.
For more inspiration on how to apply these concepts creatively, browse our Bonsai Inspiration and Ideas gallery.
🌳 Mastering the Three Pillars: Trunk, Branch, and Foliage Proportions
If bonsai design were a house, the trunk would be the foundation, the branches the framing, and the foliage the roof. If any one of these is out of proportion, the whole structure collapses. Let’s break down how to get each one right.
1. The Trunk: The Backbone of Scale
The trunk is the first thing the eye sees. It dictates the age and character of the tree.
- Thickness: A thick trunk suggests age. A thin trunk suggests youth.
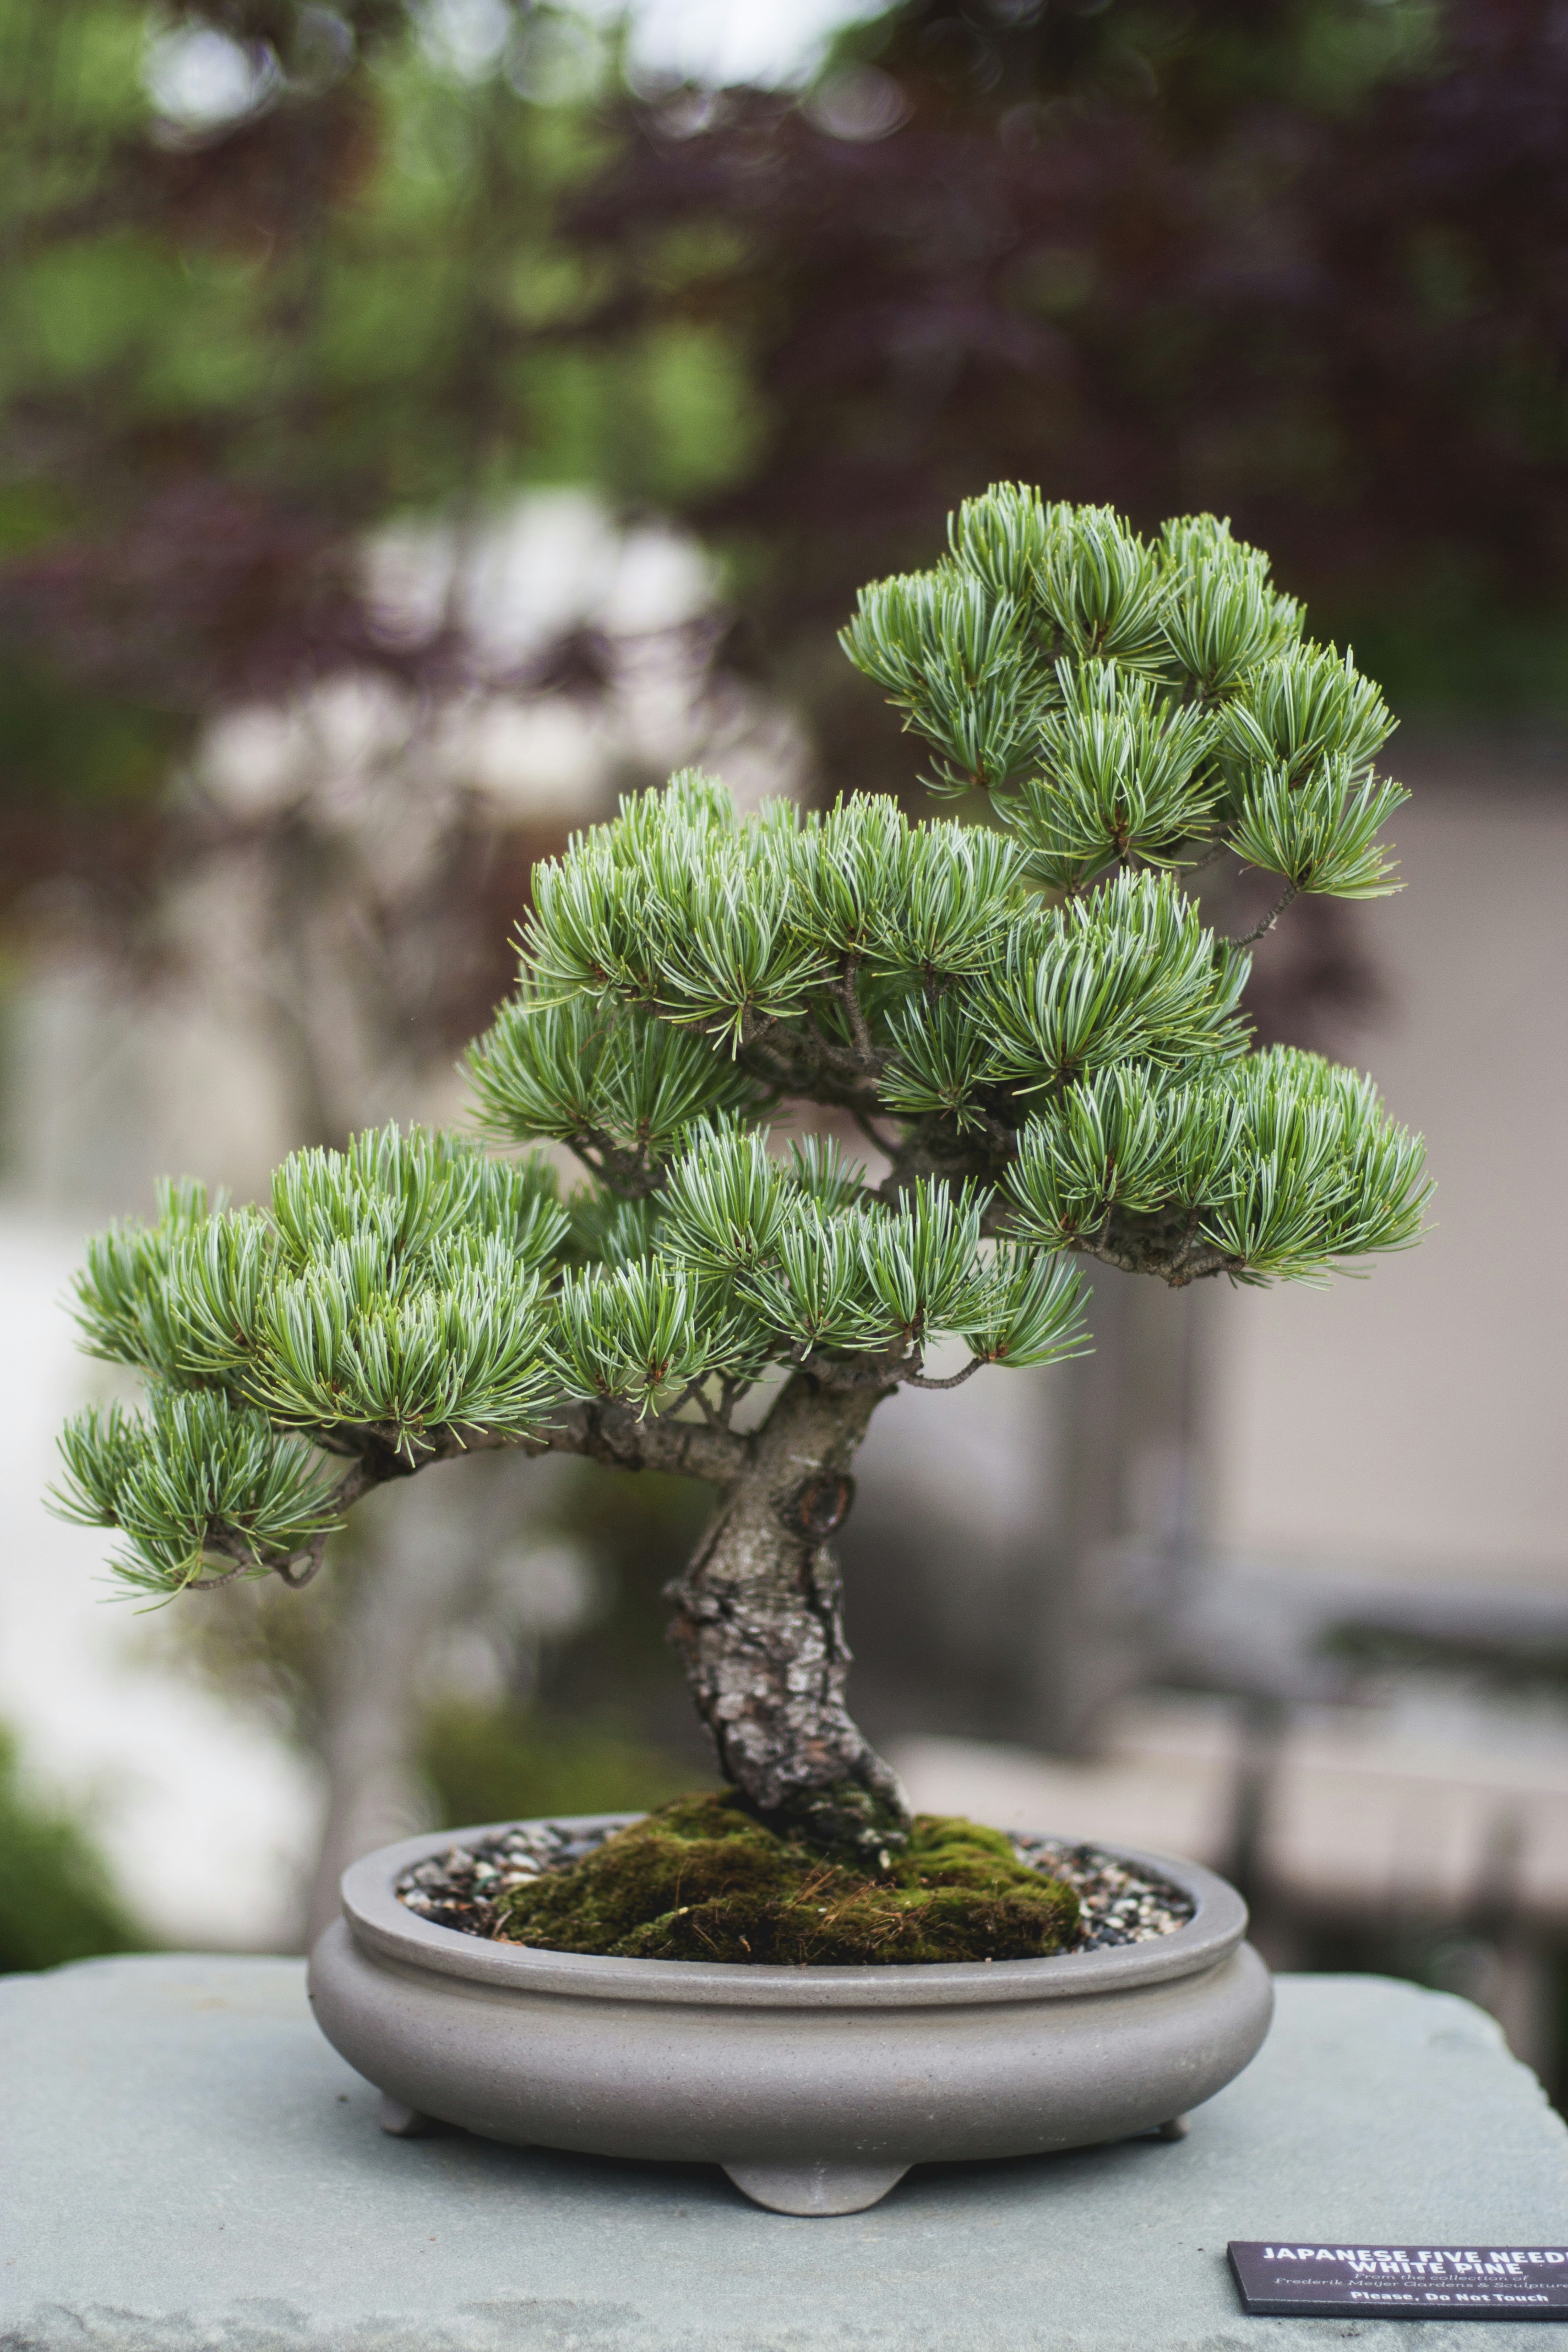
- Taper: This is the gradual decrease in diameter from the base to the apex. A straight trunk looks like a stick. A tapered trunk looks like a tree.
- Movement: The trunk shouldn’t be perfectly straight (unless it’s a specific style like Chokan). It should have a gentle curve or “S” shape to mimic wind and gravity.
2. The Branches: The Skeleton
Branches must follow the law of diminishing thickness.
- First Branch: The lowest main branch should be the thickest.
- Subsequent Branches: Each branch moving up the trunk should be thinner than the one below it.
- Placement: Branches should never be directly opposite each other (unless it’s a specific style like Yose-ue or Shohin where it’s less critical, but generally avoided). They should be staggered.
3. The Foliage: The Final Touch
Foliage pads are the “clouds” of your tree.
- Size: Pads at the base should be larger. Pads at the top should be smaller.
- Density: A tree with sparse foliage looks weak. A tree with too much foliage looks like a bush. You want a balance that reveals the branch structure underneath.
The “Why” Behind the “What”:
Why do we taper the branches? Because in nature, the lower branches support the weight of the upper ones and the foliage. Over time, the lower branches thicken to bear the load. If your top branches are as thick as your bottom ones, your tree looks like it’s about to snap under its own weight.
📏 7 Essential Rules for Achieving Visual Balance in Your Miniature Trees
Ready to put theory into practice? Here are the 7 Golden Rules we use at Bonsai Garden™ to ensure every tree we style looks like it belongs in a forest, not a windowsill.
1. The Tapering Trick: Making Thick Trunks Look Ancient
Taper is the secret sauce of bonsai. Without it, you have a stick.
- How to achieve it: If you have a straight trunk, you can’t just cut it. You need to encourage growth at the base and restrict it at the top. This is done through wiring, pruning, and sometimes gouging (for advanced artists).
- The Visual Test: Squint your eyes. Does the trunk look like a cone? If it looks like a cylinder, keep working on it.
2. Branch Placement: Avoiding the “Ladder” Effect
Nothing kills a bonsai’s vibe faster than the “ladder” effect—branches sticking out at the same height on opposite sides.
- The Fix: Imagine the trunk as a clock face. If you have a branch at 3 o’clock, the next one should be at 7 or 1, not 9.
- Depth: Branches should also alternate front and back to create a 3D effect. A flat tree is a boring tree.
3. Foliage Pads: Creating Clouds, Not Clumps
Foliage should be shaped into distinct pads or clouds.
- Spacing: Leave negative space between the pads. This allows the eye to travel through the tree and appreciate the branch structure.
- Shape: Pads should be roughly oval or triangular, not round blobs.
4. Pot Selection: The Frame That Defines the Picture
The pot is the frame of your painting. If the frame is too big, the picture looks small. If it’s too small, the picture looks cramped.
- Rectangular Pots: Best for upright and slanting styles.
- Round/Oval Pots: Best for informal upright and cascade styles.
- Color: The pot color should complement the foliage, not compete with it. A bright red pot on a green pine? Maybe not.
5. Root Spread (Nebari): The Foundation of Stability
Nebari (surface roots) anchor the tree visually.
- Radial Spread: Roots should spread out in all directions, like the spokes of a wheel.
- Visibility: At least some roots should be visible above the soil line. A tree with no visible roots looks like it’s floating.
6. Height-to-Width Ratios for Different Styles
Different styles have different proportional requirements.
- Formal Upright (Chokan): Height is usually 2-3 times the trunk diameter at the base.
- Informal Upright (Moyogi): Height is similar, but the trunk curves.
- Cascade (Kengai): The tree grows downward, often extending below the pot. The height is measured from the apex to the bottom of the pot.
7. Negative Space: The Art of Leaving Things Out
Negative space is the empty space between branches and foliage.
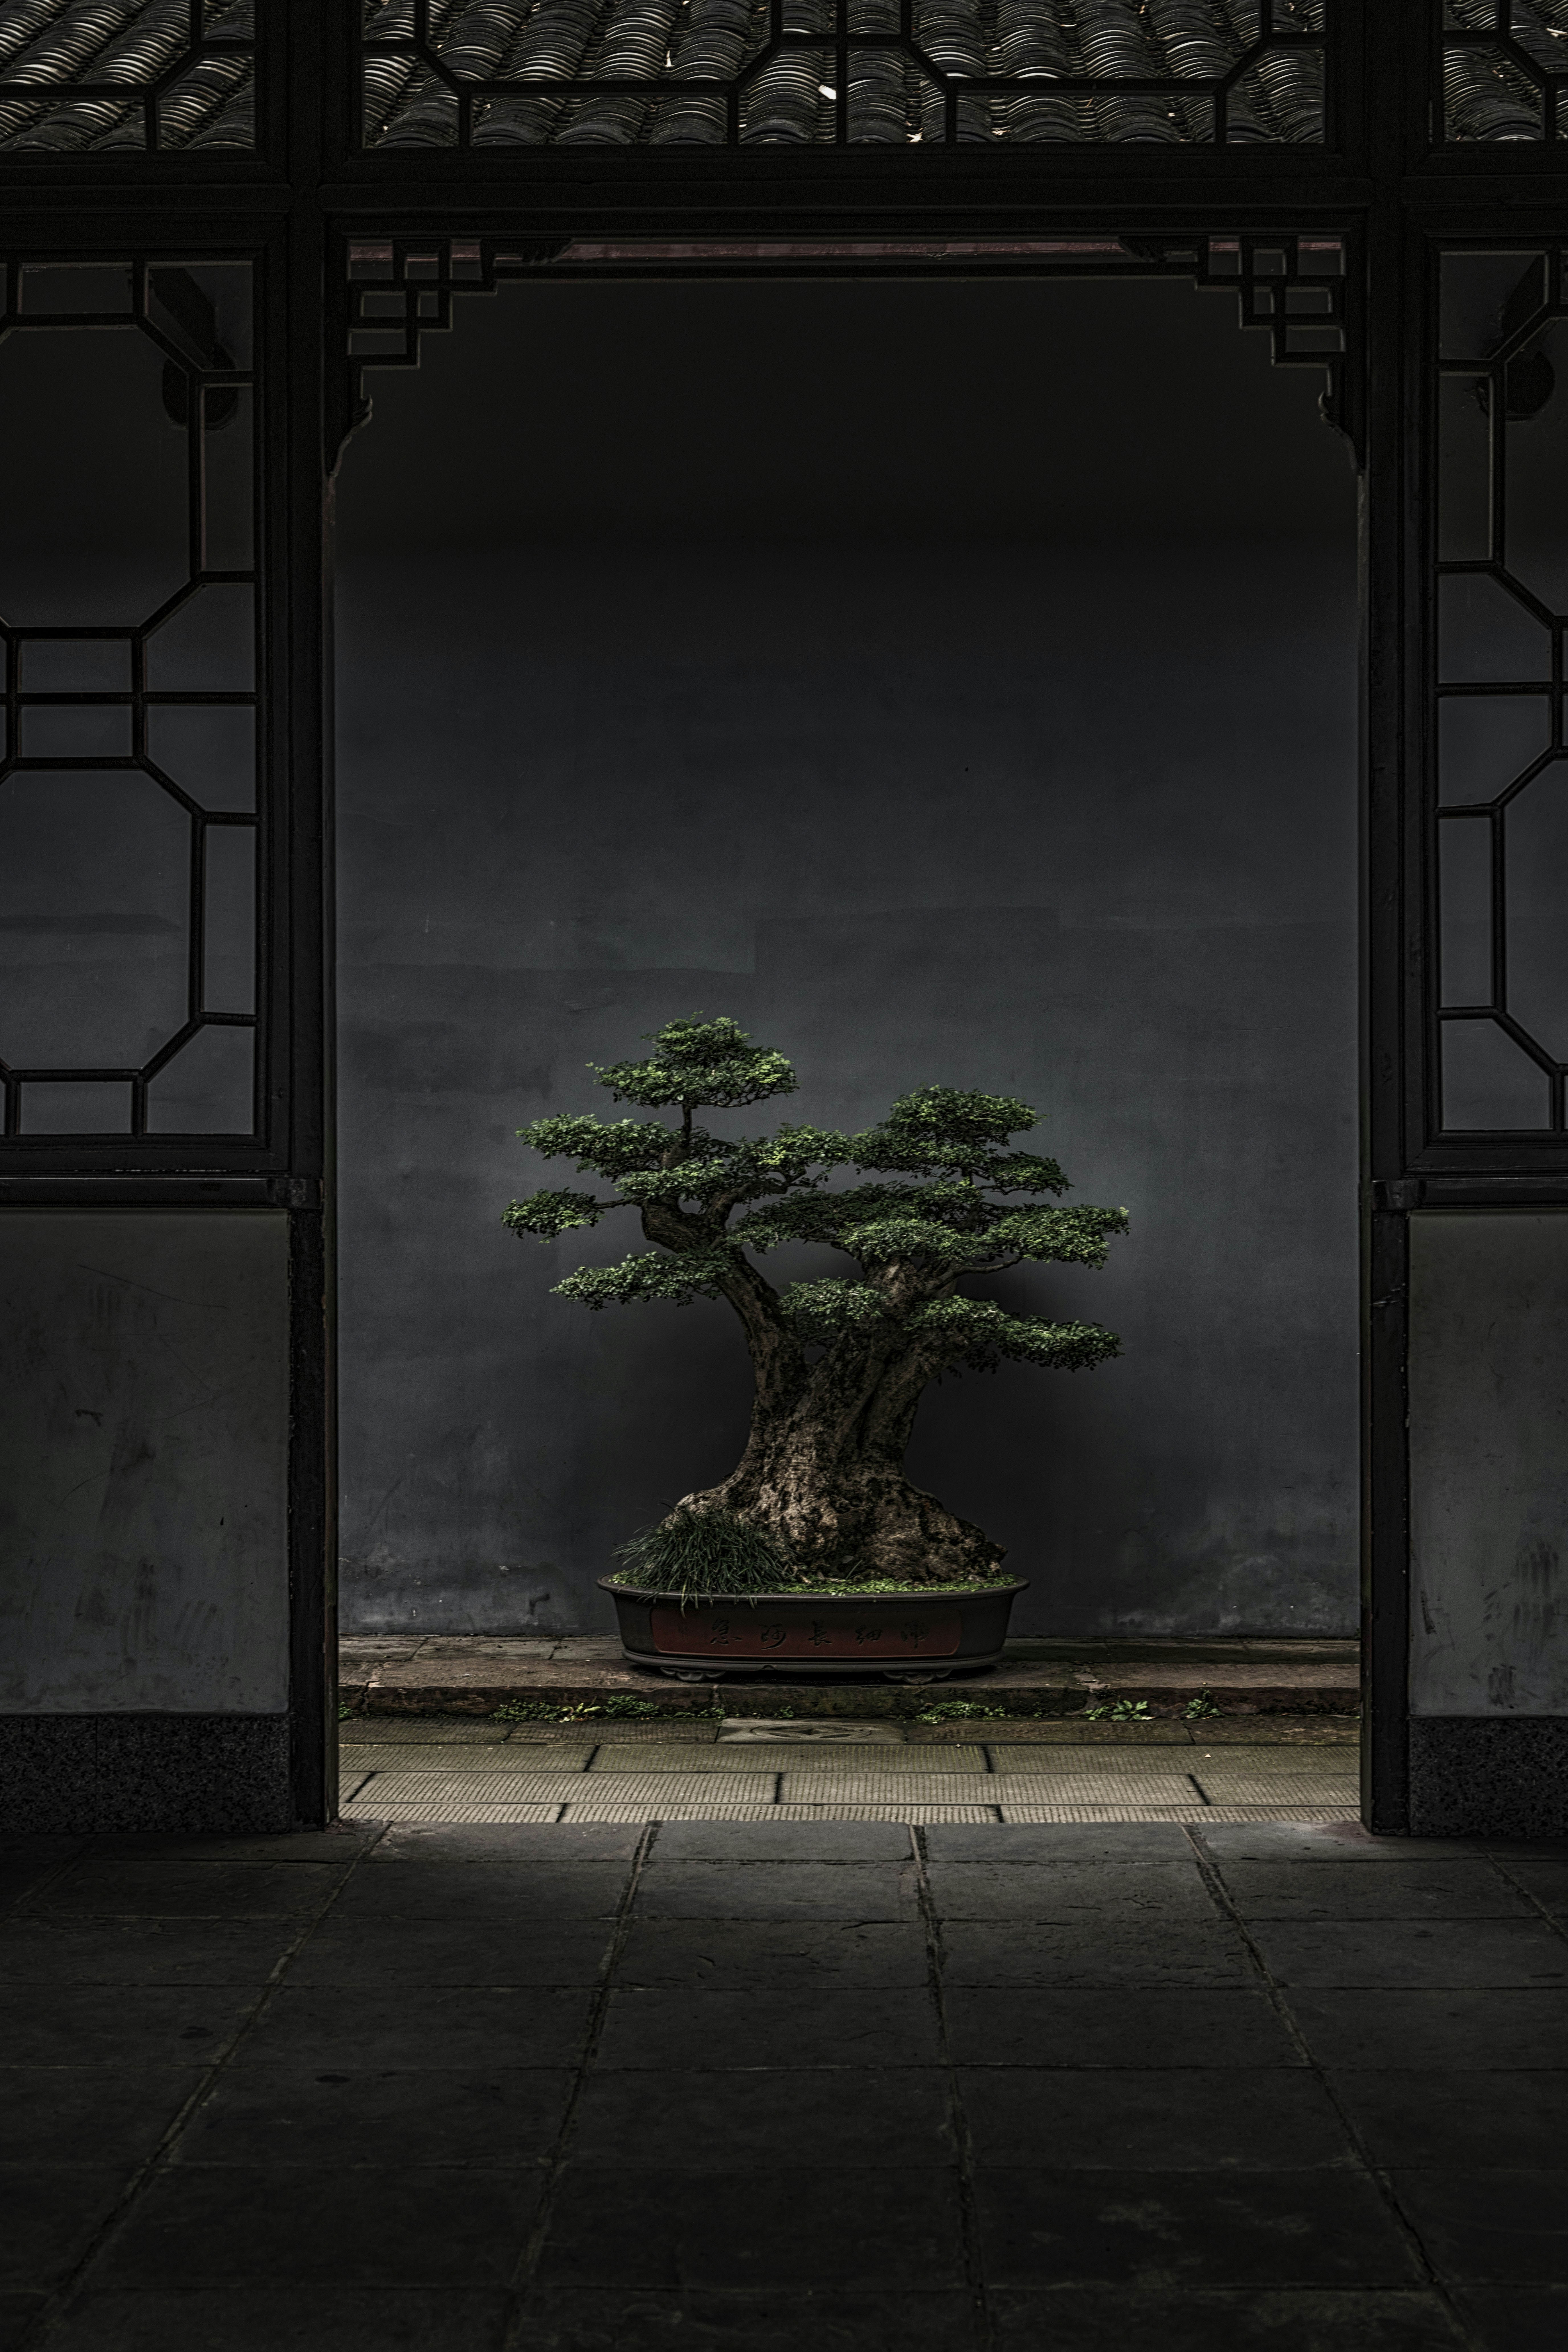
- Why it matters: It creates rhythm and allows the viewer’s eye to rest. Too much foliage = clutter. Too little = bare.
- The Balance: Aim for a 60/40 split between foliage and negative space.
🎨 Style-Specific Proportions: From Formal Upright to Wandering Stream
Not all trees are created equal, and neither are their proportions. Let’s look at how proportion changes depending on the style you’re aiming for.
Formal Upright (Chokan)
- Trunk: Straight, tapering evenly.
- Branches: Symetrical but staggered.
- Proportion: The tree is tall and slender. The foliage pads are small and tight.
- Goal: To mimic a tree growing in a dense forest, reaching for the light.
Informal Upright (Moyogi)
- Trunk: Curved, with a gentle “S” shape.
- Branches: Asymetrical, following the curve of the trunk.
- Proportion: The tree is slightly shorter and wider than the formal upright. The foliage pads are larger and more irregular.
- Goal: To mimic a tree growing in the open, exposed to wind and weather.
Cascade (Kengai)
- Trunk: Grows downward, often below the pot.
- Branches: Follow the downward curve, with some pointing upward to balance the composition.
- Proportion: The height is measured from the apex to the bottom of the pot. The pot is usually tall and narrow to support the downward growth.
- Goal: To mimic a tree growing on a cliff face.
Semi-Cascade (Han-Kengai)
- Trunk: Grows downward but stays above the rim of the pot.
- Proportion: Similar to the cascade, but less extreme. The pot is usually wider and shallower.
Broom Style (Hokidachi)
- Trunk: Straight and vertical, splitting into many fine branches at the top.
- Proportion: The canopy is a perfect dome. The trunk is relatively thin compared to the canopy.
- Goal: To mimic a deciduous tree like an elm or maple.
A Note on “Imperfection”:
While these rules are helpful, remember that nature is imperfect. A tree in the wild might have a broken branch or a weird twist. Don’t be afraid to break the rules if it makes your tree look more authentic.
🛠️ Tools and Techniques for Correcting Proportional Errors
So, you’ve looked at your tree and realized, “Whops, that branch is way too thick.” Or maybe the trunk is too straight. Don’t panic! Here are the tools and techniques we use to fix proportional errors.
1. Wiring
Wiring is the most common way to change branch placement and angle.
- Aluminum Wire: Good for quick shaping.
- Copper Wire: Better for long-term shaping and thicker branches.
- Technique: Wrap the wire at a 45-degree angle. Don’t wrap too tight, or you’ll damage the bark.
2. Pruning
Pruning is essential for controlling size and encouraging ramification (fine branching).
- Structural Pruning: Removing large branches to change the overall shape.
- Maintenance Pruning: Trimming back new growth to maintain the shape.
- Leaf Pruning: Removing leaves to reduce the size of the foliage pads.
3. Grafting
If a branch is too thin or missing, you can graft a new branch onto the tree.
- Approach Grafting: Used to add a branch to a specific spot.
- Cleft Grafting: Used to replace a damaged branch.
4. Trunk Chopping
If the trunk is too straight, you can chop it to encourage a new, more interesting trunk line.
- Technique: Cut the trunk at angle, just above a bud or branch. The new growth will often have a better taper.
5. Root Pruning
Root pruning can help control the size of the tree and encourage nebari.
- Technique: Remove some of the outer roots and replace the soil with a finer mix.
Warning: These techniques can be stressful for the tree. Always do them during the right season (usually spring or early summer) and give the tree time to recover.
🌱 Common Mistakes That Ruin Bonsai Scale and Harmony
Even the best of us make mistakes. Here are the most common proportional blunders we see at Bonsai Garden™ and how to avoid them.
1. The “Top-Heavy” Tree
- The Problem: The foliage is too big and heavy for the trunk.
- The Fix: Prune the foliage back and encourage the trunk to thicken. You may need to wait a few years for the trunk to catch up.
2. The “Ladder” Branches
- The Problem: Branches are directly opposite each other.
- The Fix: Remove one of the branches or wire them to different angles.
3. The “Floating” Tree
- The Problem: No visible nebari.
- The Fix: Gently scrape away the soil around the base to reveal the roots. If there are no roots, you may need to graft some or wait for them to develop.
4. The “Stick” Trunk
- The Problem: No taper.
- The Fix: This is a long-term fix. You need to encourage growth at the base and restrict it at the top. This can take years.
5. The “Cluttered” Canopy
- The Problem: Too much foliage, no negative space.
- The Fix: Thin out the foliage. Leave some gaps to reveal the branch structure.
🧐 Troubleshooting: Why Does My Tree Look “Off”?
You’ve followed all the rules, but your tree still looks… wrong. What’s going on?
1. Is it the Pot?
Sometimes the tree is fine, but the pot is the problem.
- Check: Is the pot too big? Too small? Too deep? Too shallow?
- Fix: Try repoting the tree into a different pot.
2. Is it the Viewing Angle?
Bonsai is a 3D art form. What looks good from the front might look weird from the side.
- Check: Rotate the tree and look at it from all angles.
- Fix: Adjust the branch placement to create a better 3D structure.
3. Is it the Species?
Some species just don’t lend themselves to certain styles.
- Check: Are you trying to make a pine look like a maple?
- Fix: Choose a style that suits the natural growth habit of the species.
4. Is it the Age?
A young tree will never look like an old tree.
- Check: How old is your tree?
- Fix: Be patient. Some things take time.
The “Aha!” Moment:
Often, the problem isn’t the tree, but your perspective. Step back, take a deep breath, and look at the tree as a whole. Sometimes, the solution is as simple as moving a branch a few inches.
🏆 Top 5 Species Best Suited for Learning Proportional Design
If you’re new to bonsai and want to practice proportion, start with these species. They are forgiving, grow well, and are great for learning the basics.
1. Chinese Elm (Ulmus parvifolia)
- Why: Small leaves, fast growth, and easy to wire.
- Best For: Informal upright and brom styles.
- Proportion Tip: Focus on creating a good taper and small foliage pads.
2. Juniper (Juniperus procumbens)
- Why: Classic bonsai tree, great for creating nebari and fine ramification.
- Best For: Cascade and semi-cascade styles.
- Proportion Tip: Pay attention to the balance between the trunk and the foliage clouds.
3. Japanese Maple (Acer palmatum)
- Why: Beautiful leaves, great for learning about negative space.
- Best For: Broom and informal upright styles.
- Proportion Tip: The leaves are naturally large, so you need to prune heavily to create small pads.
4. Ficus (Ficus retusa)
- Why: Indestructible, great for indoor bonsai.
- Best For: Broom and informal upright styles.
- Proportion Tip: Focus on the trunk thickness and root spread.
5. Pine (Pinus)
- Why: The ultimate test of proportion and ramification.
- Best For: Formal upright and informal upright styles.
- Proportion Tip: Pines have long needles, so you need to use techniques like needle plucking to reduce the size of the foliage.
Ready to start?
Check out our Bonsai for Beginners section for more tips on getting started with these species.
🛒 Shop for Tools and Materials
To achieve the perfect proportion, you need the right tools. Here are some of our favorites:
- Pruning Shears: Conair Professional Bonsai Shears | Amazon | Brand Official
- Wiring: Aluminum Bonsai Wire | Amazon | Brand Official
- Pot: Ceramic Bonsai Pot | Amazon | Brand Official
- Soil: Akadama Soil | Amazon | Brand Official
👉 CHECK PRICE on:
- Conair Professional Bonsai Shears: Amazon | Walmart | Brand Official
- Aluminum Bonsai Wire: Amazon | Etsy | Brand Official
- Ceramic Bonsai Pot: Amazon | Etsy | Brand Official
- Akadama Soil: Amazon | Walmart | Brand Official
Conclusion
So, there you have it! We’ve journeyed from the ancient roots of proportion in bonsai to the modern techniques we use today. We’ve explored the Golden Ratio, the three pillars of design, and the 7 essential rules that will transform your trees from “cute” to “masterpiece.”
Remember, proportion is not just about math; it’s about storytelling. It’s about creating a miniature world that tells the story of a giant tree, weathered by time and shaped by nature. It’s about finding the balance between order and chaos, between perfection and imperfection.
The Final Question:
Now that you know the rules, are you ready to break them? Because sometimes, the most beautiful trees are the ones that defy the odds.
At Bonsai Garden™, we believe that every tree has a story to tell. Your job is to listen to that story and help it unfold. Whether you’re a beginner or a seasoned pro, the journey of bonsai design is one of endless discovery.
So, grab your shears, pick up your wire, and start creating. The world is waiting for your masterpiece.
Recommended Links
-
Books:
-
Tools:
-
Resources:
❓ FAQ: Your Burning Questions About Bonsai Proportion Answered
How do you maintain proper scale when repoting a bonsai?
When repoting, it’s crucial to maintain the root-to-foliage ratio. If you prune the roots too aggressively, you must also prune the foliage to maintain balance. Otherwise, the tree will struggle to support its canopy. Always repot in the spring when the tree is actively growing, and use a soil mix that matches the tree’s needs.
Read more about “🌿 The Real Secret to Growing Bonsai Trees (2026)”
What are common mistakes beginners make with bonsai proportions?
Beginers often make the mistake of over-foliating their trees, creating a “bush” instead of a tree. They also tend to ignore taper, leaving the trunk straight and uninteresting. Another common error is placing branches directly opposite each other, creating a “ladder” effect. Finally, many beginners choose pots that are too large, which makes the tree look small and insignificant.
Why is branch placement important for visual proportion in bonsai?
Branch placement is critical because it defines the structure and balance of the tree. Proper placement creates a sense of depth and movement, guiding the viewer’s eye through the design. Incorrect placement can make the tree look flat, unbalanced, or unnatural.
Read more about “🌿 Mastering Balance & Harmony in Bonsai Design (2026)”
How do you determine the correct height-to-width ratio for a bonsai tree?
The height-to-width ratio depends on the style of the tree. For a formal upright, the height is usually 2-3 times the trunk diameter. For a cascade, the height is measured from the apex to the bottom of the pot. A good rule of thumb is to aim for a ratio that looks natural for the species and style you’re creating.
What is the ideal trunk-to-foliage proportion in bonsai?
The ideal trunk-to-foliage proportion varies by species and style, but a good general rule is that the trunk should be thick enough to support the canopy without looking top-heavy. The foliage should be dense enough to create a sense of vitality but not so dense that it hides the branch structure.
How do you calculate the correct height-to-width ratio for bonsai?
While there’s no strict formula, a common guideline is that the pot’s length should be about two-thirds the height of the tree, and the pot’s width should be about two-thirds the spread of the canopy. This creates a visual balance that is pleasing to the eye.
How does pot size affect the perceived proportion of a bonsai?
The pot acts as a frame for the tree. A pot that is too large makes the tree look small and insignificant. A pot that is too small makes the tree look cramped and unstable. The right pot size enhances the proportion and character of the tree.
Read more about “🌳 Mastering Bonsai Aesthetics Principles: The Ultimate Guide (2026)”
What are common proportion mistakes in beginner bonsai?
Common mistakes include over-foliating, ignoring taper, placing branches directly opposite each other, and choosing the wrong pot size. These mistakes can make the tree look unnatural and unbalanced.
Read more about “🌳 How Many Years to Grow a Bonsai? Real Timelines Revealed (2026)”
Why is branch placement important for bonsai balance?
Branch placement is crucial for balance because it determines how the weight of the foliage is distributed. Proper placement creates a sense of stability and movement, while incorrect placement can make the tree look top-heavy or unbalanced.
How do you maintain proportion as a bonsai tree grows?
Maintaining proportion requires regular pruning and wiring. As the tree grows, you need to trim the foliage to keep the pads small and shape the branches to maintain the desired structure. You may also need to repot the tree to control its size and encourage ramification.
Read more about “How Fast Do Bonsai Trees Grow? 12 Secrets You Need to Know 🌱 (2025)”
What is the ideal trunk-to-canopy proportion for a bonsai?
The ideal trunk-to-canopy proportion depends on the species and style, but a good general rule is that the trunk should be thick enough to support the canopy without looking top-heavy. The canopy should be dense enough to create a sense of vitality but not so dense that it hides the branch structure.
How does the golden ratio apply to bonsai design?
The Golden Ratio (1:1.618) is a mathematical proportion found in nature. In bonsai, it can be used to determine the ideal height-to-width ratio of the tree, the placement of branches, and the size of foliage pads. While not a strict rule, it can help create a sense of harmony and balance in your design.
Read more about “🌳 5+ Outdoor Bonsai Display Ideas for 2026: Turn Your Garden into a Living Gallery”
🔗 Reference Links
- Wikipedia: Nebari
- Bonzai.co.nz: Mastering Bonsai Design Principles: Balance & Proportion
- Bonsai Garden™: Bonsai Care Basics
- Bonsai Garden™: Bonsai for Beginners
- Bonsai Garden™: Bonsai Inspiration and Ideas
- Bonsai Garden™: Bonsai Display and Aesthetics
- Bonsai Garden™: Bonsai FAQs
- Bonsai Nut: Design – The Divine Proportion and Natural Sequences
- Bonsaify: Understanding Proportion for Bonsai Development