Support our educational content for free when you buy through links on our site. Learn more

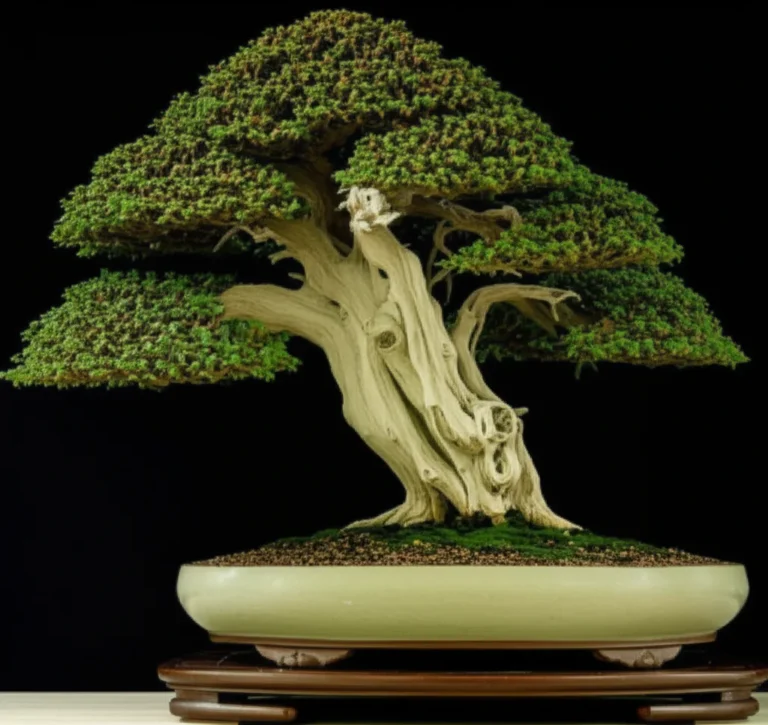
The Jin bonsai technique is the ultimate method for transforming a healthy tree into a centuries-old masterpiece by skillfully converting living branches into weathered, lightning-struck deadwood. Unlike simple pruning, this art form requires precise carving and chemical preservation to simulate nature’s harshest elements without killing your tree.
Imagine holding a Juniper that looks like it survived a thousand years of mountain storms, all because you dared to strip a branch and apply a little lime sulfur. That is the magic of Jin. It turns a potential flaw into the tree’s most dramatic feature, telling a story of survival that no green leaf ever could.
Many beginners fear cutting into their trees, but the right approach turns that fear into fascination. We once watched a novice turn a scragly, legy Juniper into a show-stopping specimen by creating a single, perfectly textured Jin on its top. The tree didn’t just survive; it thrived, channeling its energy into lower branches while the deadwood added instant age and character.
Ready to stop guessing and start sculpting? This guide breaks down exactly how to execute the Jin bonsai technique safely, covering everything from tool selection to the 7 distinct styles that will revolutionize your display.
Key Takeaways
- Jin is for Conifers Only: This technique is strictly for evergreens like Junipers and Pines; attempting it on deciduous trees will lead to rot and death.
- Preservation is Critical: Freshly stripped wood must be treated with Lime Sulfur immediately to prevent fungal decay and achieve that silvery-white driftwood look.
- Storytelling Through Scars: A well-executed Jin adds decades of perceived age and visual drama, simulating lightning strikes or storm damage.
- Tools Matter: Specialized Jin pliers and rotary tools are essential for creating natural, fibrous textures that generic tools cannot achieve.
- Patience Pays Off: While the technique is instant, the true weathered beauty develops over years of natural sun and rain exposure.
Table of Contents
- ⚡️ Quick Tips and Facts
- 📜 The Ancient Art of Jin: A Brief History of Bonsai Deadwood
- 🛠️ Essential Tools for Mastering the Jin Bonsai Technique
- 🌲 Step-by-Step Guide: Creating a Stunning Jin on Your Tree
- 🔪 7 Common Jin Styles to Transform Your Bonsai’s Narrative
- 🧪 Jin vs. Shari: Understanding the Critical Differences in Deadwood
- 🌧️ Weathering and Aging: How to Accelerate the Jin Bonsai Technique
- 🚫 5 Deadly Mistakes That Ruin Your Jin Work (And How to Avoid Them)
- 🌿 Species Selection: Which Trees Thrive with Jin Techniques?
- 💧 Aftercare Essentials: Protecting Your New Deadwood Features
- 🎨 The Art of Carving: Shaping Natural-Looking Deadwood
- 🔍 Troubleshooting: When Your Jin Turns Brown or Fails to Heal
- 🏆 Conclusion
- 🔗 Recommended Links
- ❓ FAQ
- 📚 Reference Links
⚡️ Quick Tips and Facts
Before we grab our chisels and start stripping bark, let’s hit the ground running with some golden rules that will save your tree from becoming a sad, roting stick.
- ✅ The Golden Rule of Species: Jin is the exclusive domain of conifers (Junipers, Pines, Cedars). If you try this on a Maple or Elm, you’re asking for a fungal party that ends in tree death. Deciduous trees naturally shed dead wood; conifers don’t.
- ❌ The “Rip and Pray” Myth: You cannot just snap a branch and call it a day. Improper stripping leads to jaged edges that look like a squirrel chewed on your masterpiece, not a lightning strike.
- 🛡️ Preservation is Non-Negotiable: Exposed wood is a buffet for rot and insects. Lime Sulfur isn’t optional; it’s the lifeblood of your deadwood. Without it, your Jin will turn black and mushy within a season.
- ⏳ Patience Pays Off: A fresh Jin looks like a raw wound. It takes years to develop that silvery, weathered “driftwood” look. Don’t rush the aging process with harsh chemicals; let nature do the heavy lifting.
- 🔥 The “Tenjin” Trap: Creating a Jin on the very top (Tenjin) is a bold move. It instantly shortens the tree and redirects energy, but if you cut too low, you might kill the tree’s vigor. Measure twice, cut once.
Did you know? The most famous bonsai in the world, Goshin by John Naka, features multiple Jin on its leaders to simulate a forest of ancient, storm-battered trees. You can read more about this masterpiece and the philosophy behind it on our Bonsai Inspiration and Ideas page.
📜 The Ancient Art of Jin: A Brief History of Bonsai Deadwood
The word Jin (神) literally translates to “spirit” or “god” in Japanese. In the context of bonsai, it refers to a dead branch or the dead top of a tree that has been stripped of its bark to mimic the effects of nature’s harshness.
The Philosophy of Suffering
Why would we intentionally hurt a tree? It sounds counterintuitive, doesn’t it? But in the world of bonsai, suffering tells a story. A perfect, green, unblemished tree looks like a nursery plant. A tree with a Jin looks like it has survived centuries of lightning strikes, heavy snow loads, and gale-force winds.
According to traditional Japanese aesthetics, the beauty of a bonsai lies in its asymetry and its history. The Jin technique was formalized in the Edo period, evolving from the observation of wild, ancient trees in the mountains of Japan. These trees, battered by the elements, would lose branches, leaving behind bleached, skeletal remains that contrasted beautifully with the living foliage.
From Wild to Potted
Early bonsai masters realized that they could simulate this natural adversity in the controlled environment of a pot. By removing a branch and stripping the bark, they could:
- Shorten the tree without losing the illusion of height (by keeping the deadwood).
- Redirect energy to lower branches, thickening the trunk.
- Create visual interest and break up the monotony of a straight trunk.
Fun Fact: The term Shari is often confused with Jin. While Jin is on a branch, Shari is deadwood on the main trunk. We’ll dive deep into this distinction later, but for now, remember: Jin = Branch, Shari = Trunk.
For a deeper dive into the history of these techniques, check out the comprehensive overview on Wikipedia’s Deadwood bonsai techniques.
🛠️ Essential Tools for Mastering the Jin Bonsai Technique
You wouldn’t try to perform surgery with a butter knife, and you shouldn’t try to create a Jin with a pair of kitchen shears. The right tools make the difference between a natural-looking deadwood feature and a botched amputation.
The Holy Trinity of Jin Tools
| Tool | Purpose | Why We Love It |
|---|---|---|
| Jin Pliers | Stripping bark and tearing wood fibers | These have serrated jaws that grip the wood, allowing you to rip away strips of inner wood to create a weathered, fibrous texture. |
| Branch Cuters | Making the initial cut | Concave cuters leave a clean wound that heals better, but for Jin, we often want a rougher break. |
| Rotary Tool (Dremel) | Carving and refining | Essential for shaping the wood, removing tool marks, and creating “veins” that mimic natural weathering. |
Our Team’s Favorites
At Bonsai Garden™, we’ve tested dozens of tools. Here are the ones that consistently deliver professional results:
- Sakura Jin Pliers: Japanese steel that stays sharp. The serrated edges are perfect for that “torn” look.
- Flexcut Carving Tools: If you want to get artistic with the grain, these chisels are a must.
- Dremel 40 Series: The workhorse of the bonsai studio. With the right bits, you can turn a stick into a sculpture.
Pro Tip: Never use a standard pair of pliers from your garage. They will crush the wood fibers, leading to a flat, lifeless look. You need specialized Jin pliers that tear, not just cut.
👉 Shop Jin Pliers on:
- Amazon: Sakura Jin Pliers Search
- Etsy: Handmade Bonsai Tools Search
- Sakura Official: Sakura Tools
👉 Shop Rotary Tools on:
- Amazon: Dremel Rotary Tool Search
- Walmart: Dremel Tools Search
- Dremel Official: Dremel Tools
🌲 Step-by-Step Guide: Creating a Stunning Jin on Your Tree
Ready to get your hands dirty? This is where the magic happens. But remember, once you strip the bark, there is no going back. This is a permanent modification.
Step 1: Selection and Planning
Identify the branch you want to convert. Is it a weak branch? A branch that ruins the silhouette? Or are you creating a Top Jin to shorten the tree?
- Visualize: Imagine the branch as a lightning-struck limb. Where would the break occur?
- Check Health: Ensure the rest of the tree is healthy. You don’t want to stress a sick tree further.
Step 2: The Initial Cut
Using your branch cutter, make a clean cut at the desired length.
- Note: If you want a “broken” look, you can snap the branch off, but a clean cut gives you more control over the final shape.
- Leave about 1-4 cm of the branch sticking out. This will become your Jin.
Step 3: Stripping the Bark
This is the most critical step.
- Take your Jin pliers.
- Grip the bark near the cut end.
- Pull and tear downwards towards the trunk.
- You want to remove all the bark, exposing the white wood underneath.
- Don’t be gentle! You want the wood to look like it was torn by a storm.
Step 4: Shaping and Texturing
Now, use your rotary tool or a graving chisel to shape the wood.
- Create groves and veins to mimic the grain of weathered wood.
- Round off sharp edges. Nature doesn’t make square cuts.
- If you want a “split” look, use the chisel to split the wood down the middle.
Step 5: The Bleaching and Preservation
This is where many beginners fail. Fresh wood turns black and rots if left untreated.
- Mix Lime Sulfur with water (usually a 1:10 ratio, but check the bottle).
- Use a paintbrush to apply the solution generously to the exposed wood.
- Wait: Let it dry for a couple of days. The wood will turn a beautiful silvery-white.
- Reapply: You may need to apply a second coat after the first dries to ensure full coverage.
Wait, why does the wood turn white? The sulfur in the solution kills any fungi and bleaches the wood, simulating the sun-bleached look of decades-old deadwood.
For more on tree health and maintenance, visit our Bonsai Care Basics section.
🔪 7 Common Jin Styles to Transform Your Bonsai’s Narrative
Not all Jin are created equal. Depending on your tree’s shape and your artistic vision, you can create different styles of deadwood. Here are the seven most common variations we use at Bonsai Garden™.
1. The Classic Branch Jin
The most straightforward style. A single branch is stripped and shaped. It’s perfect for removing a “bad” branch while keeping the visual weight of the tree.
2. The Top Jin (Leader Removal)
This involves stripping the top of the tree.
- Effect: Instantly shortens the tree and forces energy into lower branches.
- Best For: Trees that are too tall or have a weak leader.
3. The Tenjin
A Tenjin is a specific type of Jin that rises above the apex of the tree. It looks like a ghostly branch reaching for the sky.
- Aesthetic: Adds height and drama without adding living foliage.
- Caution: Can look unnatural if overdone.
4. The Split Jin
Instead of a single dead limb, the wood is split down the middle, creating a forked appearance.
- Technique: Use a chisel to split the wood, then strip the bark from both sides.
- Look: Mimics a branch that was struck by lightning and split apart.
5. The Short Jin (Stub)
A very short piece of deadwood, almost flush with the trunk.
- Purpose: Used to hide scars or create the illusion of a branch that broke off long ago.
- Technique: Requires careful carving to blend with the trunk.
6. The Double Jin
Two adjacent branches are converted into Jin.
- Effect: Creates a symetrical deadwood feature, often used to balance the tree’s composition.
- Warning: Don’t overdo it. Too much deadwood can kill the tree by reducing photosynthesis.
7. The Winding Jin
The deadwood is carved to twist and turn, mimicking a branch that grew around an obstacle.
- Complexity: High. Requires advanced carving skills.
- Result: A dynamic, flowing deadwood feature that draws the eye.
🧪 Jin vs. Shari: Understanding the Critical Differences in Deadwood
Confusing Jin and Shari is like confusing a scar on your arm with a scar on your face. They are both deadwood, but their location and purpose differ significantly.
The Location Rule
- Jin: Always on a branch or the top of the tree.
- Shari: Always on the main trunk.
The Visual Impact
- Jin: Adds vertical interest and can shorten the tree. It often looks like a “ghost limb.”
- Shari: Adds horizontal interest and can make the trunk look older and thicker. It often runs vertically down the trunk, mimicking a lightning strike.
The Technique Difference
- Jin: Usually involves stripping the bark from a cut branch.
- Shari: Involves stripping a long strip of bark from the trunk, often requiring more extensive carving to blend with the trunk’s natural flow.
Did you know? A tree can have both Jin and Shari. In fact, the most dramatic bonsai often feature a Shari on the trunk and multiple Jin on the branches, creating a “driftwood” effect known as Sharimiki.
🌧️ Weathering and Aging: How to Accelerate the Jin Bonsai Technique
We all want our Jin to look like it’s been there for 10 years, but time is a luxury we don’t always have. Can we speed up the process? Yes, but with caution.
Natural Weathering (The Slow Way)
- Sunlight: UV rays naturally bleach the wood. Place your tree in full sun (if the species tolerates it).
- Rain: Rain washes away the soft fibers, revealing the grain.
- Time: This is the best method. A Jin created today will look significantly better in 3-5 years.
Artificial Acceleration (The Fast Way)
- Lime Sulfur: As mentioned, this is the primary accelerant. It bleaches the wood instantly.
- Heat: Some artists use a gas torch to lightly char the wood, raising the grain. Warning: This can damage the wood if not done carefully.
- Acids: Weak vinegar solutions can sometimes be used to darken the wood, creating contrast.
⚠️ Warning: Do not over-acelerate. If you use too much heat or acid, the wood can become brittle and crack. Patience is the ultimate bonsai virtue.
🚫 5 Deadly Mistakes That Ruin Your Jin Work (And How to Avoid Them)
Even the best gardeners make mistakes. Here are the top five ways to ruin a Jin, and how to fix them before it’s too late.
1. Stripping Too Much Bark
The Mistake: Removing bark from the living part of the branch, causing the tree to die.
The Fix: Always leave a clear line between the deadwood and the living bark. If you accidentally cut into the living tissue, seal it immediately with wound sealant.
2. Ignoring Species Suitability
The Mistake: Trying to create a Jin on a deciduous tree like a Maple.
The Fix: Stick to conifers. If you must remove a branch on a deciduous tree, create a Uro (hollow) instead of a Jin.
3. Skipping the Lime Sulfur
The Mistake: Leaving the wood untreated.
The Fix: Apply Lime Sulfur immediately after carving. Reapply every few months until the wood is fully weathered.
4. Over-Texturing
The Mistake: Carving too many groves, making the wood look fake.
The Fix: Study real deadwood. Nature is random, not symetrical. Less is more.
5. Creating Too Many Jin
The Mistake: Turning the whole tree into a skeleton.
The Fix: Remember that the tree needs leaves to survive. Limit deadwood to one or two features per tree.
🌿 Species Selection: Which Trees Thrive with Jin Techniques?
Not every tree is a candidate for the Jin treatment. Choosing the right species is half the battle.
The Conifer Champions
These trees naturally retain dead branches, making them perfect for Jin.
- Juniperus (Juniper): The king of Jin. Their wood is soft and easy to carve, and they naturally develop deadwood in the wild.
- Pinus (Pine): Pines have hard wood, making carving more difficult, but the result is stunning.
- Cedrus (Cedar): Similar to Junipers, Cedars handle deadwood beautifully.
- Chamaecyparis (Cypress): Another excellent candidate for Jin.
The Deciduous Dilemma
Deciduous trees (Maples, Elms, Beeches) naturally shed dead branches. If you create a Jin on these, it will look unnatural and may rot.
- Alternative: Use the Uro technique. Instead of a dead branch, carve a hollow where the branch used to be.
Pro Tip: If you’re new to Jin, start with a Juniper. They are forgiving and respond well to carving.
For more on species selection, check out our Bonsai for Beginners guide.
💧 Aftercare Essentials: Protecting Your New Deadwood Features
You’ve created your Jin. Now what? The work isn’t done. Proper aftercare ensures your deadwood survives and thrives.
Watering
- Avoid Direct Spray: Try not to spray water directly onto the Jin. While the wood is treated, constant moisture can encourage moss or algae growth that might look messy.
- Soil Moisture: Ensure the soil is well-draining. Deadwood can trap water, leading to rot if the tree is overwatered.
Fertilizing
- Balance: Fertilize normally, but avoid high-nitrogen fertilizers that might encourage rapid growth that outpaces the deadwood.
- Timing: Fertilize in the growing season, but reduce feeding in late autumn to prepare the tree for winter.
Winter Protection
- Insulation: In cold climates, the deadwood can freeze and crack. Wrap the pot or move the tree to a protected area.
- Snow Load: Remove heavy snow from the Jin to prevent breakage.
Monitoring
- Check for Rot: Inspect the Jin regularly. If you see black, mushy spots, scrape them out and reapply Lime Sulfur.
- Moss Control: If moss grows on the Jin, it can be left for a natural look, but remove it if it starts to cover the wood completely.
🎨 The Art of Carving: Shaping Natural-Looking Deadwood
Carving is where the artist becomes a sculptor. The goal is to make the deadwood look like it was shaped by nature, not by a chisel.
The “Vein” Technique
In nature, deadwood often has “veins” of living bark connecting the roots to the branches.
- How to do it: Use a chisel to carve shallow groves around the deadwood, leaving small strips of bark intact.
- Effect: Creates a dramatic contrast between the white deadwood and the green living bark.
The “Twist” Technique
Mimic the twisting motion of a branch growing around an obstacle.
- How to do it: Use a rotary tool to carve a spiral pattern into the wood.
- Effect: Adds movement and dynamism to the tree.
The “Split” Technique
Create the illusion of a lightning strike.
- How to do it: Use a chisel to split the wood down the center, then strip the bark from both sides.
- Effect: A dramatic, jaged look that draws the eye.
Inspiration: Look at photos of ancient trees in the wild. Notice how the wood is never perfectly straight. Embrace the imperfection.
For more on bonsai aesthetics, visit our Bonsai Display and Aesthetics section.
🔍 Troubleshooting: When Your Jin Turns Brown or Fails to Heal
Even with the best care, things can go wrong. Here’s how to diagnose and fix common Jin problems.
Problem: The Jin Turns Black
Cause: Rot or fungal infection.
Solution:
- Scrape away the black, mushy wood.
- Apply a fresh coat of Lime Sulfur.
- Ensure the tree is not overwatered.
Problem: The Jin Cracks
Cause: Rapid drying or freezing.
Solution:
- If the crack is small, fill it with wax or epoxy to seal it.
- If the crack is large, you may need to carve around it to create a new shape.
Problem: The Jin Looks Too White
Cause: Over-bleaching.
Solution:
- This is actually a good thing! It means the wood is well-preserved.
- If you want a more natural look, you can apply a diluted vinegar solution to darken it slightly.
Problem: The Tree is Stressed
Cause: Too much Jin or improper placement.
Solution:
- Remove some of the Jin if possible (though this is difficult).
- Reduce fertilization and ensure the tree gets plenty of light.
- Be patient. The tree needs time to recover.
Remember: A dead branch on a living tree is a balance. If the tree looks stressed, it’s a sign you’ve pushed it too far.
🏆 Conclusion
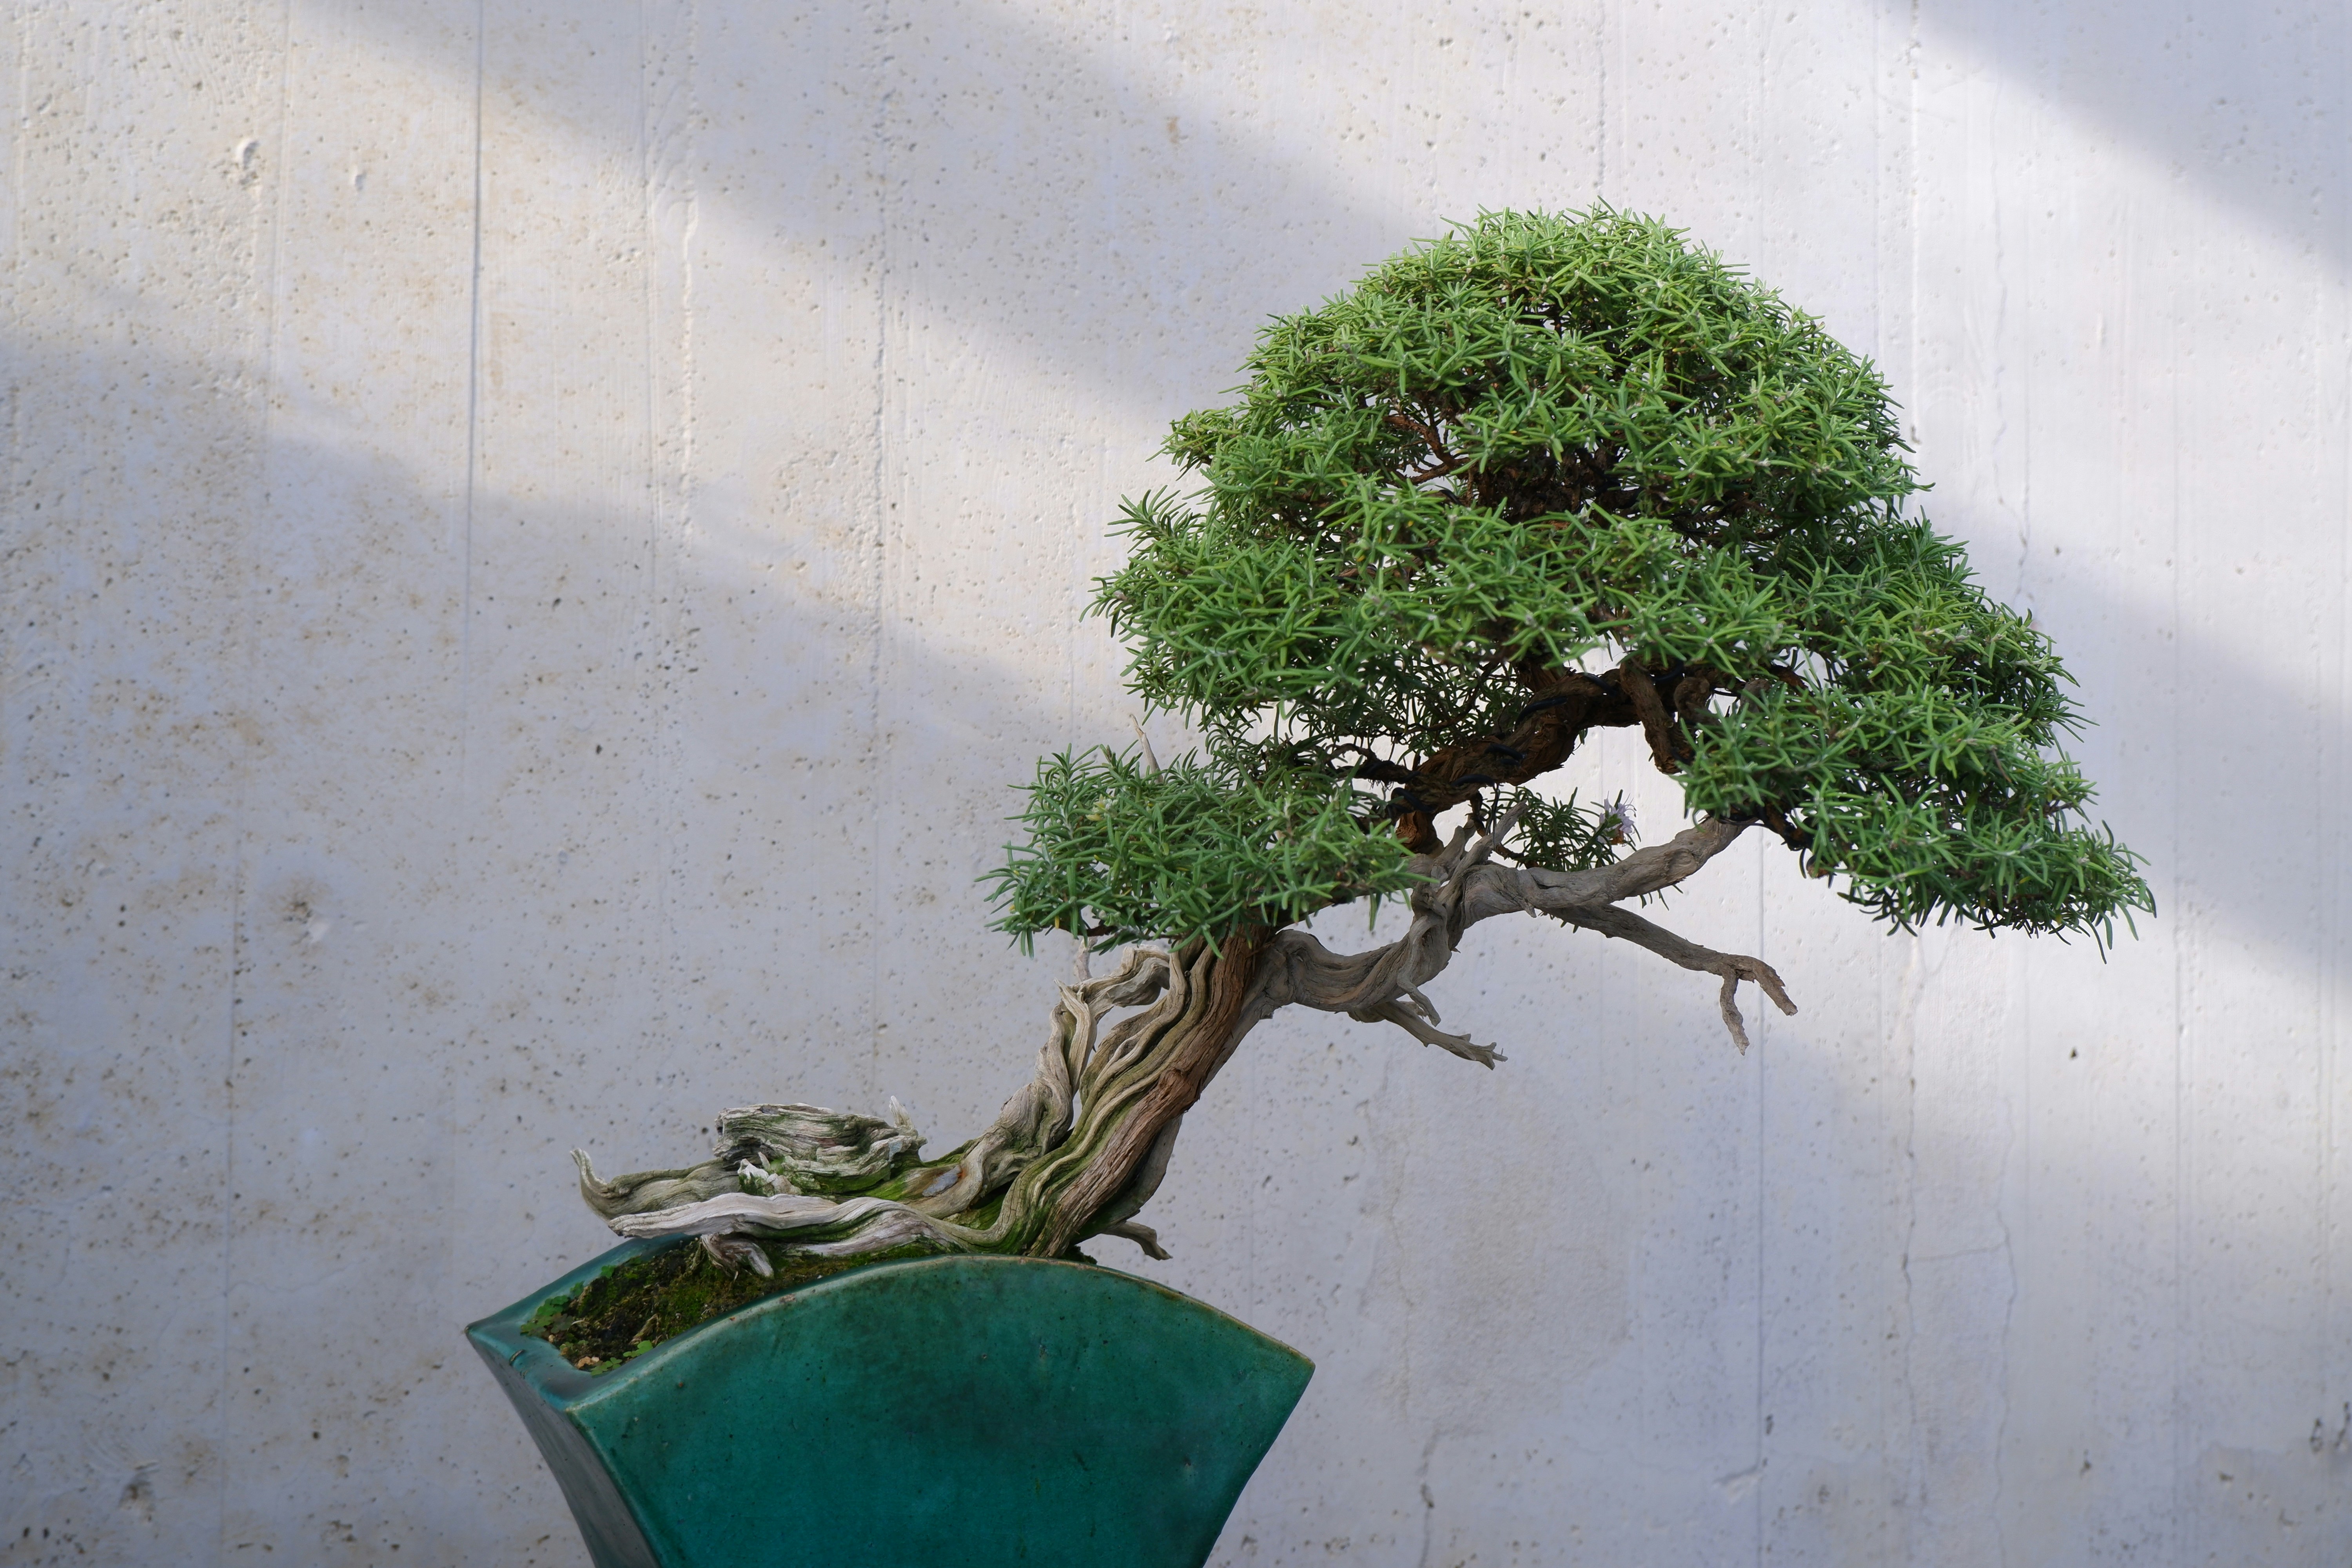
Creating a Jin on your bonsai is one of the most rewarding yet challenging techniques in the art. It transforms a simple tree into a story of survival, age, and resilience. But remember, it’s not just about the look; it’s about the health of the tree.
We’ve covered everything from the history of Jin to the nitty-gritty of carving and aftercare. Whether you’re a beginner looking to try your first Top Jin or an experienced artist refining your Tenjin, the key is patience, precision, and respect for the tree.
Final Recommendations:
- Start Small: Don’t try to turn your entire tree into a skeleton. Start with one branch.
- Invest in Tools: Good Jin pliers and a rotary tool are worth every penny.
- Use Lime Sulfur: Never skip the preservation step.
- Study Nature: Look at real deadwood in the wild to understand the patterns.
If you’re ready to take your bonsai to the next level, don’t forget to check out our Bonsai FAQs for more answers to your burning questions.
Happy gardening, and may your trees live long and prosper! 🌲✨