Support our educational content for free when you buy through links on our site. Learn more

Ever wondered how a tiny, fragile twig can transform into a centuries-old masterpiece? At Bonsai Garden™, we’ve seen beginners turn a simple snip from a neighbor’s hedge into a thriving, miniature forest in their living room. While many guides focus solely on the Jade tree, the truth is that propagation from cutings is the secret weapon for cloning your favorite species—from delicate Maples to rugged Junipers—without waiting a decade for a seed to sprout.
In this comprehensive guide, we’re pulling back the curtain on the ancient art of cloning. You’ll discover exactly when to make that perfect cut, the specific soil mix that prevents rot, and the “humidity dome” trick that saves 90% of dying cutings. We’ll even reveal why your cutting might look dead for months before suddenly exploding with life, and how to avoid the common mistake that kills most beginners’ first attempts. Whether you want a quick-start Jade or a long-term Juniper project, the journey from cuting to bonsai starts right here.
Key Takeaways
- ✅ Genetic Fidelity: Unlike seeds, cutings are clones, guaranteeing you get the exact leaf size, bark texture, and growth habit of the parent tree.
- ✅ Timing is Critical: Success depends on matching the wood type (softwood, semi-hardwood, or hardwood) to the correct season of the year.
- ✅ Humidity is Non-Negotiable: Most cutings fail due to desiccation; maintaining 80-90% humidity with a dome or bag is essential for root formation.
- ✅ Patience Pays Off: While some species root in weeks, others take months; new growth is the only reliable sign that roots have formed.
- ✅ Avoid the “Check” Trap: Diging up a cutting to check for roots will destroy delicate root hairs; trust the process and wait for visible shoots.
Table of Contents
- ⚡️ Quick Tips and Facts
- 🌱 The Ancient Art of Propagation: A Brief History of Bonsai Cutings
- 🧐 Why Start from a Cutting? The Pros and Cons vs. Seeds and Grafts
- 🌿 Choosing Your Champion: Best Bonsai Species for Beginners
- ✂️ The Perfect Cut: Tools, Techniques, and Timing for Success
- 🌡️ Timing is Everything: When to Take Your Cutings for Maximum Rooting
- 🧪 Step-by-Step Guide: How to Root Bonsai Cutings Like a Pro
- 🏺 Soil, Water, and Humidity: Creating the Ideal Rooting Environment
- 🌱 From Cutting to Seedling: Caring for Your New Baby Bonsai
- 🚫 Common Mistakes That Kill Cutings (And How to Avoid Them)
- 🔬 Advanced Techniques: Air Layering vs. Hardwood vs. Softwood Cutings
- 📅 The First Year Timeline: What to Expect Month by Month
- 🎨 Shaping Your Future Masterpiece: Early Pruning and Wiring Tips
- ❓ Frequently Asked Questions About Growing Bonsai from Cutings
- 📚 Recommended Links and Resources
- 📖 Reference Links and Scientific Sources
- 🏁 Conclusion: Your Journey to Miniature Mastery Begins Now
⚡️ Quick Tips and Facts
Before we dive into the deep end of the bonsai pool, let’s splash around with some golden nugets of wisdom that will save you from the most common pitfalls. Growing a bonsai from a cutting is like raising a child: it requires patience, the right environment, and a whole lot of love. But unlike a toddler, your cutting won’t talk back (yet).
Here is the cheat sheet to getting started:
- ✅ The Golden Rule: Roots come from nodes, not the middle of a stem. Always cut just below a node.
- ✅ Speed vs. Stability: Softwood cutings root faster but die easier. Hardwood cutings take longer but are tougher nuts to crack.
- ✅ The “Mist” Factor: Most cutings will die from desiccation (drying out) before they ever try to root. Humidity is your best friend.
- ❌ The “Water Bath” Myth: While Jade and Ficus can root in water, most conifers and deciduous trees will rot if left in a glass of water for too long. Use a soil mix!
- ✅ The Patience Test: Don’t dig up your cutting to “check” for roots. You will break the delicate root hairs. Trust the process!
Pro Tip: If you are aiming for a specific style like the elegant, tall, and sparse Literati Bonsai, starting from a cutting allows you to select a long, straight shoot immediately. For a full guide on this aesthetic, check out our article on 🌲 Mastering the Literati Bonsai Style: The Ultimate Guide (2026).
🌱 The Ancient Art of Propagation: A Brief History of Bonsai Cutings
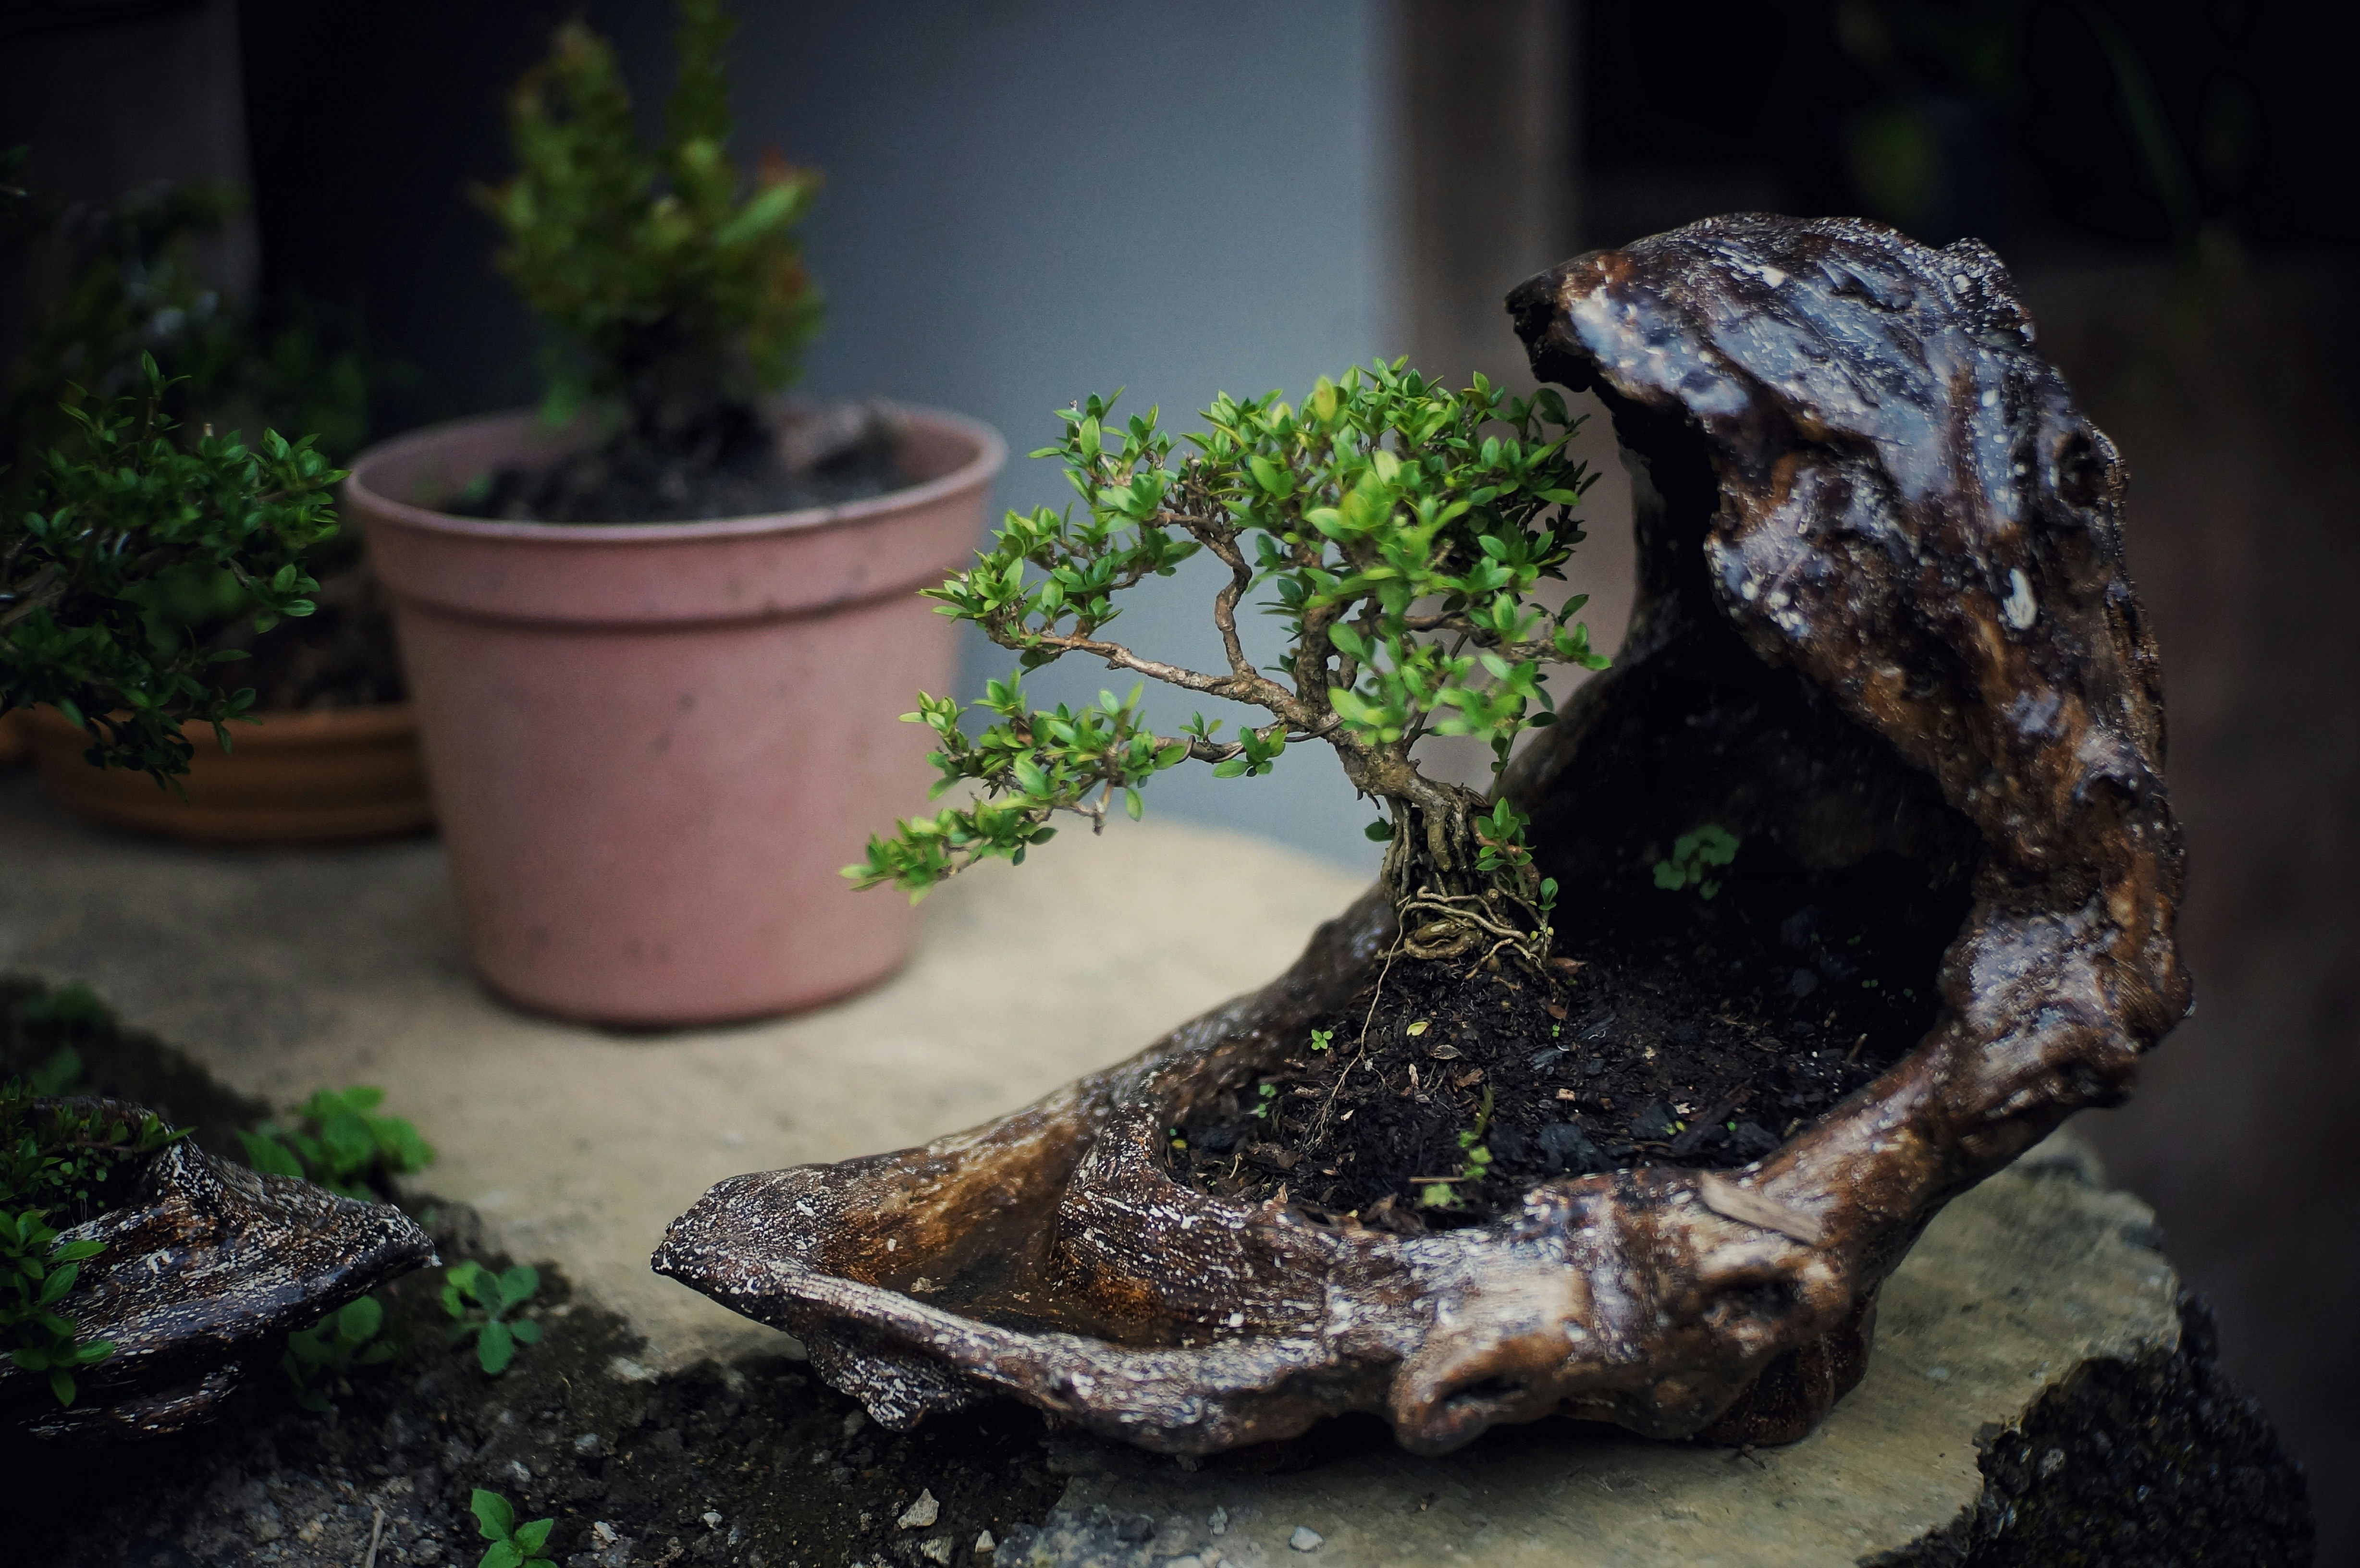
You might think growing a tree from a twig is a modern gardening hack, but the art of propagation is as old as the bonsai tradition itself. The word “bonsai” simply means “planted in a tray,” but the techniques to get those plants there have evolved over centuries.
In ancient China (where the practice began as penjing), masters realized that growing trees from seeds was a gamble. You might get a beautiful tree, or you might get a genetic dud. Cutings offered a way to clone the perfect specimen. If a tree had tiny leaves, a gnarled trunk, or a unique color, a cutting guaranteed those traits would be passed down.
“It all starts with selecting and collecting suitable cutings.” — Bonsai Empire
Historically, this was a secret technique guarded by masters. Today, it’s a democratized art form. Whether you are growing a Japanese Maple or a Juniper, the principle remains: genetic fidelity. Unlike seeds, which mix DNA like a genetic roulette, a cutting is a clone. It is the exact genetic twin of the parent tree.
This is why we love cutings for beginners. You aren’t waiting 10 years to see if your seedling has the right leaf size. You know exactly what you are getting.
🧐 Why Start from a Cutting? The Pros and Cons vs. Seeds and Grafts
So, why go through the trouble of snipping a branch instead of just buying a tree or planting a seed? Let’s break it down.
The Case for Cutings (The “Clone” Advantage)
- ✅ Genetic Certainty: You get the exact leaf size, bark texture, and growth habit of the parent. No surprises!
- ✅ Faster Start: A cutting is already a mature plant cell. It skips the seedling stage, potentially shaving years off the time to get a “bona fide” bonsai.
- ✅ No “Scars”: As noted by Bonsai Tonight, growing from cutings allows you to style without dealing with the “large wounds from pruning thick branches” often found on nursery stock.
- ✅ Cost-Effective: A cutting from a friend’s tree is free!
The Case for Seeds (The “Lotery” Ticket)
- ✅ Root System: Seedlings often develop a stronger, deeper taproot initially.
- ✅ Variety: You might discover a unique mutation (sport) that makes your tree one-of-a-kind.
- ❌ The Wait: It can take 5-10 years to get a decent trunk thickness.
The Case for Grafting (The “Frankenstein” Method)
- ✅ Speed: You can graft a beautiful canopy onto a thick, established rootstock.
- ❌ Complexity: Requires advanced skills and specific timing.
- ❌ Weak Points: The graft union can be a structural weak point if not done perfectly.
The Verdict? For the home gardener wanting to learn the art of bonsai cultivation without spending a fortune, cutings are the sweet spot. They offer the best balance of speed, cost, and control.
🌿 Choosing Your Champion: Best Bonsai Species for Beginners
Not all trees are created equal when it comes to rooting. Some are like eager puppies, rooting in a week; others are like stubborn mules, refusing to budge.
Top Tier: The “Easy Peasy” List
These species are notorious for rooting success, even for those with a “black thumb.”
- Ficus (Ficus retusa/ginseng): The ultimate beginner’s tree. Roots in water or soil.
- Jade (Portulacaria afra): As detailed by Gardenstead, these can root in water in days.
- Chinese Elm (Ulmus parvifolia): A deciduous powerhouse that roots readily in spring.
- Boxwood (Buxus): Excellent for hardy, slow-growing bonsai.
- Willow & Poplar: If you can find them, they root almost instantly.
Middle Tier: The “Need a Little Help” List
These need a bit more care, humidity, and maybe some rooting hormone.
- Juniper (Juniperus procumbens): The classic bonsai. Needs softwood cutings in late spring.
- Azalea: Beautiful flowers, but tricky to root. Needs acidic soil and high humidity.
- Maple (Acer palmatum): Best taken as softwood in early summer.
The “Hard Mode” List
- Pines (Pinus): Generally do not root well from cutings. They are better grown from seed or grafted.
- Cedars (Cryptomeria): Possible, but requires specific timing and patience.
Expert Insight: When selecting your parent tree, look for small leaves and short internodes (the space between leaves). As Bonsai Tonight wisely notes, “Failing to select seeds or cutings with the characteristics we prize in bonsai can undercut your efforts for the entirety of a tree’s life.”
✂️ The Perfect Cut: Tools, Techniques, and Timing for Success
You wouldn’t use a butter knife to cut a steak, and you shouldn’t use dull scissors to take a bonsai cutting. The quality of your cut determines the speed of your healing.
Essential Tools
- Sharp Concave Cuters: For clean cuts that heal quickly.
- Bonsai Snips: For fine trimming.
- Rooting Hormone: A must-have for difficult species.
- Sterilized Alcohol: To wipe your tools between cuts (prevents disease spread).
The Anatomy of a Perfect Cutting
According to Bonsai Empire, the ideal dimensions are 2–4 inches (5–10 cm) in length and 1/8 inch (3–5 mm) thick.
- Select the Branch: Look for a healthy, vigorous shoot. Avoid diseased or pest-ridden areas.
- The Node is Key: Roots form at the node (where the leaf attaches). Make your cut just below a node.
- The Angle: Cut at a 45-degree angle. This increases the surface area for rooting and prevents water from pooling on the cut surface.
- Leaf Reduction: Remove the bottom half of the leaves. If the leaves are large (like a Ficus), cut the remaining leaves in half to reduce water loss.
Wait, why cut the leaves?
Leaves drink water. A cutting has no roots to replace that water. If you leave all the leaves, the plant will dehydrate and die before it roots. It’s a tough love strategy!
🌡️ Timing is Everything: When to Take Your Cutings for Maximum Rooting
Timing is the difference between a thriving forest and a pile of dead twigs. The type of wood you cut depends on the season.
Softwood Cutings (Late Spring to Early Summer)
- Best For: Deciduous trees (Maples, Elms), Flowering shrubs (Azaleas).
- Characteristics: The wood is green, flexible, and new growth.
- Pros: Roots very quickly (2-4 weeks).
- Cons: High water loss; requires high humidity.
Semi-Hardwood Cutings (Late Summer to Early Autumn)
- Best For: Conifers (Junipers, Hollies), some broadleaf evergreens.
- Characteristics: The wood has started to harden (turn brown) at the base but is still green at the tip.
- Pros: More stable than softwood; less prone to rot.
- Cons: Slower to root than softwood.
Hardwood Cutings (Late Autumn to Winter)
- Best For: Deciduous trees (Willow, Fig, some Maples).
- Characteristics: Fully dormant, brown, and hard.
- Pros: Very hardy; can be stored in a fridge if needed.
- Cons: Takes the longest to root (months).
Myth Buster: Can you take cutings year-round?
Technically, yes, but success rates plummet outside the optimal windows. As Bonsai Empire states, “Timing varies by species; refer to the Bonsai tree species guide for specific instructions.”
🧪 Step-by-Step Guide: How to Root Bonsai Cutings Like a Pro
Ready to get your hands dirty? Here is the Bonsai Garden™ proven method for rooting success.
Step 1: Preparation
Gather your tools. Sterilize your cuters with rubbing alcohol. Prepare your rooting medium (see the next section).
Step 2: Taking the Cutting
- Select a healthy branch.
- Cut a 3-4 inch section just below a node.
- Immediately place the cutting in a plastic bag with a damp paper towel to prevent wilting while you work.
Step 3: Preparing the Cutting
- Remove leaves from the bottom 2/3 of the stem.
- If leaves are large, trim them in half.
- Optional but Recommended: Dip the cut end into rooting hormone.
Powder: Good for most species.
Gel: Stays on better for softwood.
Liquid: Best for hard-to-root species.
Step 4: Planting
- Poke a hole in your soil mix with a pencil (don’t just jam the cutting in, or you might wipe off the hormone).
- Insert the cutting about 1-2 inches deep.
- Firm the soil gently around the stem.
Step 5: The Humidity Dome
This is the make or break step.
- Place the pot in a clear plastic bag or under a humidity dome.
- Ensure the plastic doesn’t touch the leaves (use chopsticks as props).
- Place in bright, indirect light. Direct sun will cook your cutting inside the bag.
Step 6: The Wait
Keep the soil moist but not sogy. Mist the leaves if they look dropy. Do not water the soil unless it feels dry to the touch.
Curiosity Check: How do you know when it’s time to take the dome off? We’ll reveal the secret signs of successful rooting in the “From Cutting to Seedling” section!
🏺 Soil, Water, and Humidity: Creating the Ideal Rooting Environment
Your cutting is a baby. It needs a nursery, not a swamp.
The Perfect Rooting Mix
You want aeration and moisture retention in perfect balance.
- Option A (The Pro Mix): 50% Perlite + 50% Peat Moss or Coco Coir.
- Option B (The Naturalist Mix): 50% Vermiculite + 50% Sand.
- Option C (The “I Have Nothing” Mix): Pure Perlite. It drains well and holds enough moisture.
❌ Avoid: Regular poting soil. It’s too dense and holds too much water, leading to root rot.
Watering Strategy
- Initial Watering: Water thoroughly immediately after planting.
- Maintenance: Keep the medium consistently moist. If it dries out, the cutting dies. If it’s sogy, it rots.
- Misting: Mist the leaves 2-3 times a day to maintain humidity.
Humidity Control
- Target: 80-90% humidity.
- Method: Clear plastic bags, propagation domes, or a humidity tent.
- Ventilation: Open the bag for 10 minutes a day to prevent mold and fungus.
Fun Fact: Some species, like the Jade, can root in water! But for most bonsai, soil is superior because it mimics the natural environment and encourages stronger root development.
🌱 From Cutting to Seedling: Caring for Your New Baby Bonsai
So, you’ve waited weeks. The leaves are perky. The stem is firm. Did it root?
The Signs of Success
- New Growth: A new leaf or bud emerging from the top is the #1 sign of rooting.
- Resistance: Gently tug on the stem. If you feel resistance, roots have formed!
- Leaf Color: Healthy green leaves (not yellowing or dropping).
The Transition
Once you see new growth, do not rip the dome off immediately.
- Aclimatization: Open the bag for 1 hour a day, increasing the time over a week.
- Light: Move to brighter, indirect light.
- Fertilizer: NO FERTILIZER yet! The roots are too delicate. Wait until the tree has established a good root system (usually 2-3 months).
The First Repot
After 6-12 months, it’s time to move your cutting to a small training pot.
- Technique: As Bonsai Tonight suggests, identify the primary root system. Remove crossing roots and those growing straight down to encourage nebari (surface roots).
- Goal: Create a flat root base that mimics ancient tree.
🚫 Common Mistakes That Kill Cutings (And How to Avoid Them)
Even the best gardeners mess up. Here are the usual suspects:
| Mistake | Why It Kills | The Fix |
|---|---|---|
| Overwatering | Drowns the stem, causes rot. | Let the top layer dry slightly; use well-draining soil. |
| Underwatering | Desiccation before roots form. | Use a humidity dome; mist frequently. |
| Wrong Cut Location | Cutting between nodes. | Always cut just below a node. |
| Direct Sun | Cooks the cutting in the humidity dome. | Use bright, indirect light only. |
| Checking Too Soon | Breaking new root hairs. | Wait for new growth before tugging. |
| Using Old Wood | Hardwood that won’t root. | Match the wood type to the season (Softwood vs. Hardwood). |
Real Story: We once had a student who checked his Juniper cutting every day. By the time he saw it, the tiny roots he had encouraged were snapped off. He learned the hard way: Patience is a virtue in bonsai.
🔬 Advanced Techniques: Air Layering vs. Hardwood vs. Softwood Cutings
Ready to level up? Let’s talk about the different methods of propagation.
Softwood Cutings
- Best For: Fast results.
- Technique: Take green, flexible shoots in late spring.
- Success Rate: High for deciduous trees.
Hardwood Cutings
- Best For: Dormant season propagation.
- Technique: Take brown, wody stems in winter.
- Success Rate: Moderate; requires patience.
Air Layering (The “No-Cut” Method)
- What is it? Encouraging roots to form on a branch while it is still attached to the parent tree.
- Best For: Difficult species (like Pines or large branches) or when you can’t spare a cutting.
- Process:
- Girdle the bark (remove a ring of bark).
- Apply rooting hormone.
- Wrap in moist sphagnum moss and plastic.
- Wait for roots to form (months), then cut below the roots and pot.
- Pros: 10% survival rate (usually).
- Cons: Takes longer; you lose the branch from the parent tree.
Video Insight: In our featured video on propagation, the host demonstrates the “Tip-and-Dip” method, emphasizing that dipping the cutting in hormone and planting at angle significantly boosts success rates for hard-to-root species. You can see this technique in action at the featured video section.
📅 The First Year Timeline: What to Expect Month by Month
Growing a bonsai from a cutting is a marathon, not a sprint. Here is your roadmap for Year 1.
- Month 1-2: The Waiting Game. Keep humidity high. No new growth yet. Just trust the process.
- Month 3: First Signs. New leaves or buds appear. Slowly aclimate to lower humidity.
- Month 4-6: Growth Spurt. The tree starts putting on length. Stop misting the leaves; water the soil.
- Month 7-9: Hardening Off. The wood begins to lignify (harden). Begin light pruning to encourage branching.
- Month 10-12: Winter Rest. If it’s a deciduous tree, let it go dormant. Reduce water. No fertilizer.
Key Takeaway: Don’t rush the styling. Let the tree grow wild for the first year to build trunk thickness. As Bonsai Tonight advises, “Skipping this step can make it difficult to create bonsai with attractive taper.”
🎨 Shaping Your Future Masterpiece: Early Pruning and Wiring Tips
Once your cutting has established roots and grown for a year, it’s time to start thinking like an artist.
The “Grow-Prune-Repeat” Cycle
- Let it Grow: Allow a branch to grow long (6-12 inches).
- Prune Back: Cut it back to 2-3 leaves. This forces the tree to branch out (ramification).
- Repeat: Do this every time a new shoot grows.
Wiring Basics
- When: Wire when the branch is flexible but not too soft (usually late spring/early summer).
- How: Wrap copper or aluminum wire at a 45-degree angle.
- Caution: Don’t wire too tightly! You don’t want to scar the bark. Check the wire every few weeks.
Creating Movement
- Twist, Don’t Bend: For conifers like Junipers, twisting the branch creates a more natural look than simple bending.
- Taper: Create the largest bends near the base and smallest near the top.
Pro Tip: If you want a Literati style, let the tree grow tall and straight, then prune the lower branches to create that sparse, elegant look.
Conclusion: Your Journey to Miniature Mastery Begins Now
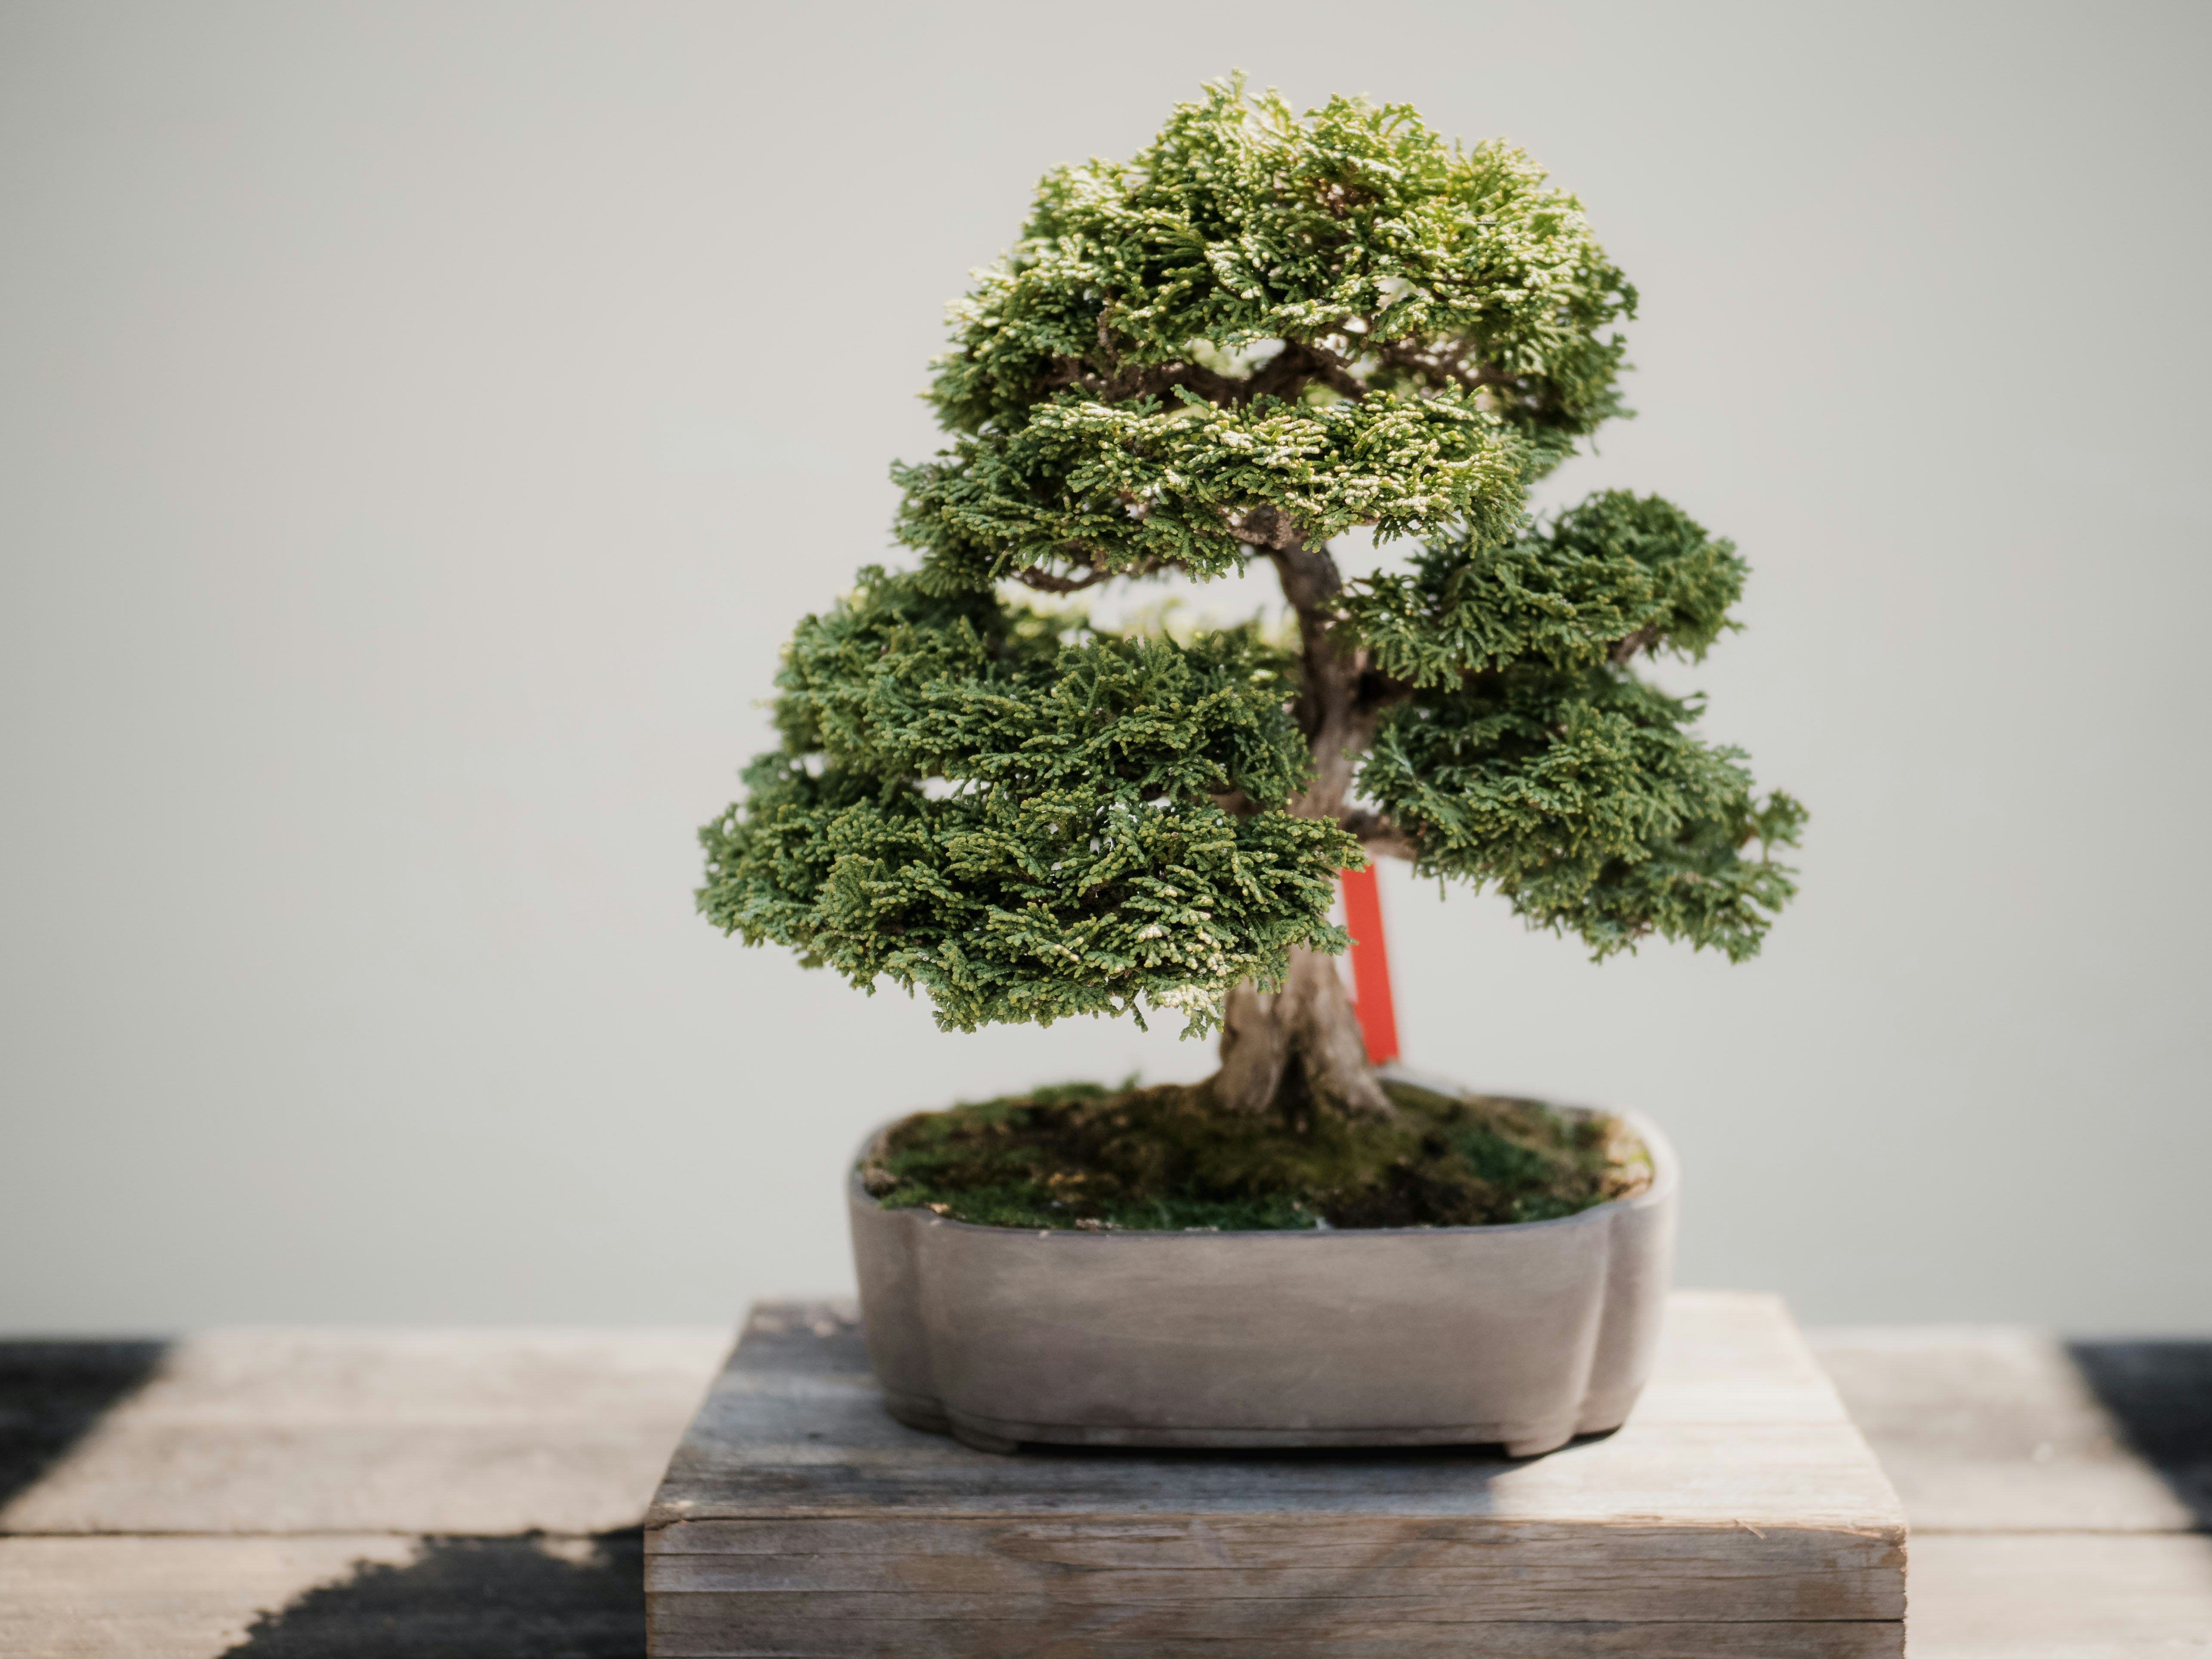
So, there you have it! From the ancient art of cloning to the modern techniques of rooting hormones and humidity domes, you now have the roadmap to grow a bonsai from a simple cutting.
Remember, the journey of a thousand miles begins with a single node. Whether you are growing a Jade that roots in water or a Juniper that takes months to establish, the reward is watching a tiny twig transform into a living sculpture.
Did we answer your burning questions?
- Will my cutting survive? Yes, if you control humidity and timing.
- How long does it take? Weeks to months, depending on the species.
- Can I do this with any tree? Most, but avoid Pines for cutings.
The only thing standing between you and your first bonsai is a pair of sharp shears and a little bit of patience. Go out there, find a branch, and start your legacy.
Recommended Links and Resources
Ready to get started? Here are the tools and resources we recommend for your propagation journey.
Essential Tools & Supplies
- Rooting Hormone:
Product: Hormex Rooting Hormone Powder #3
Shop: Amazon | Walmart | Brand Official - Bonsai Soil Mix:
Product: Bonsai Soil Mix (Akadama, Pumice, Lava)
Shop: Amazon | Etsy | Brand Official - Bonsai Starter Kit:
Product: Complete Bonsai Gardening Kit with Tools
Shop: Amazon | Walmart
Books & Guides
- Book: “The Bonsai Collection” by Peter Warren
Shop: Amazon - Book: “Bonsai Basics” by John Naka
Shop: Amazon
FAQ
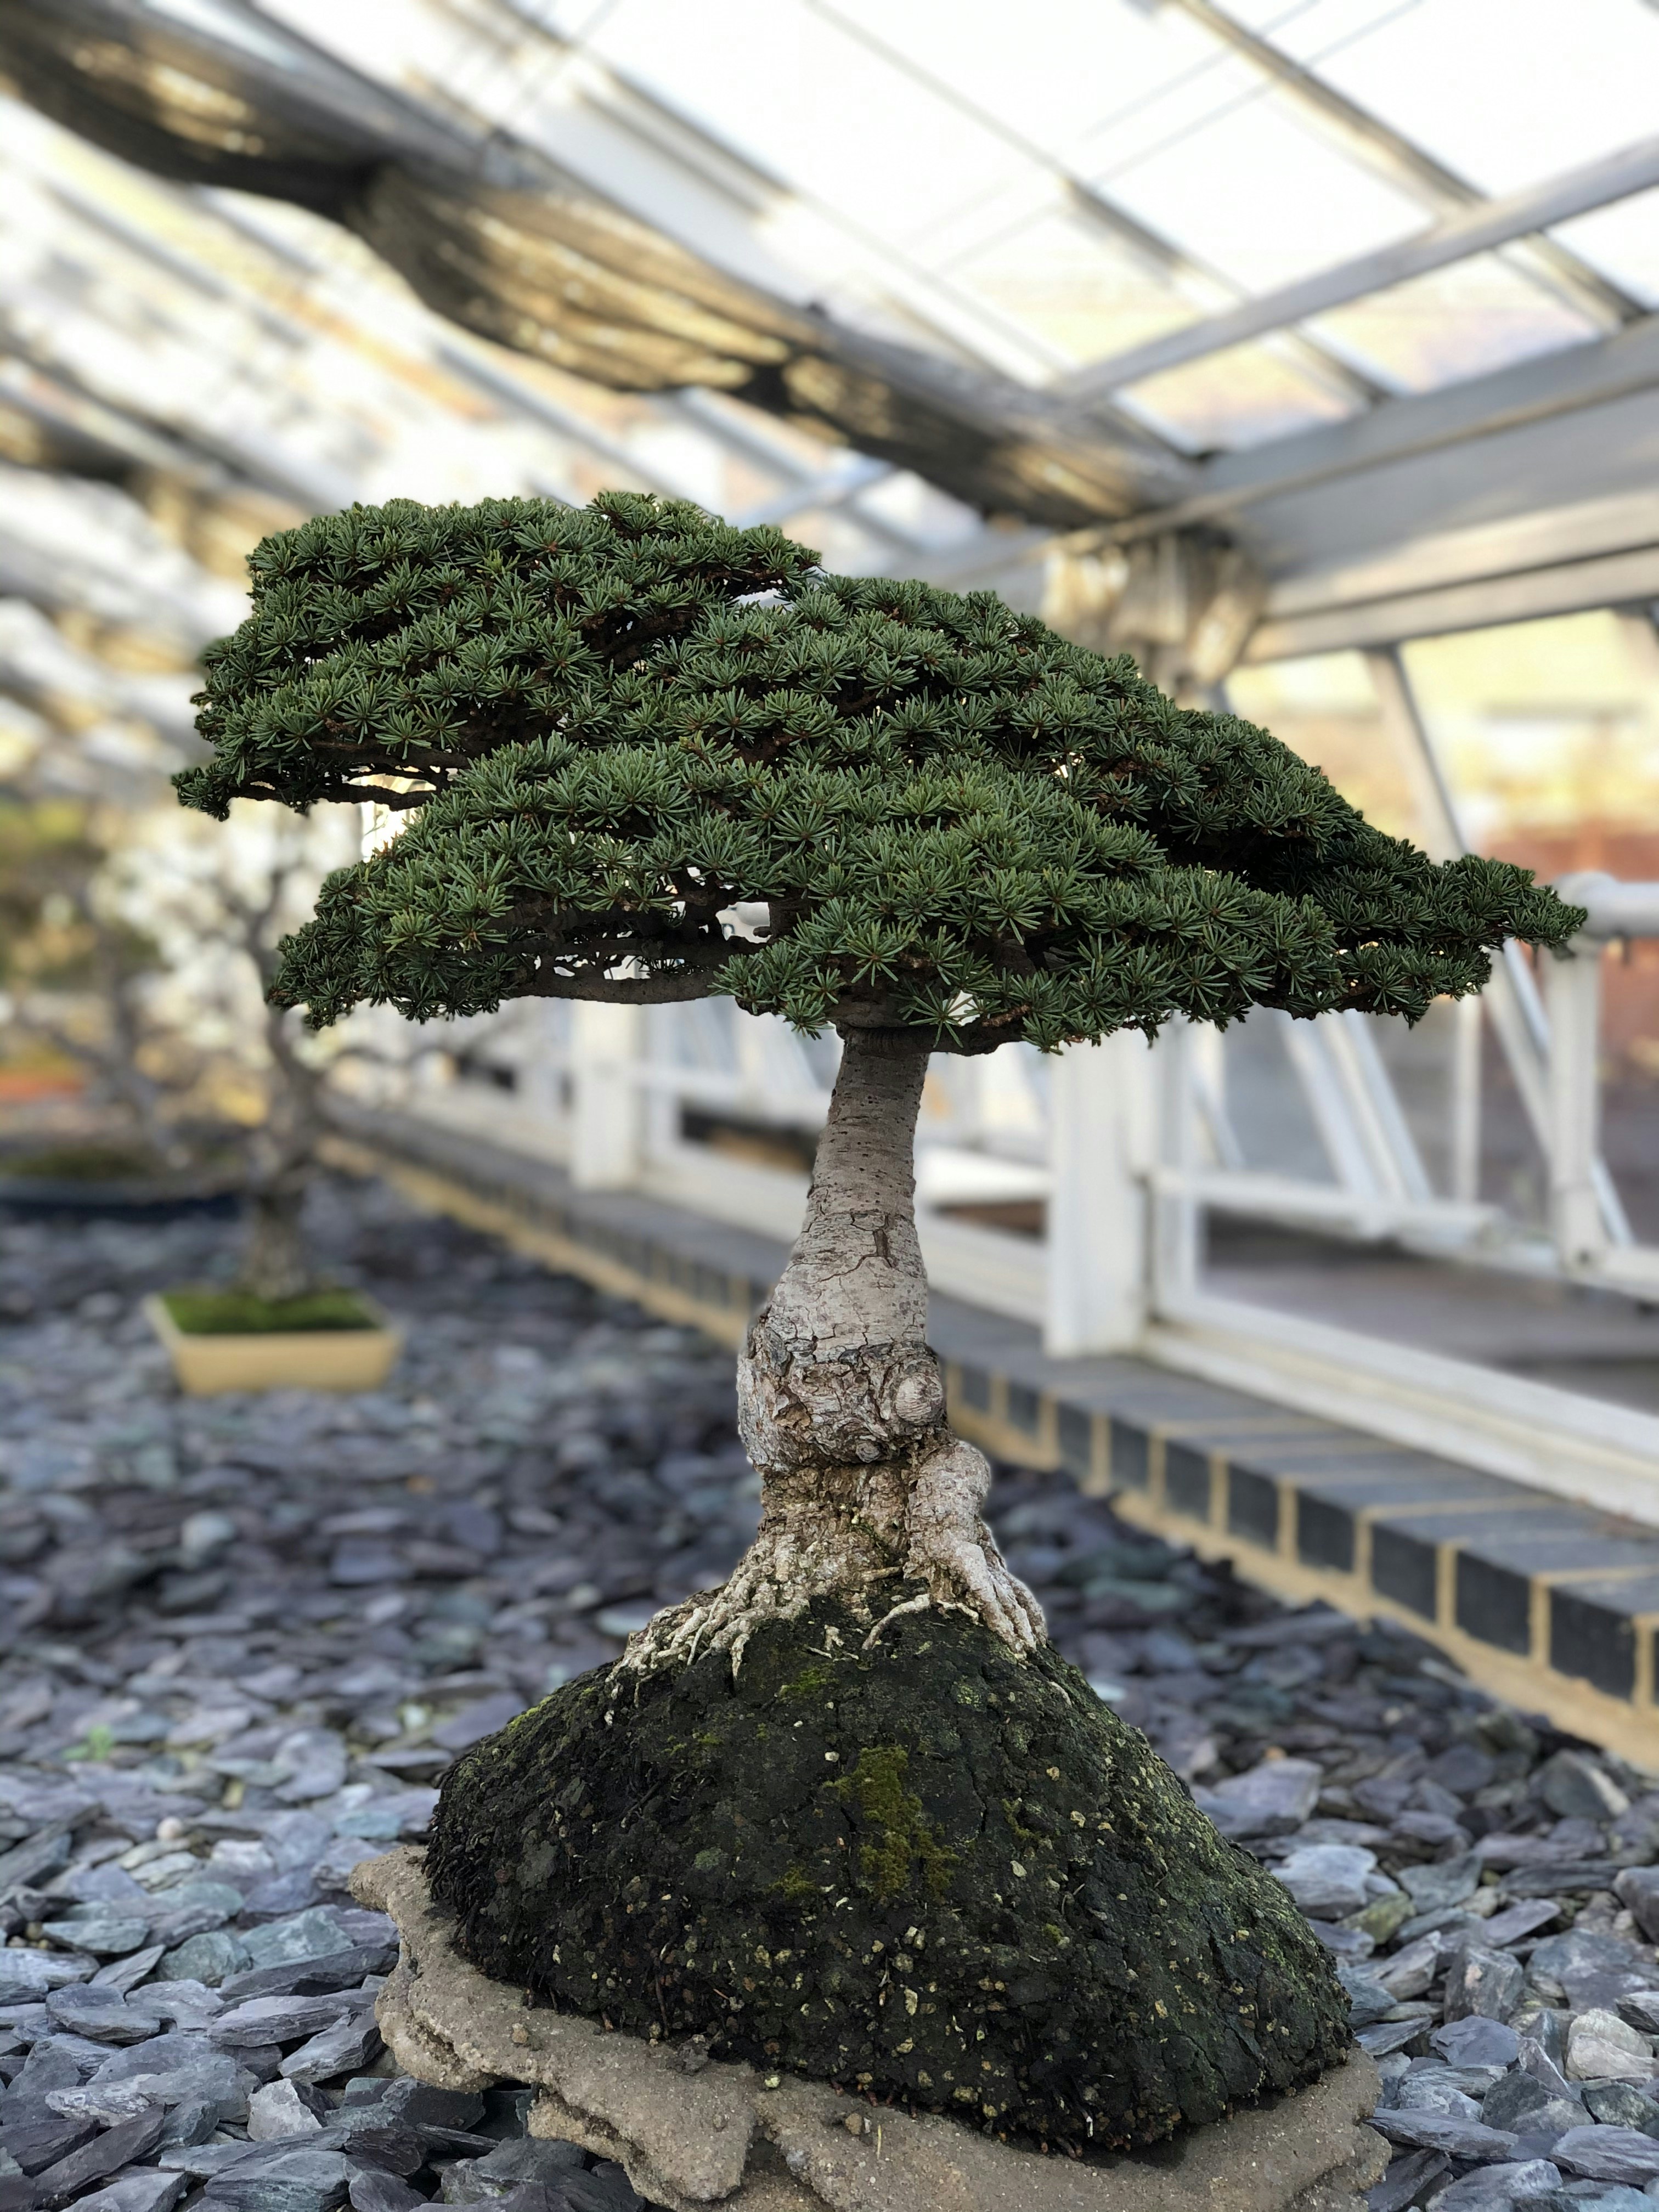
How do you create a new branch on a bonsai tree?
To create a new branch, you must prune the existing growth. When a branch grows to a desired length, cut it back to 2-3 leaves. This forces the tree to send out new shoots from the axillary buds below the cut, creating ramification (branching).
Read more about “🌲 Mastering the Literati Bonsai Style: The Ultimate Guide (2026)”
Can you root bonsai cutings?
Yes! Most deciduous trees, conifers like Junipers, and succulents like Jade can be rooted from cutings. However, conifers like Pines are notoriously difficult to root from cutings and are better grown from seed.
What is the best time of year to take bonsai cutings?
It depends on the species:
- Softwood: Late Spring to Early Summer (for deciduous trees).
- Semi-Hardwood: Late Summer to Early Autumn (for conifers).
- Hardwood: Late Autumn to Winter (for dormant deciduous trees).
How long does it take for a bonsai cutting to root?
- Softwood: 2-6 weeks.
- Semi-Hardwood: 6-12 weeks.
- Hardwood: 3-6 months (sometimes longer).
- Jade: Can root in water in a matter of days.
Read more about “Why Is Bonsai So Expensive? 🌳 7 Secrets Behind the Price (2026)”
Can I use rooting hormone for bonsai cutings?
Absolutely. Rooting hormone (powder, gel, or liquid) stimulates root growth and increases success rates, especially for difficult species. Dip the cut end into the hormone before planting.
What soil mix is best for rooting bonsai cutings?
Use a well-draining mix that retains some moisture. A 50/50 mix of Perlite and Peat Moss or Coco Coir is ideal. Avoid standard poting soil as it is too dense and can cause rot.
Reference Links and Scientific Sources
- Bonsai Empire: How to Start a Bonsai Tree from Cutings
- Bonsai Tonight: How to Grow Bonsai from Seed or Cutting
- Gardenstead: How to Grow Jade Bonsai: From Cutting to Tree
- University of Florida IFAS Extension: Plant Propagation by Cutings
- Royal Horticultural Society (RHS): Taking Cutings
- Bonsai Garden™ Internal Resources:
- Bonsai Care Basics
- Bonsai for Beginners
- Bonsai Inspiration and Ideas
- Bonsai FAQs
- Bonsai Display and Aesthetics